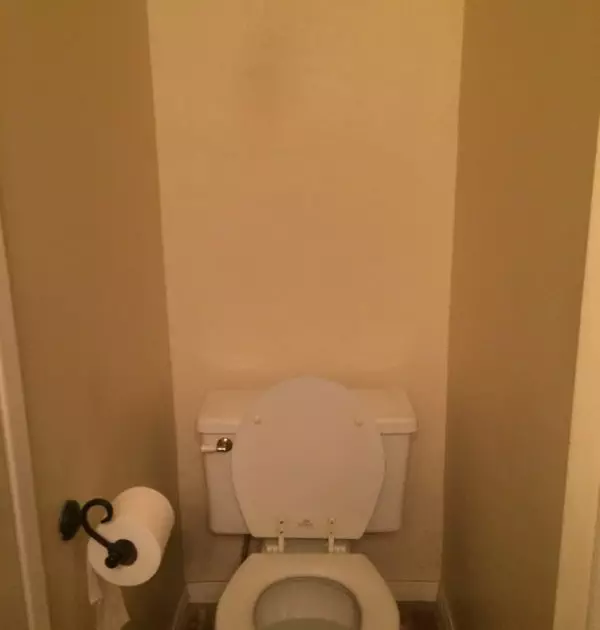
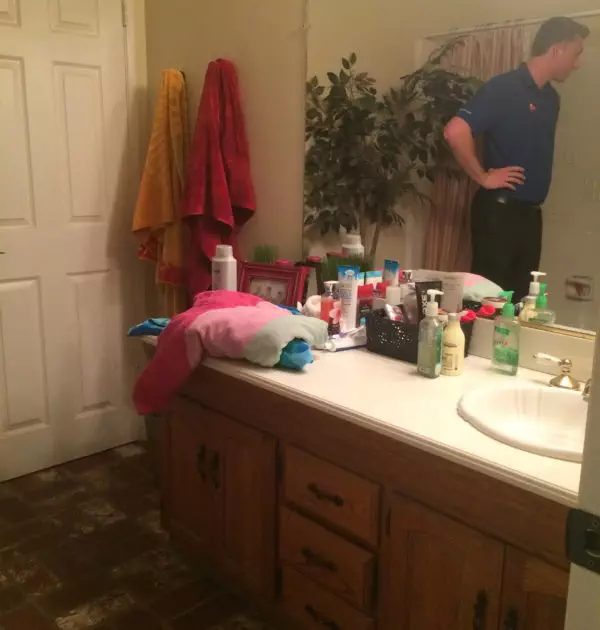
Hi friends! After taking some pictures of our guest bathroom recently, I realized it was about time I shared my tips for updating a bathroom on a budget! We aren’t talking a major overhaul here, just a few basics that can take a bathroom from total drab to mostly fab. Here are the before shots of our guest bath. These were taken before we moved in!

4 Step Mini Bathroom Reno
Step 1 – Paint!
I painted the vanity white using Kilz primer and Swiss Coffee as a top coat.
The walls are painted in Sherwin Williams Ice Cube.
Step 2 – New Mirror
Originally I was going to frame the existing mirror, but opted for a new one altogether. The mirror I purchased is from Hobby Lobby!
Step 3 – Replace Hardware
I chose to replace the brass handles with brushed nickel handles for an updated look. Talk about a simple way to update a space!
Our light fixture is from ATG Online Stores… One of my favorite lights in the house!
Step 4 – Decorate & Add Details
Plants, frames, baskets, trays, and towels are inexpensive decor that bring a lot to a space. I found all our decor at Home Goods, Ikea, Hobby Lobby, and Bed, Bath, & Beyond.
The shower curtain is from World Market. Oh, and If you’re looking for a print to frame and add to your bathroom, be sure to head over to my Etsy shop!
Hope you enjoy the tour of our mini bathroom makeover! Thanks for stopping by.
XO Katie


[blog_subscription_form]
