*Click the pictures below to shop

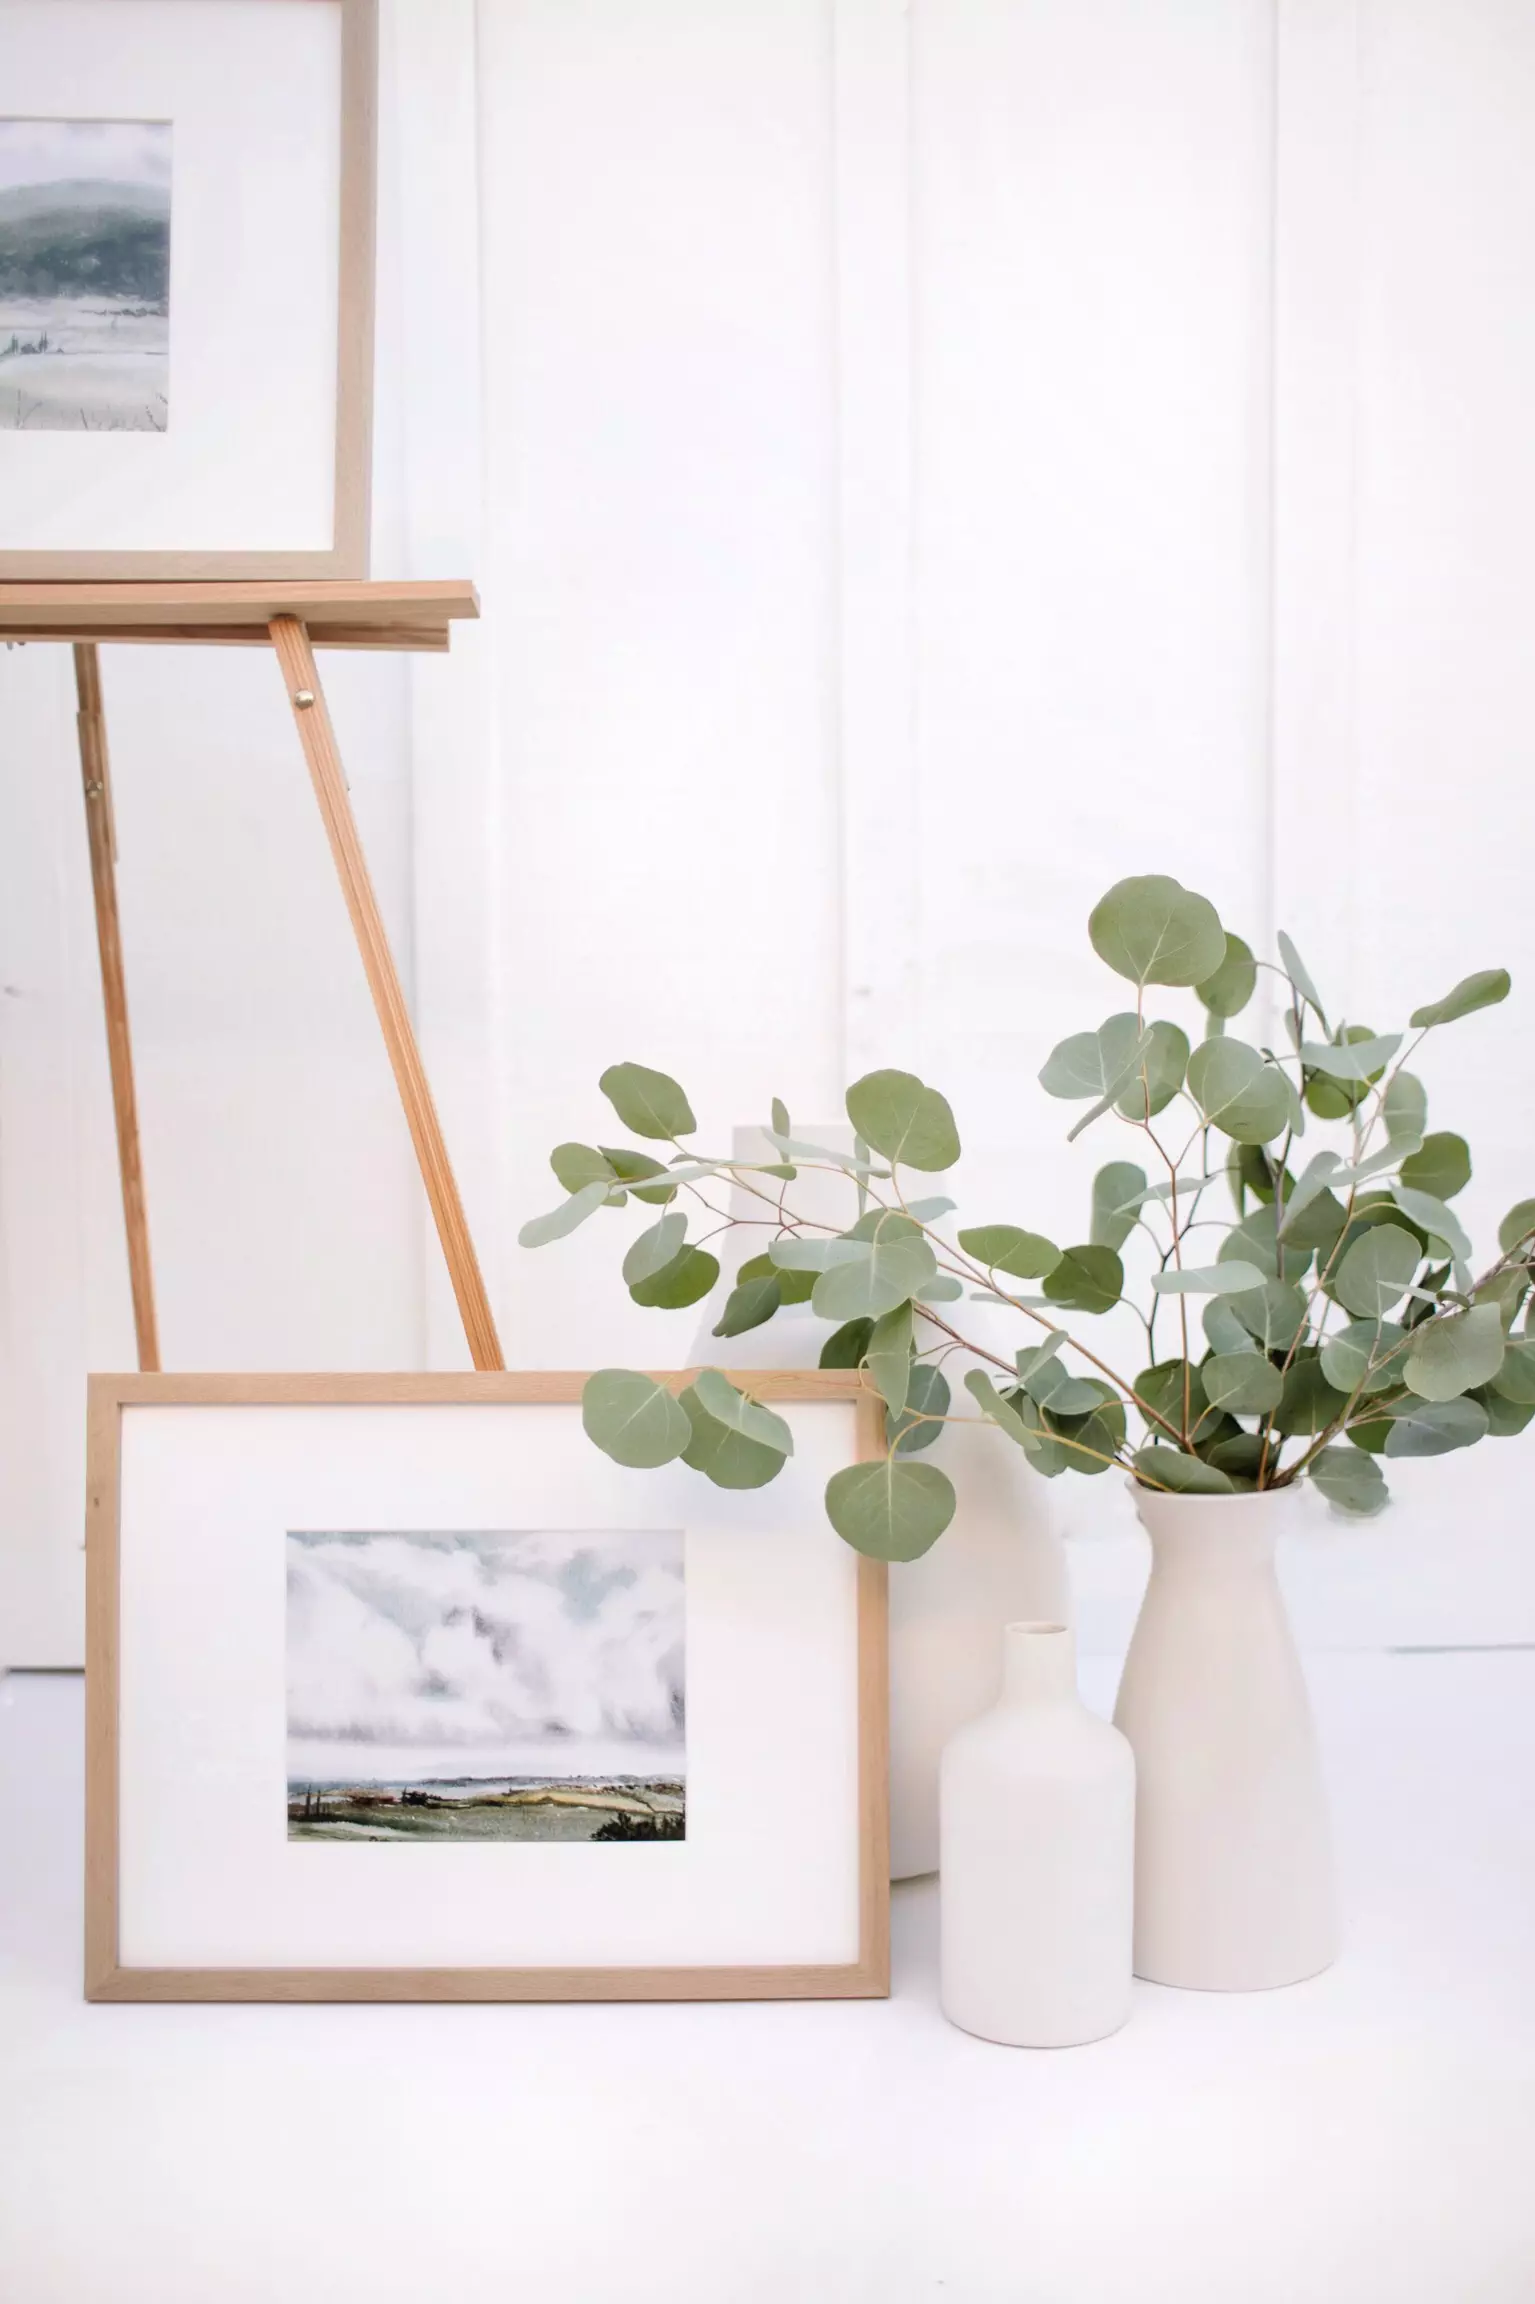
There’s something about vintage landscapes that have been catching my eye lately. The soft lines and muted colors just seem like the perfect complement to a neutral space. Adds just the right amount of texture and color! I’ve been looking for the perfect piece to add to our home, and honestly love this one from Studio McGee, but the price tag kept me from making the final purchase. Not that it’s even really THAT expensive, I just wanted to make sure it was something I really wanted before buying it.
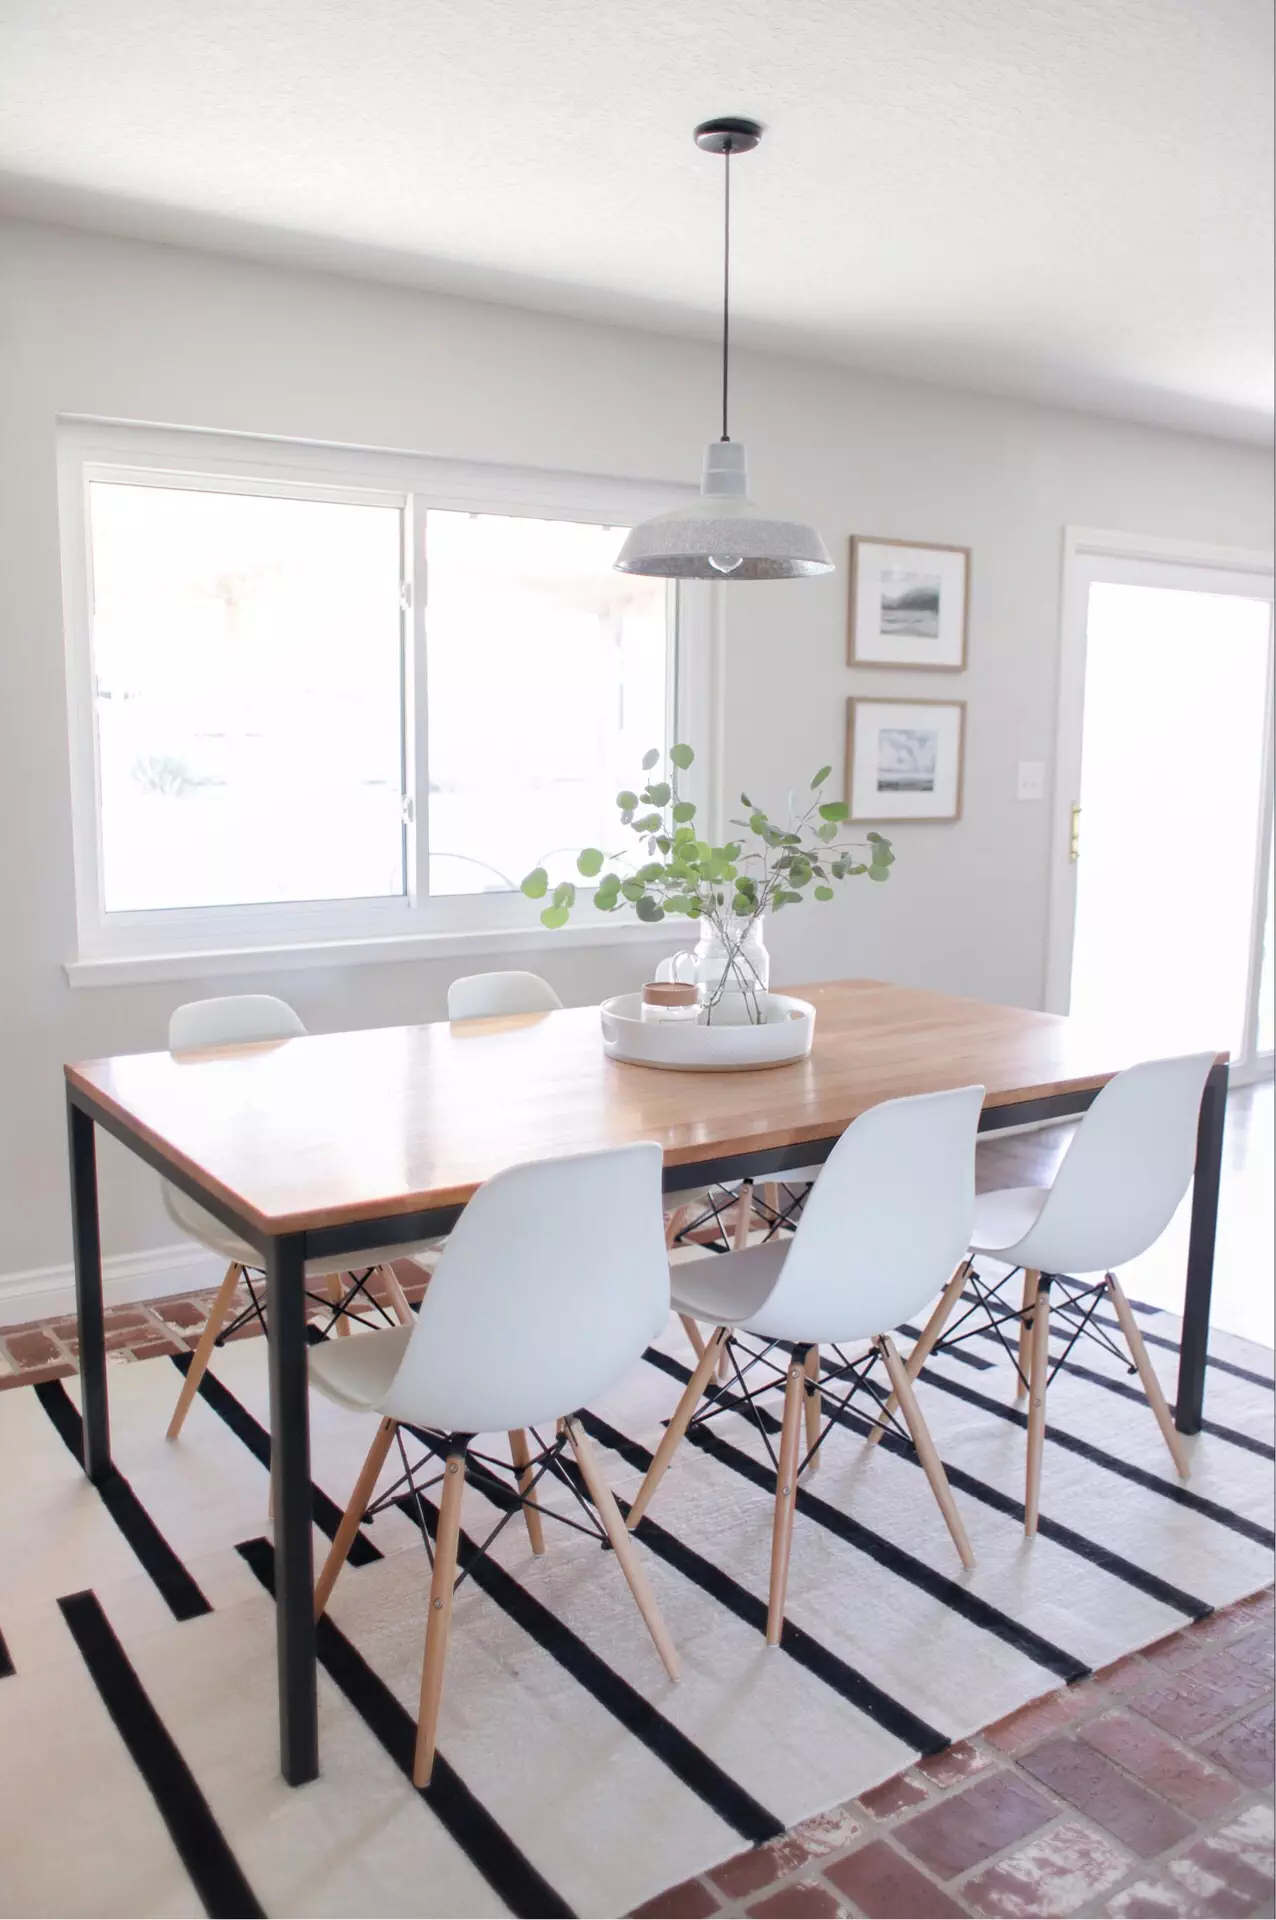
Over the weekend I had one of those spontaneous design moments where I decided to add some art to our dining room on a whim. I was originally planning on buying this one from Target, but wasn’t able to track it down locally. They say when one door closes another one opens, and that was definitely the case here! haha. I’m so glad I didn’t purchase the artwork from Target because I love my plan B so much more.
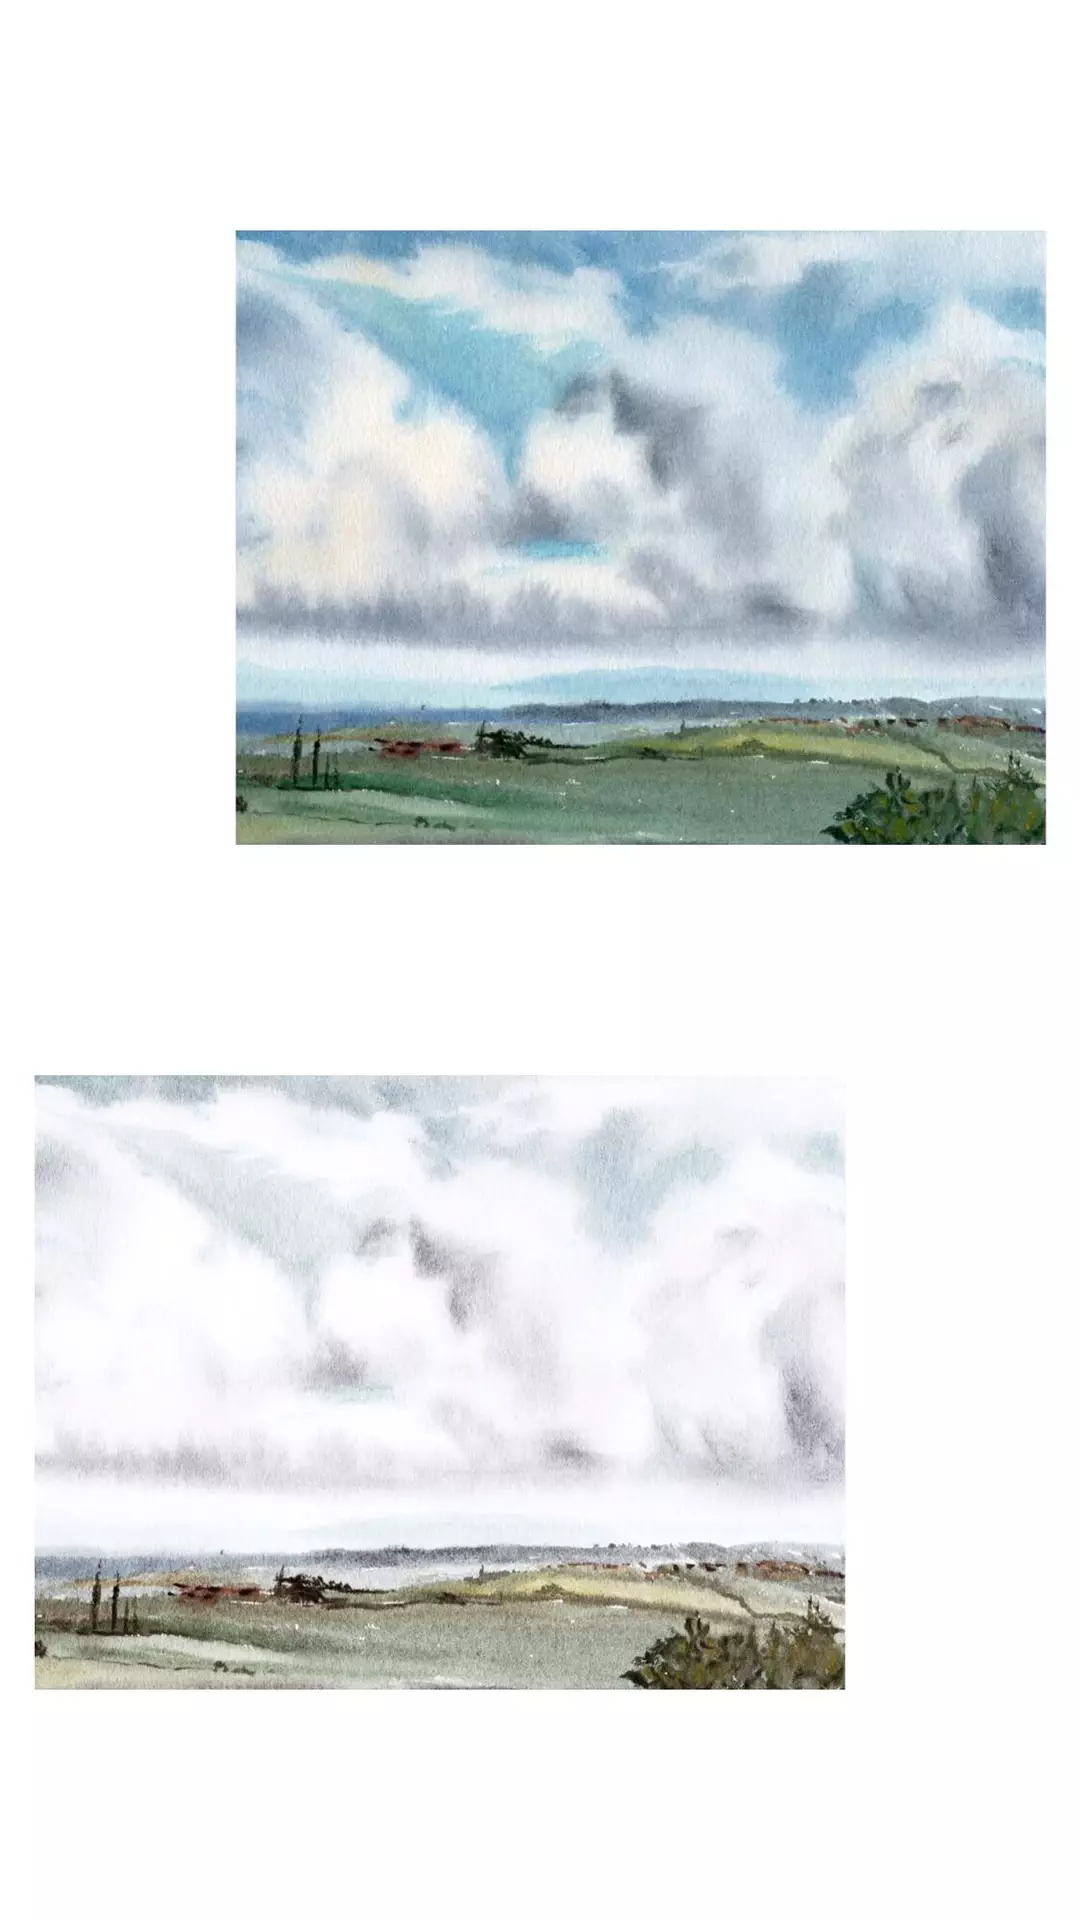
While on my unsuccessful trip to Target, I came across these gorgeous frames for just $17. I purchased two of them and knew if I could find the perfect artwork, they would be just what I was looking for. When I got home, I started looking online for vintage landscape prints. I was looking for a digital download (mostly for instant gratification ha!) but also because I would have control over the final color and tone of the artwork. In case you might be unfamiliar, digital prints can be edited after purchase on any photo editing software or app. I did alter the color of these prints to appear more muted and subtle. Here’s what I did!
How To Buy, Edit, and Print the Artwork:
1. Purchase landscape print 1 and download it to your iPhone
2. Purchase landscape print 2 and download it to your iPhone
3. Save the prints to your phone
4. Open the image in the ‘Color Story’ app (this can be downloaded in the App Store)
5. Purchase the ‘Flashes of Delight’ editing package within the app
6. Apply the ‘Valerie’ filter to edit the pictures. I used the filter at about 50% intensity.
7. I also adjusted the saturation in the Snapseed app until the colors were muted to my liking.
8. Once the pictures were edited, I used the kiosk at CVS to print my artwork. I printed them straight from my phone in a satin finish, without a border, and in an 8×10.
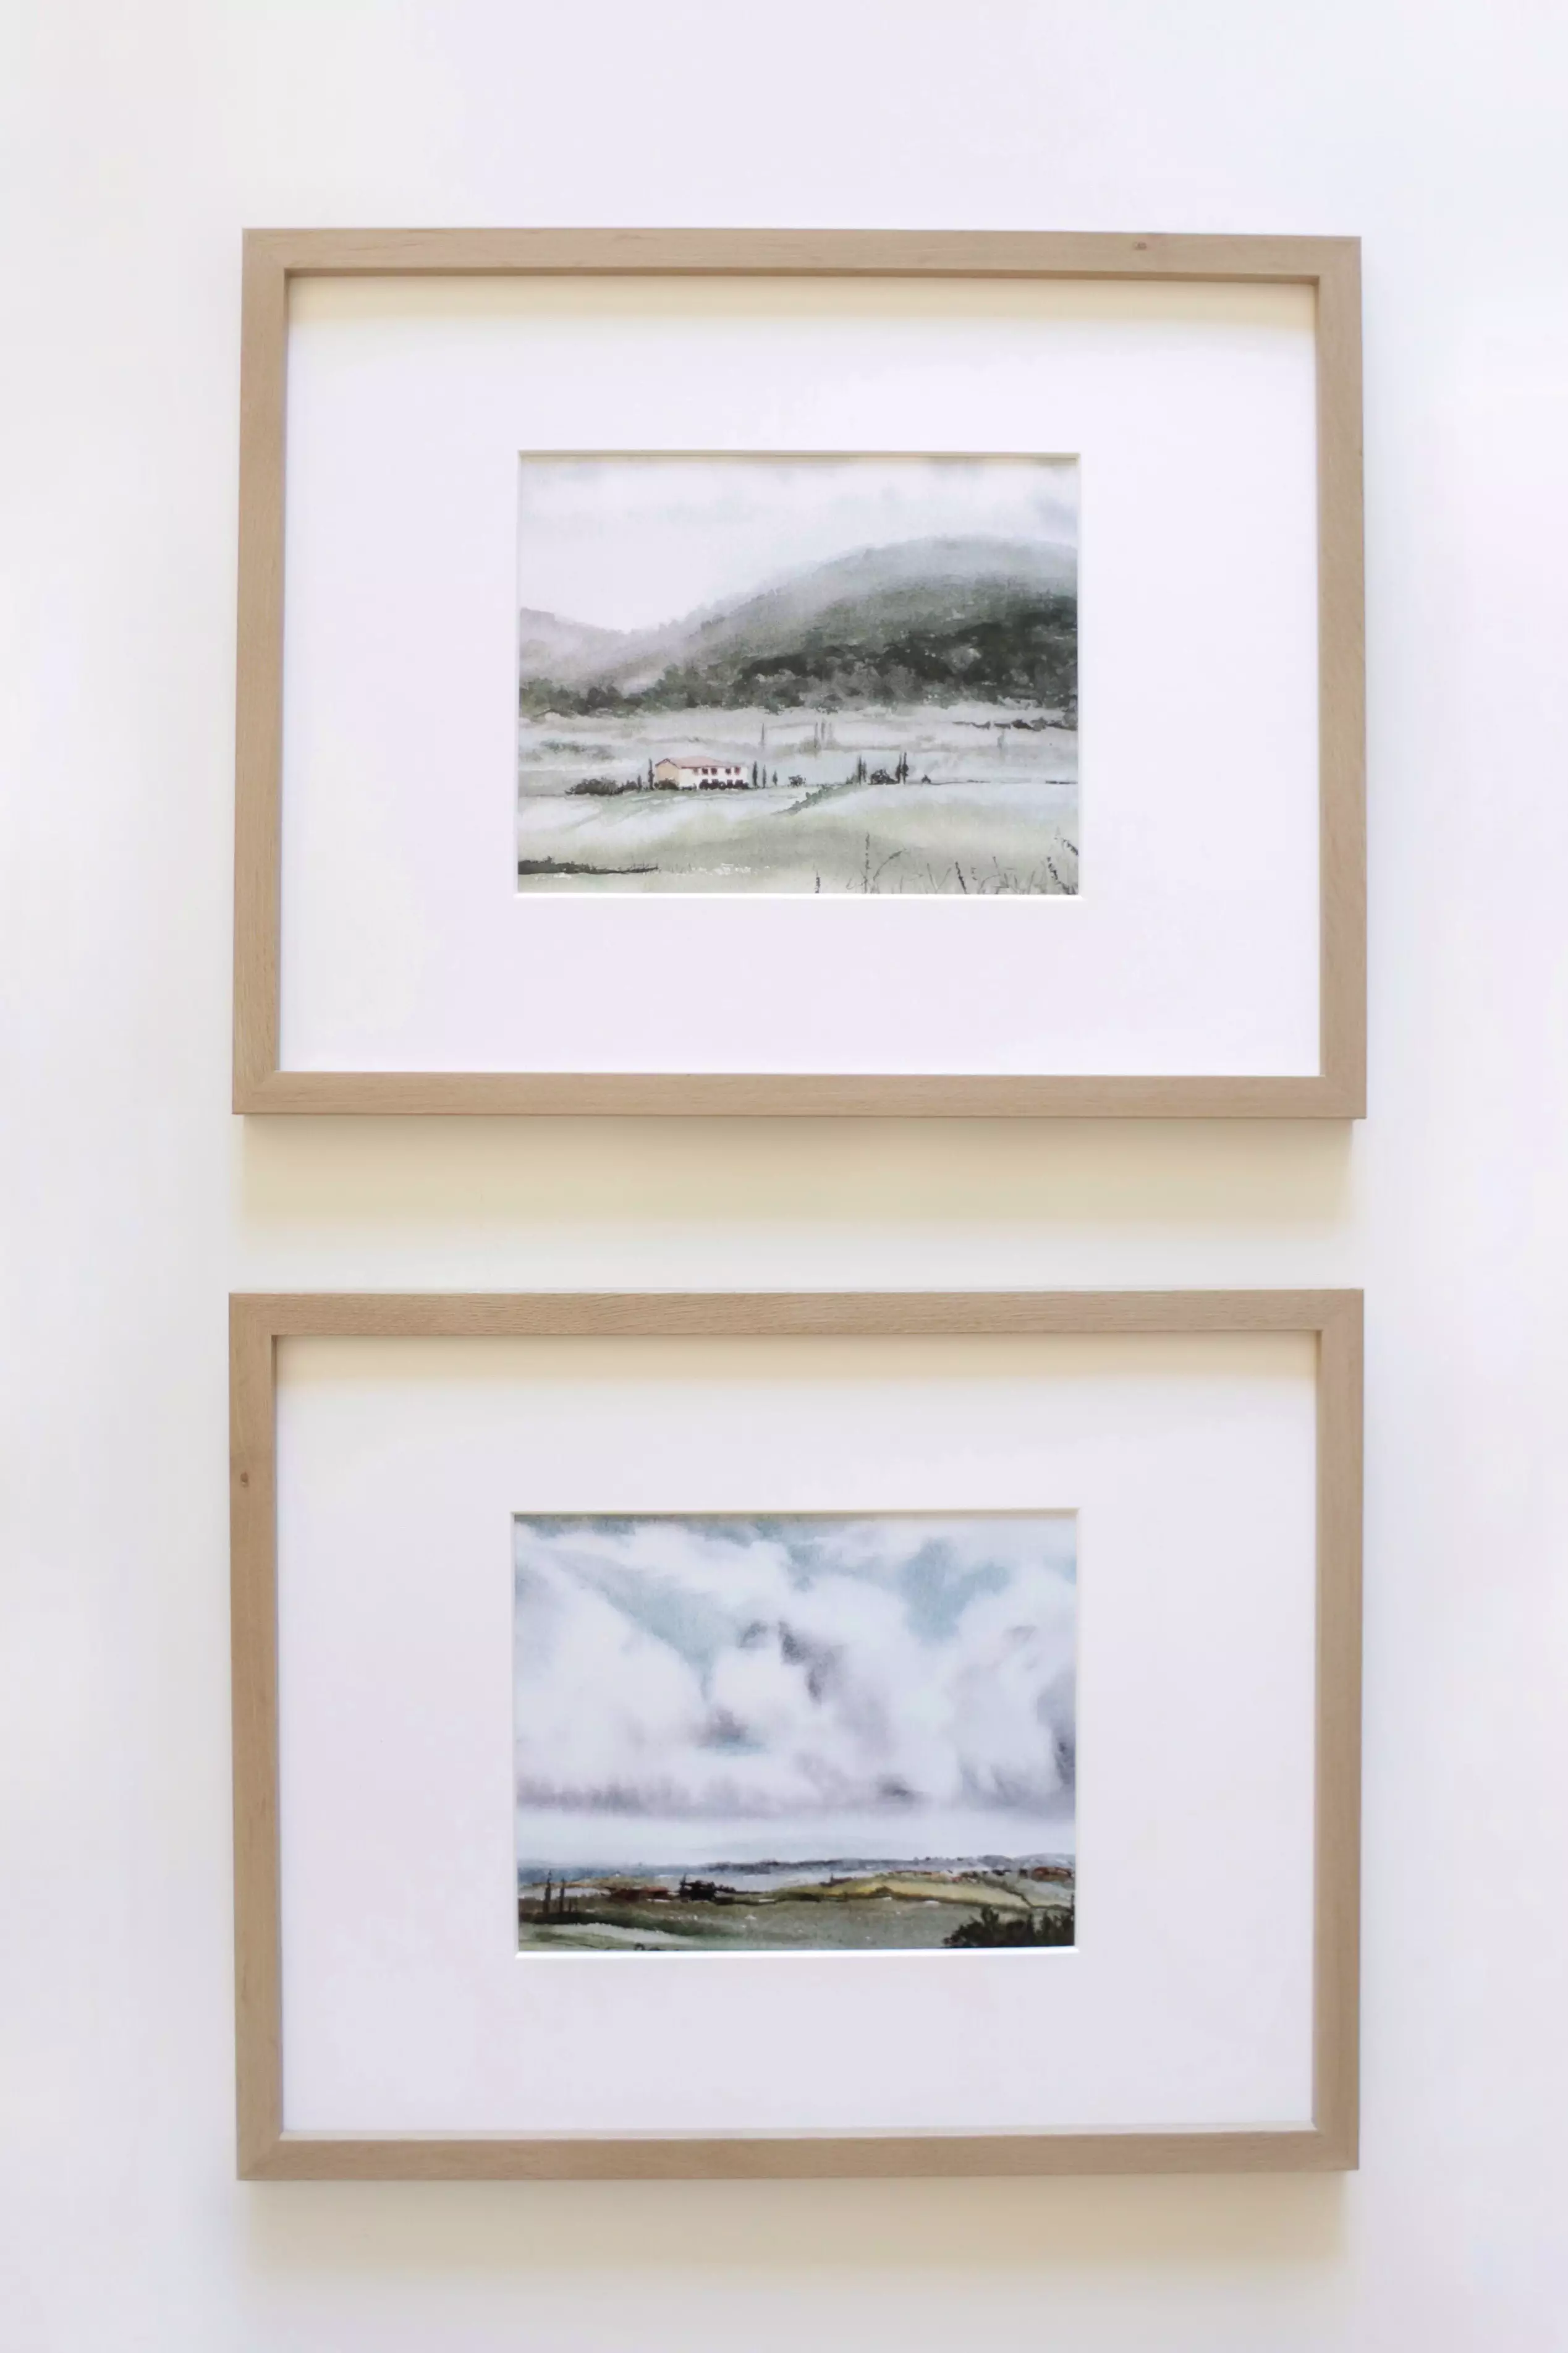
9. And finally… I framed them in these sleek frames!
Before And After Editing:
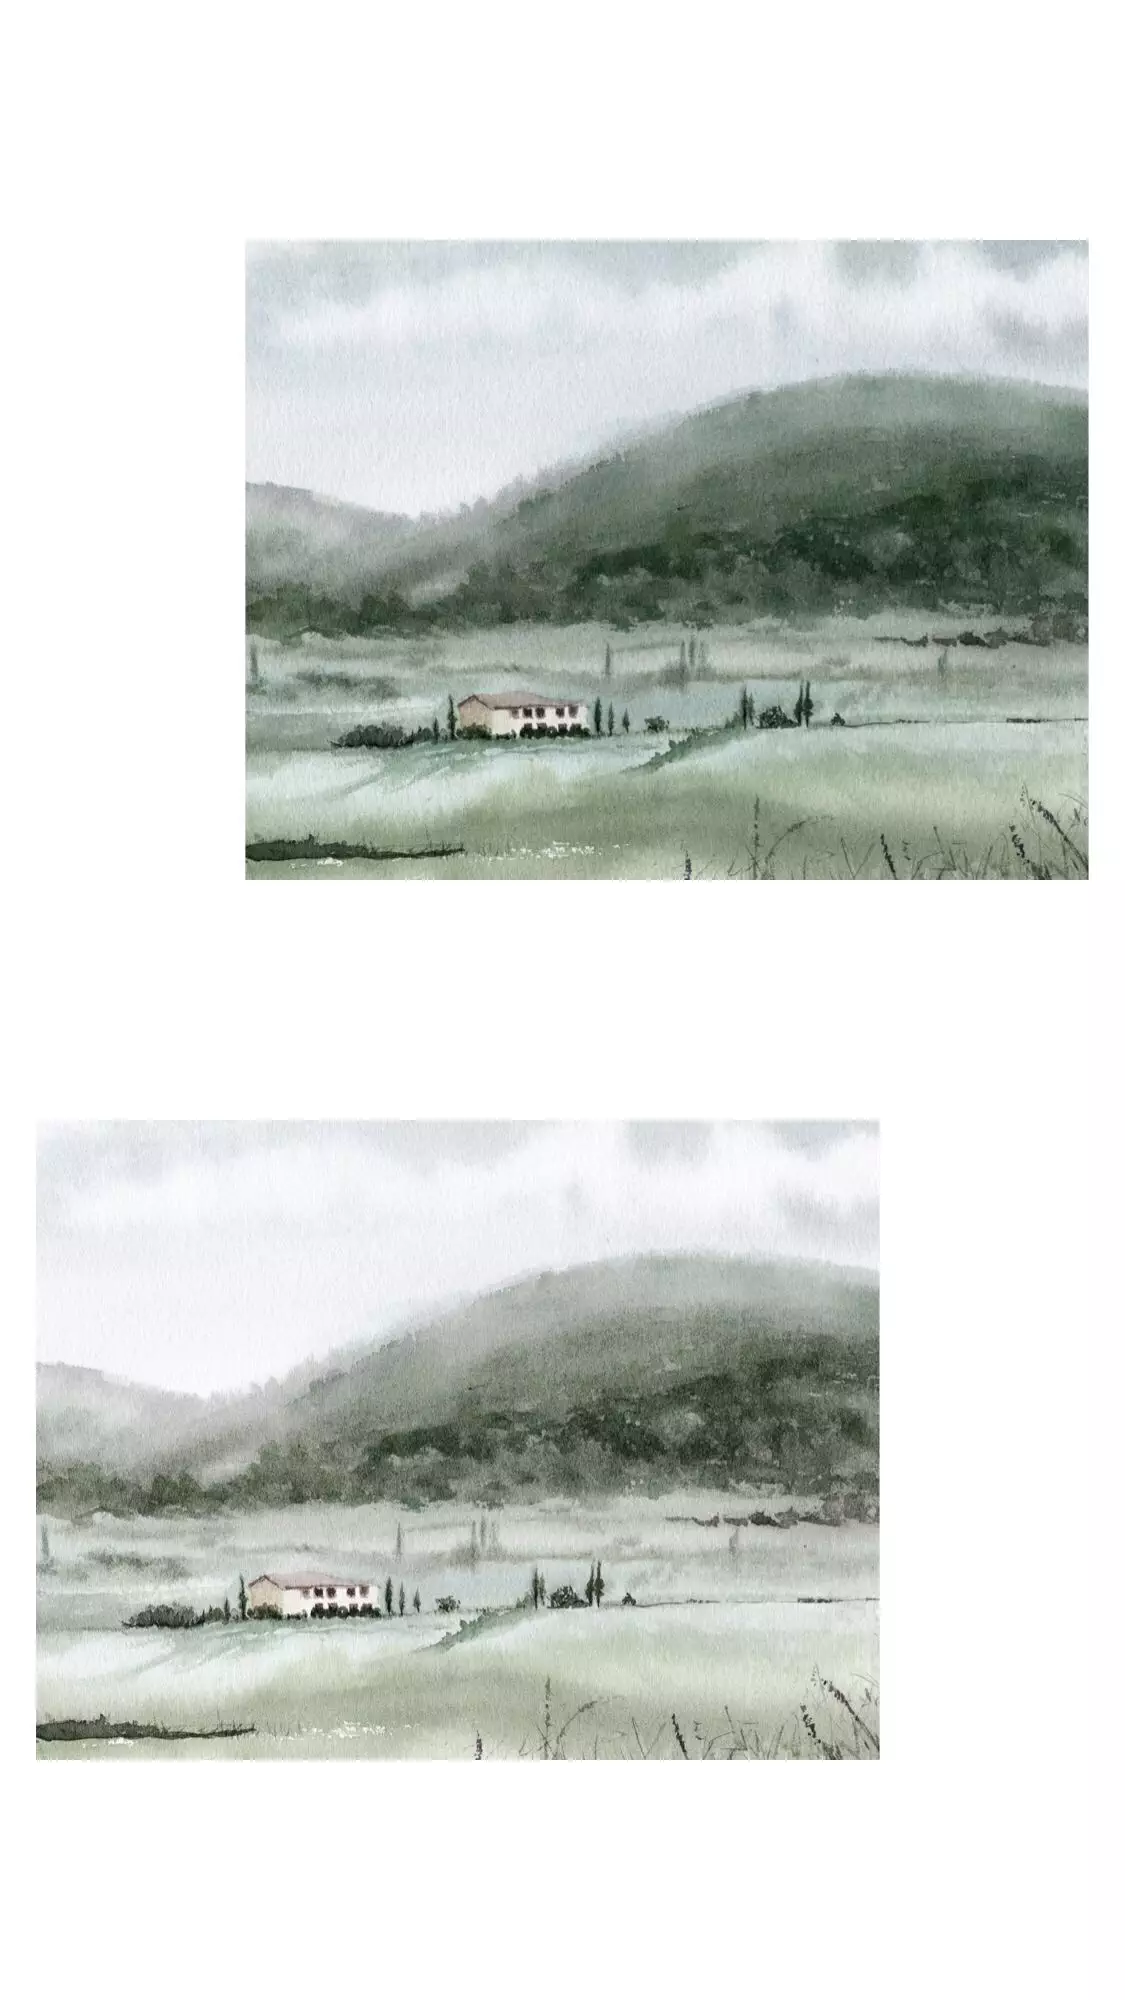
Other Options to Reduce the Saturation:
Use any photo editing app on your computer or phone to simply reduce the saturation. I like to use Adobe Light Room on my computer and the Snapseed app on my iPhone.
So glad you guys like the new artwork! Can’t wait to see how you style it in your homes. Make sure to send me a picture on Instagram if you do!
Don’t forget to subscribe to Halfway Wholeistic to receive post notifications, giveaways, and an occasional newsletter! Thanks so much for following along.
