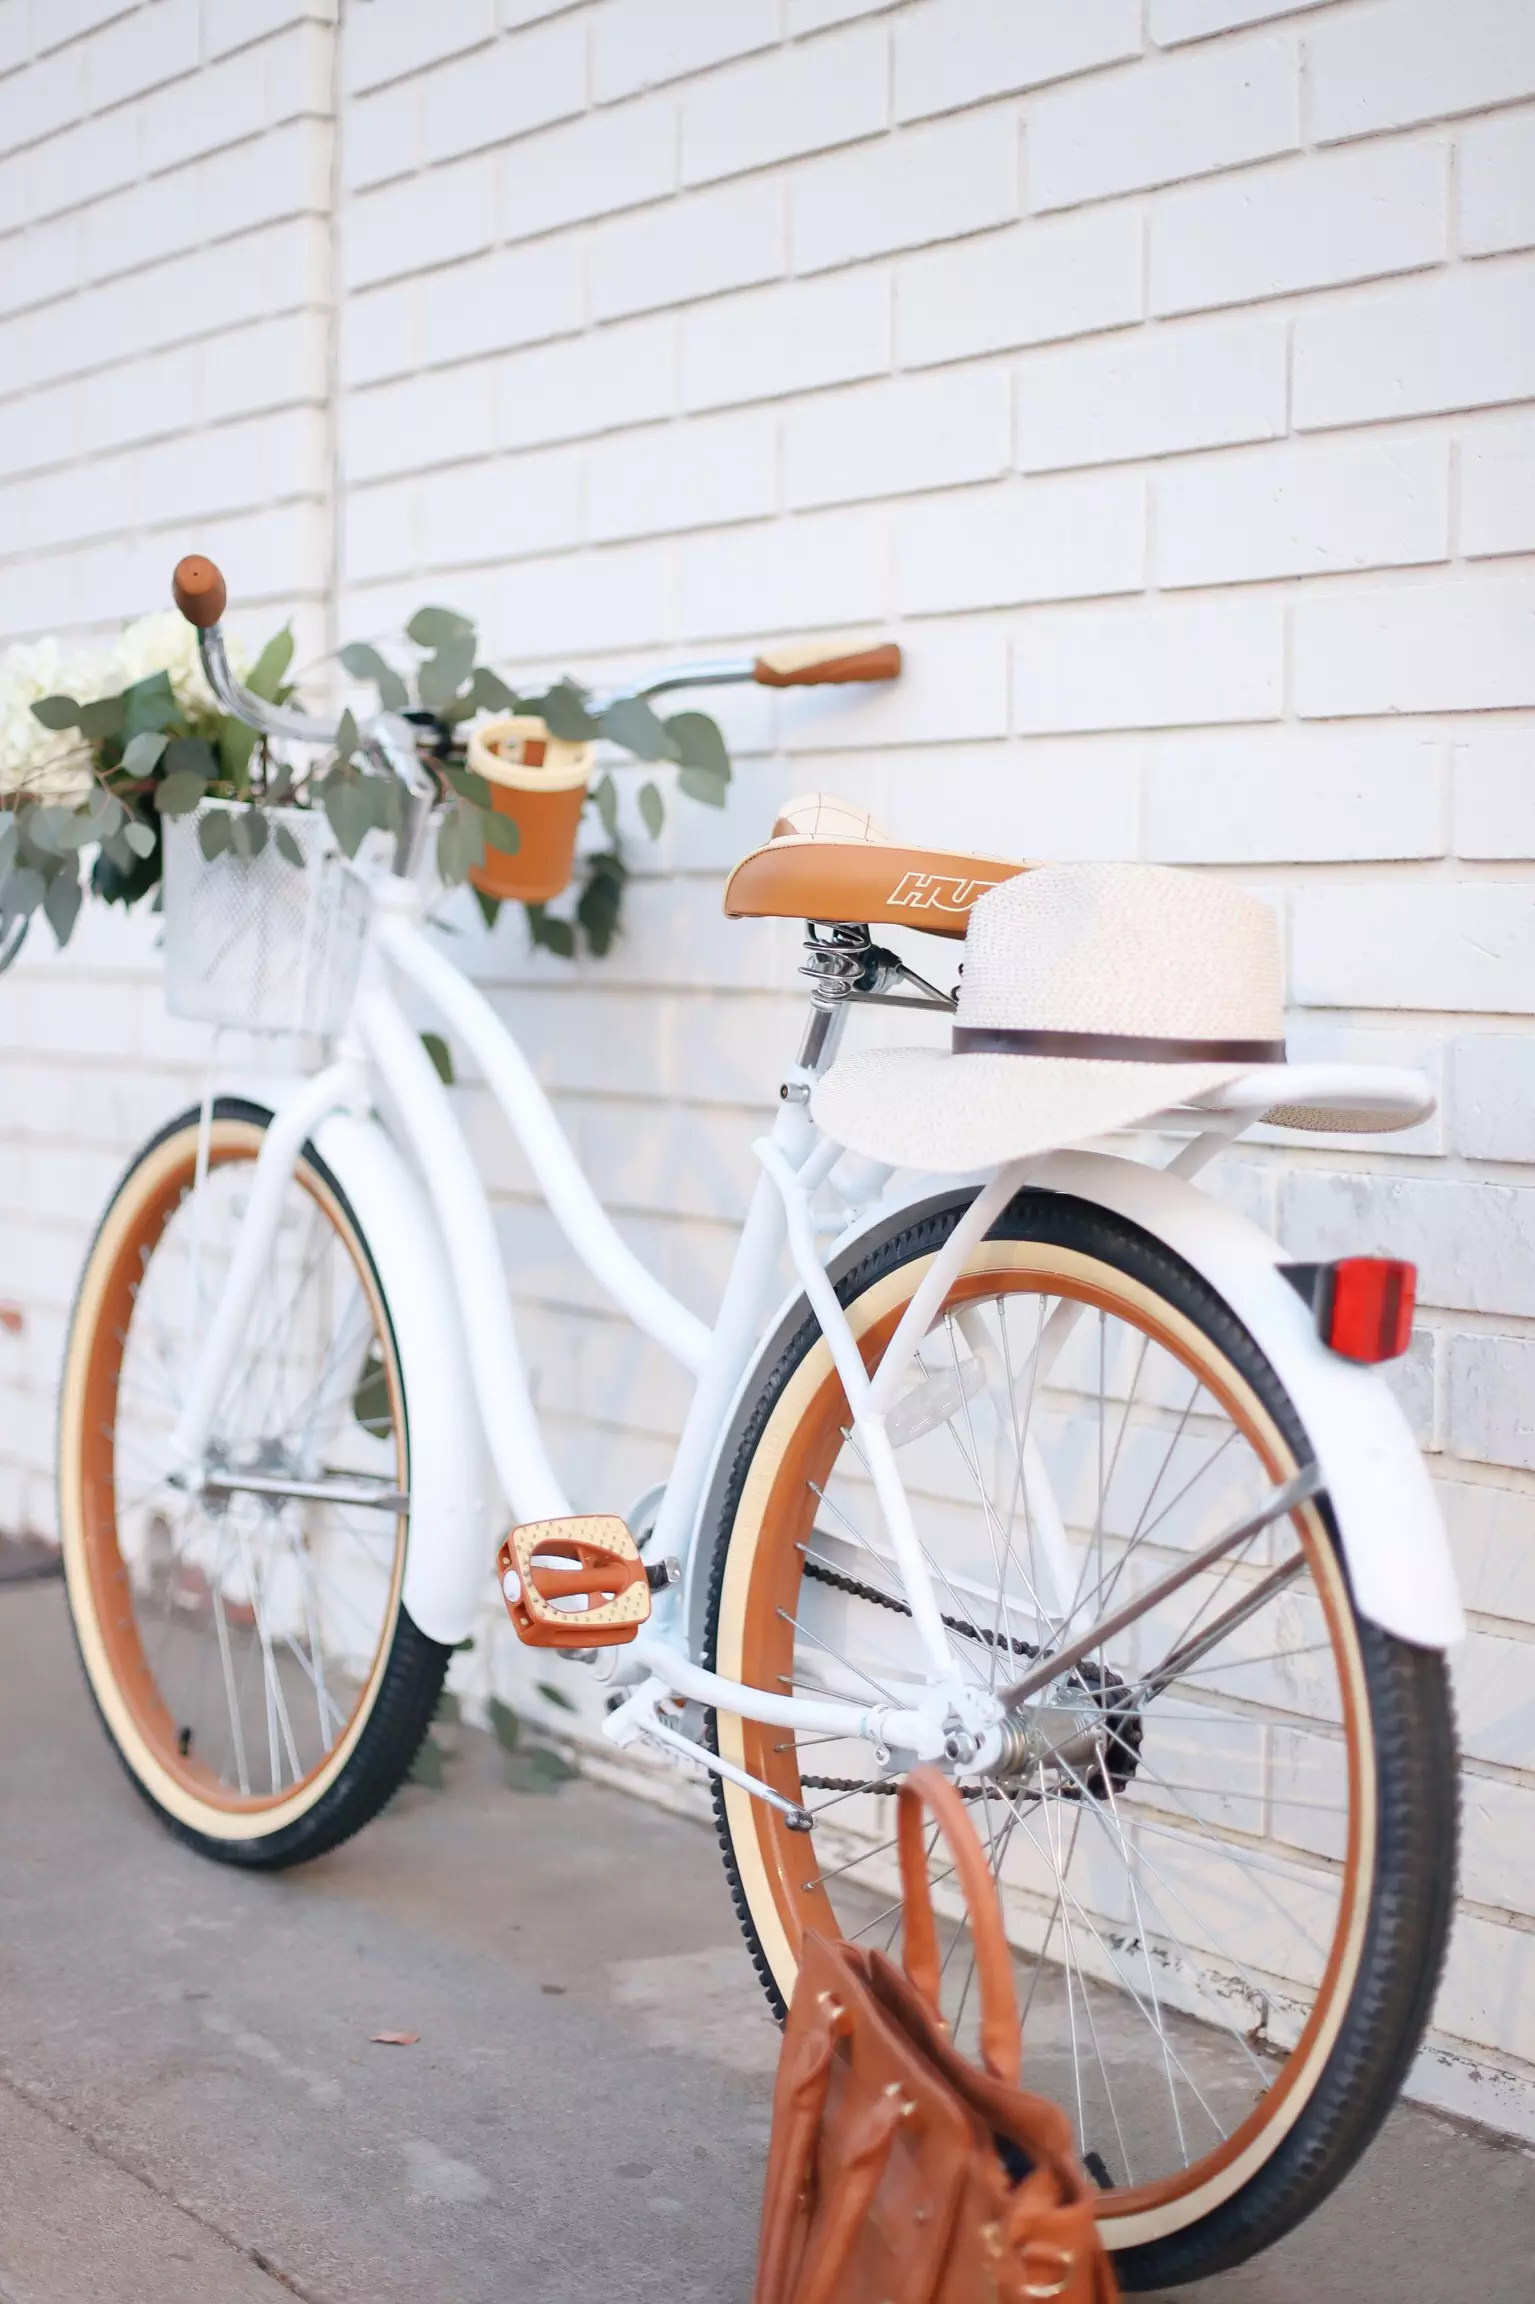
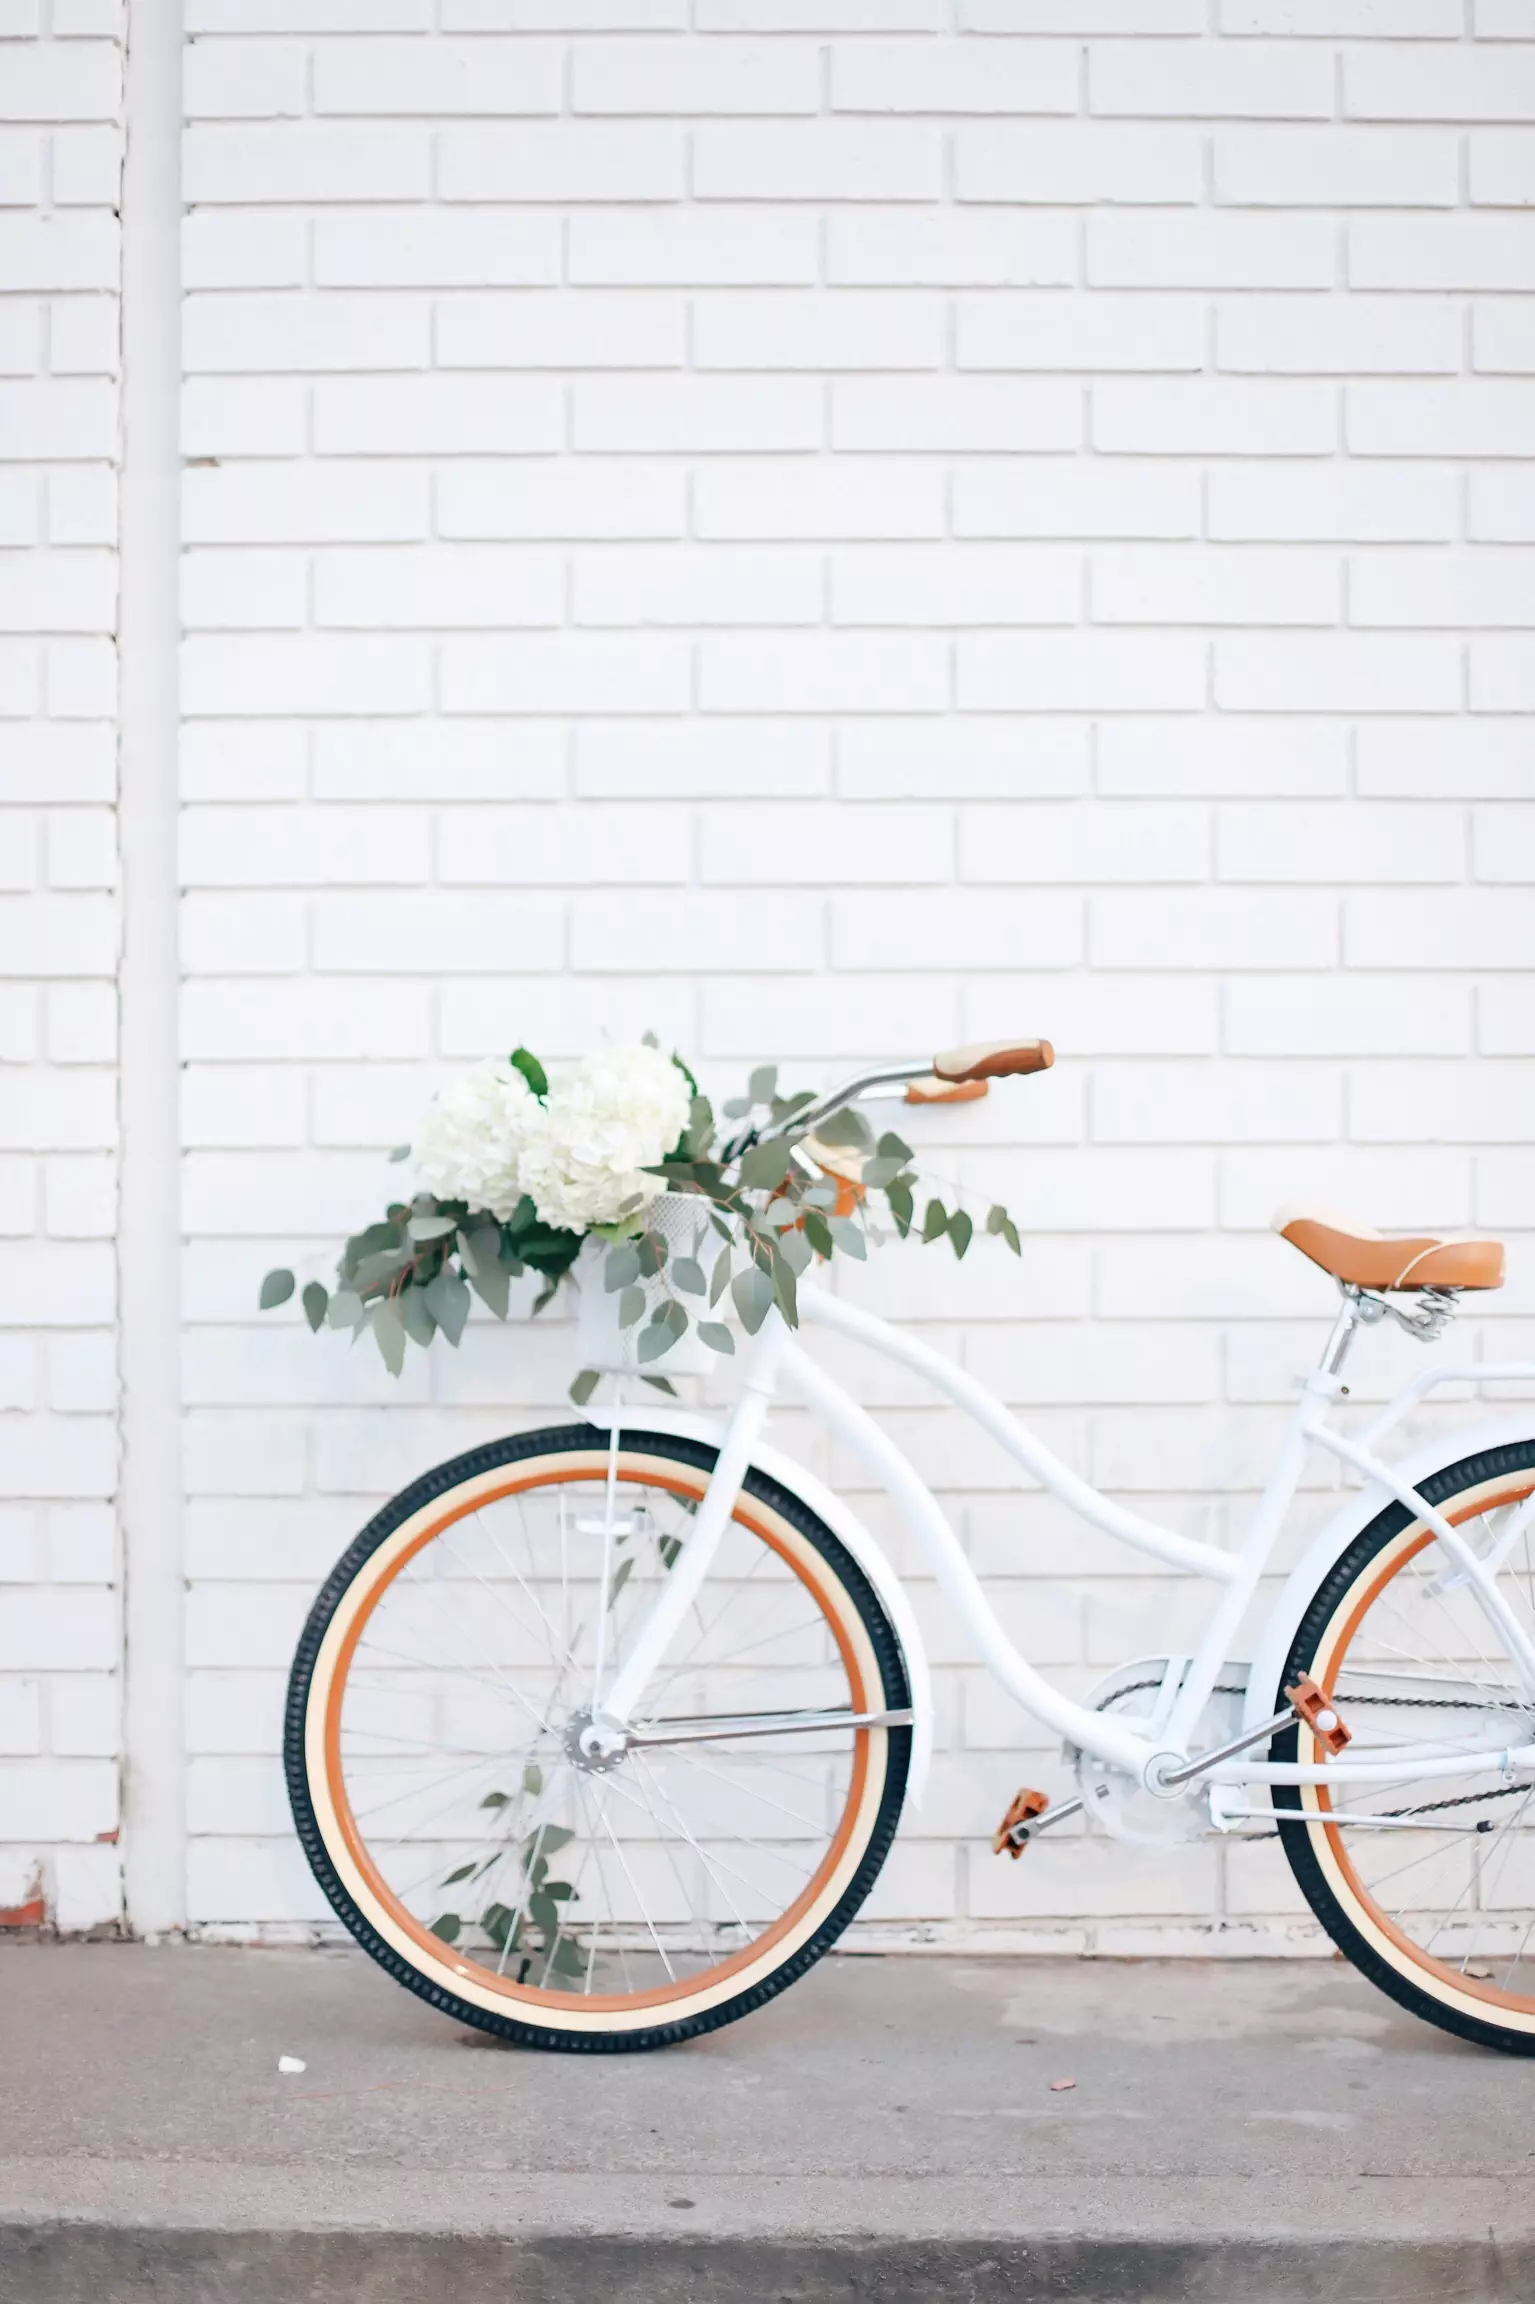
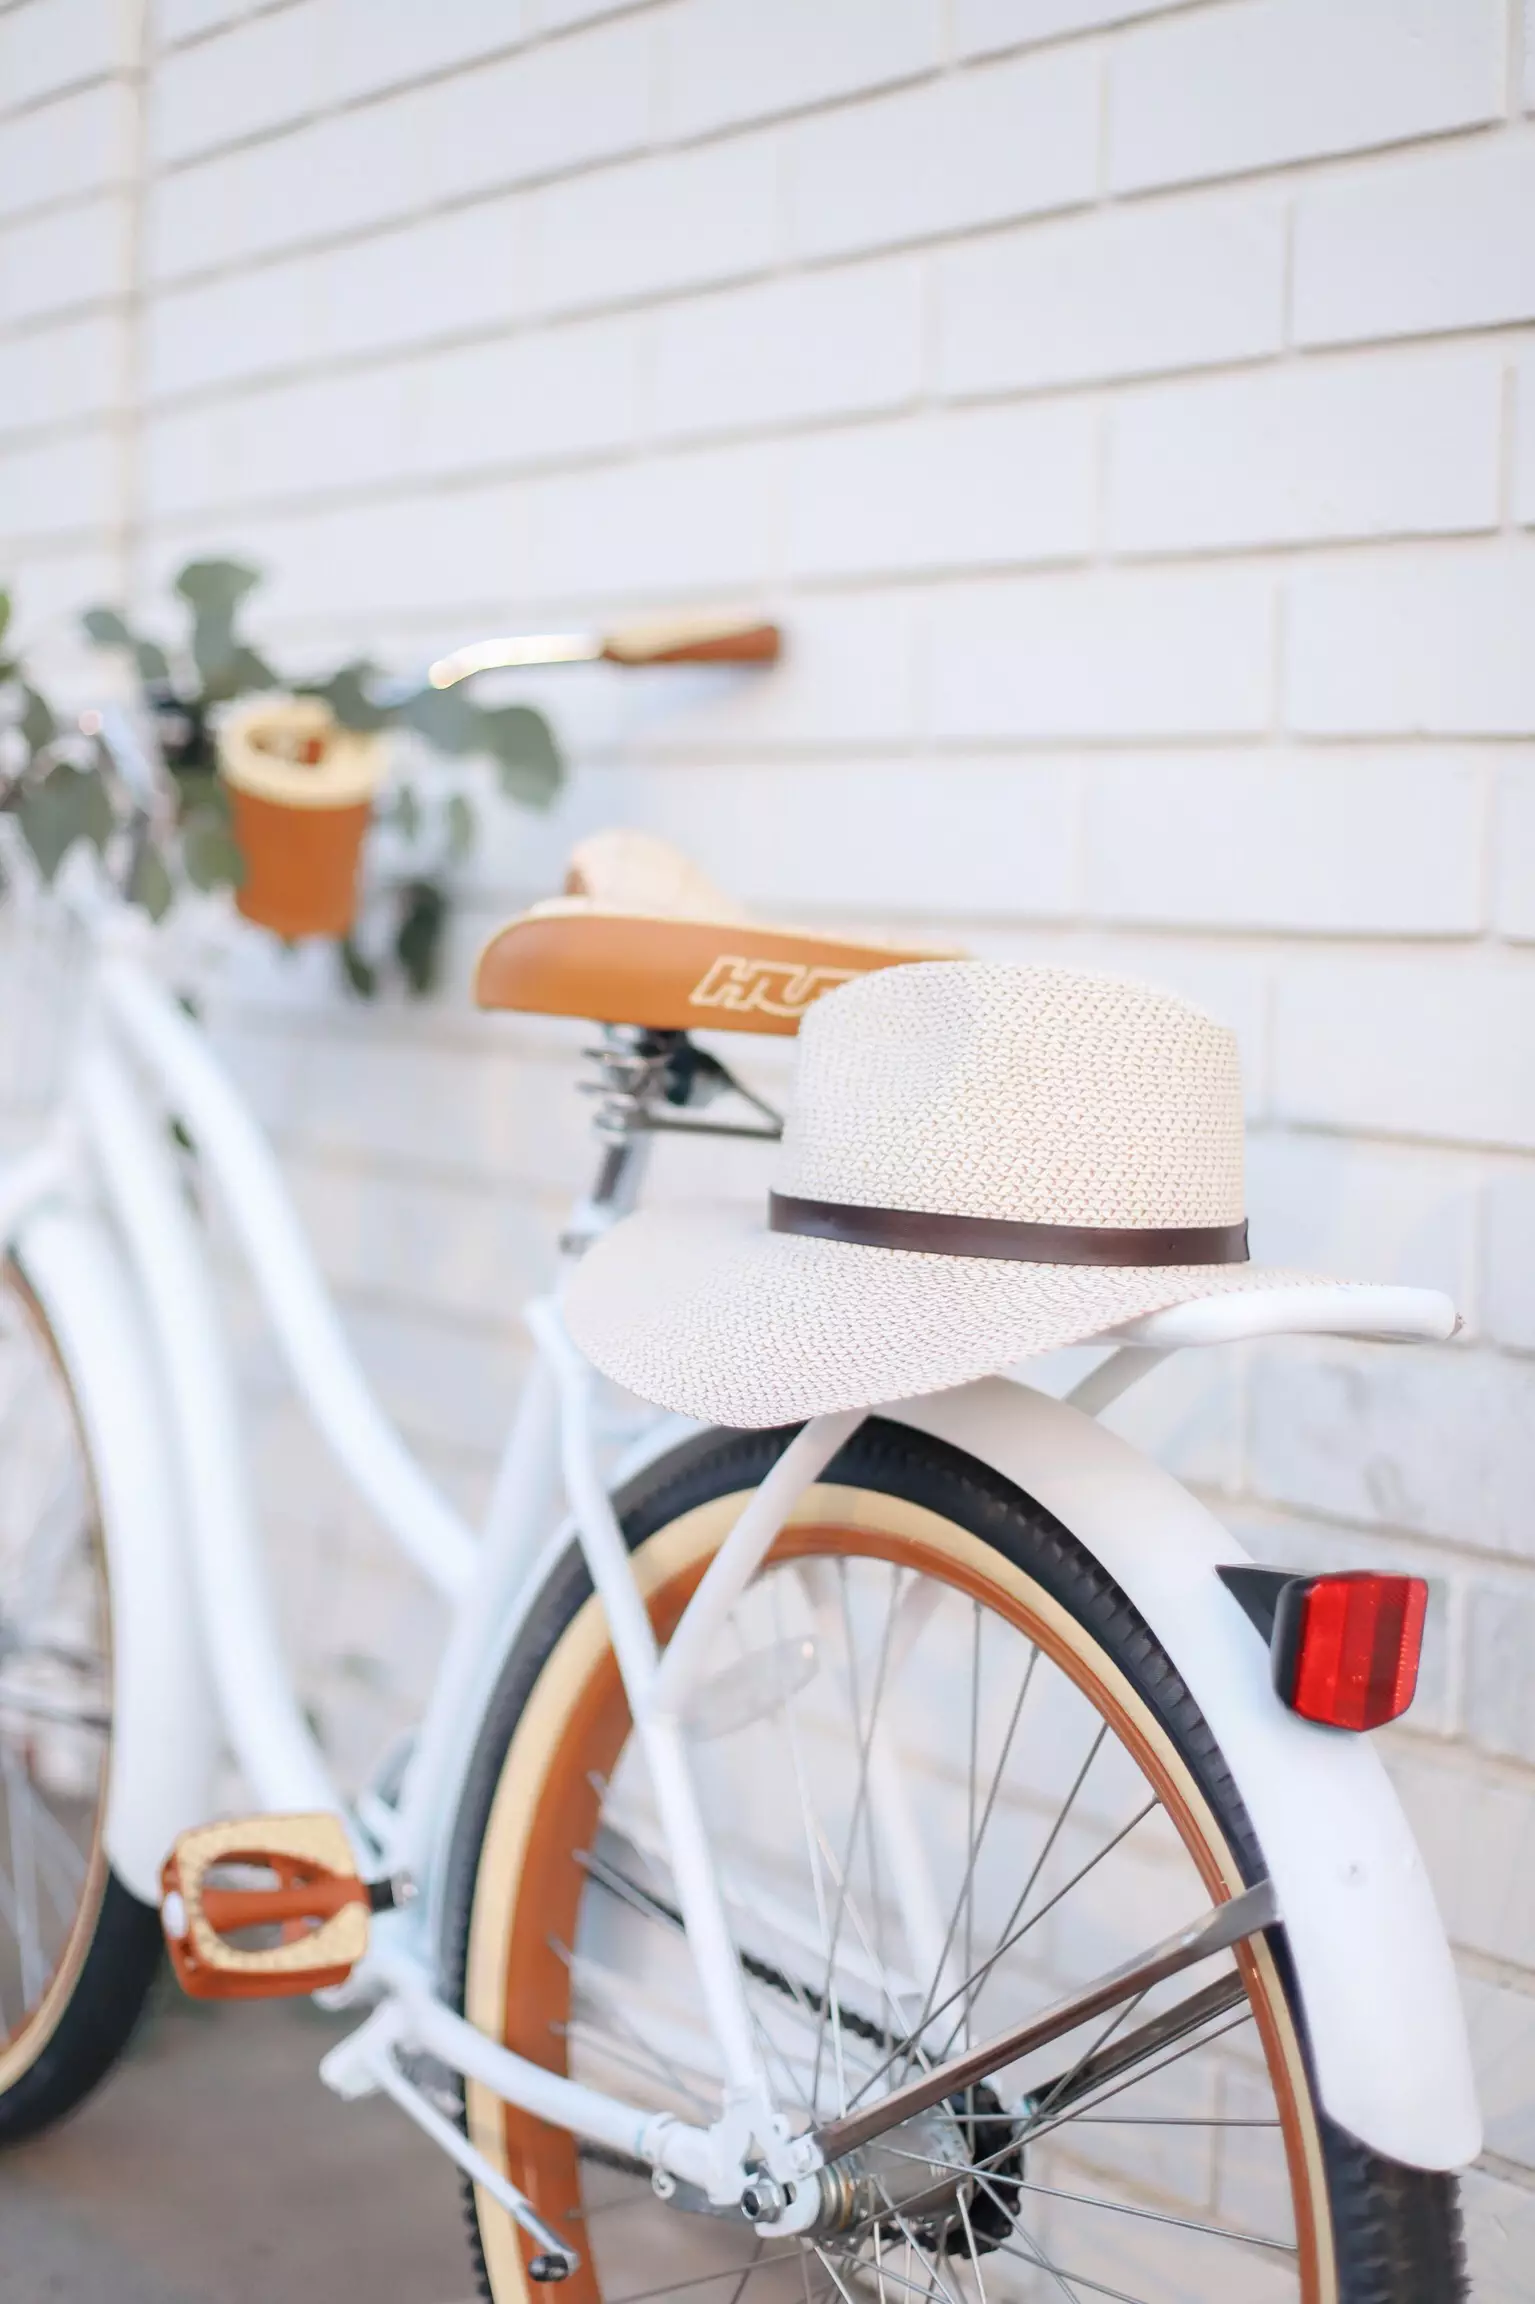
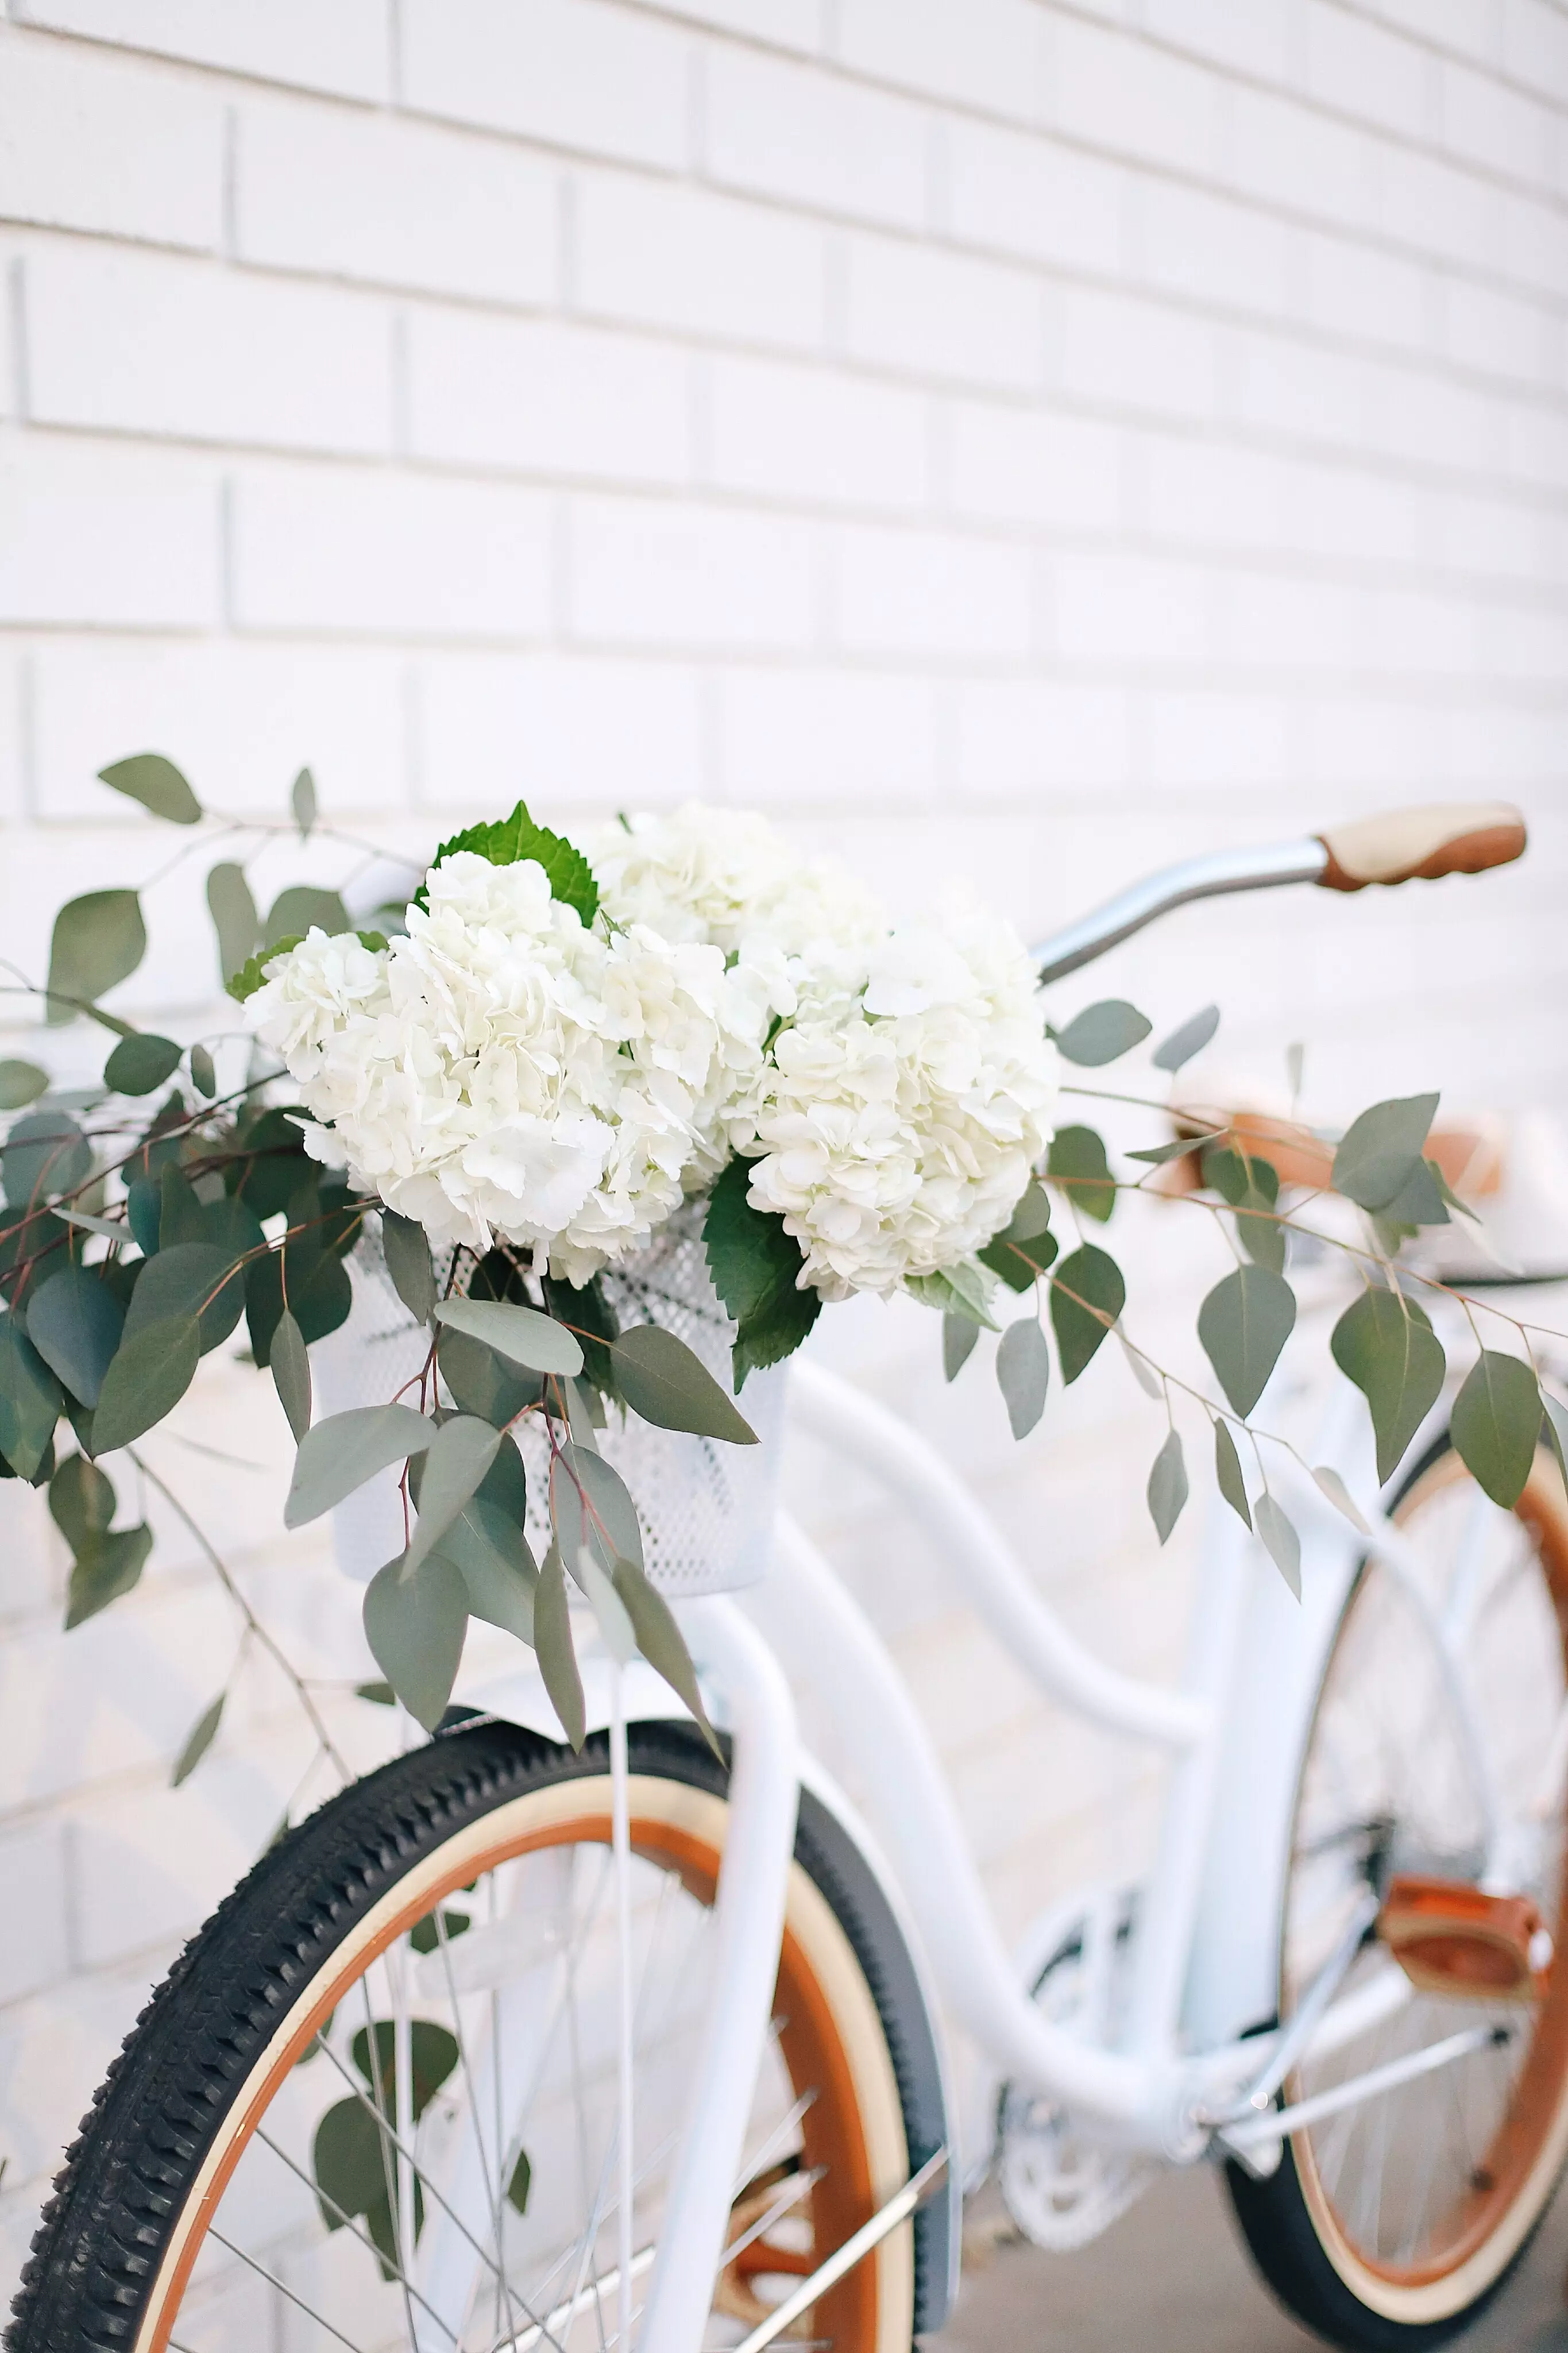
It happened on a whim, really. I decided I wanted to paint my bike white over the weekend… just in time for spring and summer bike rides! I was off to pick up some white spray paint when Jordan suggested I use Plasti Dip. I was hesitant to follow his advice, but ended up deciding to try it!
The main reason I chose to use Plasti Dip instead of spray paint was because it’s removable! A little overspray here and there is not a permanent problem at all. For example, I got some of the paint on the kickstand, but was able to rub it right off once I was finished painting. It really was easy to work with! Check back in in another year and I’ll let you know how it’s holding up. 😉
How I Painted the Bike
- I removed all of the stickers and both tires from the bike. Well, I should give credit to Jordan for removing the tires 😉
- Next, I covered the handle bars with plastic bags and painters tape.
- I used white Plasti Dip to paint the bike. I sprayed on one layer at a time, waiting 30 minutes in between. It’s important to start with a light layer at first, and then add thicker coats until the desired coverage is reached. When it was all said and done I ended up painting 5 layers to get full coverage (this took 5 cans of paint).
- We let the bike dry over night and then Jordan put it all back together for me. Such a sweet hubs!
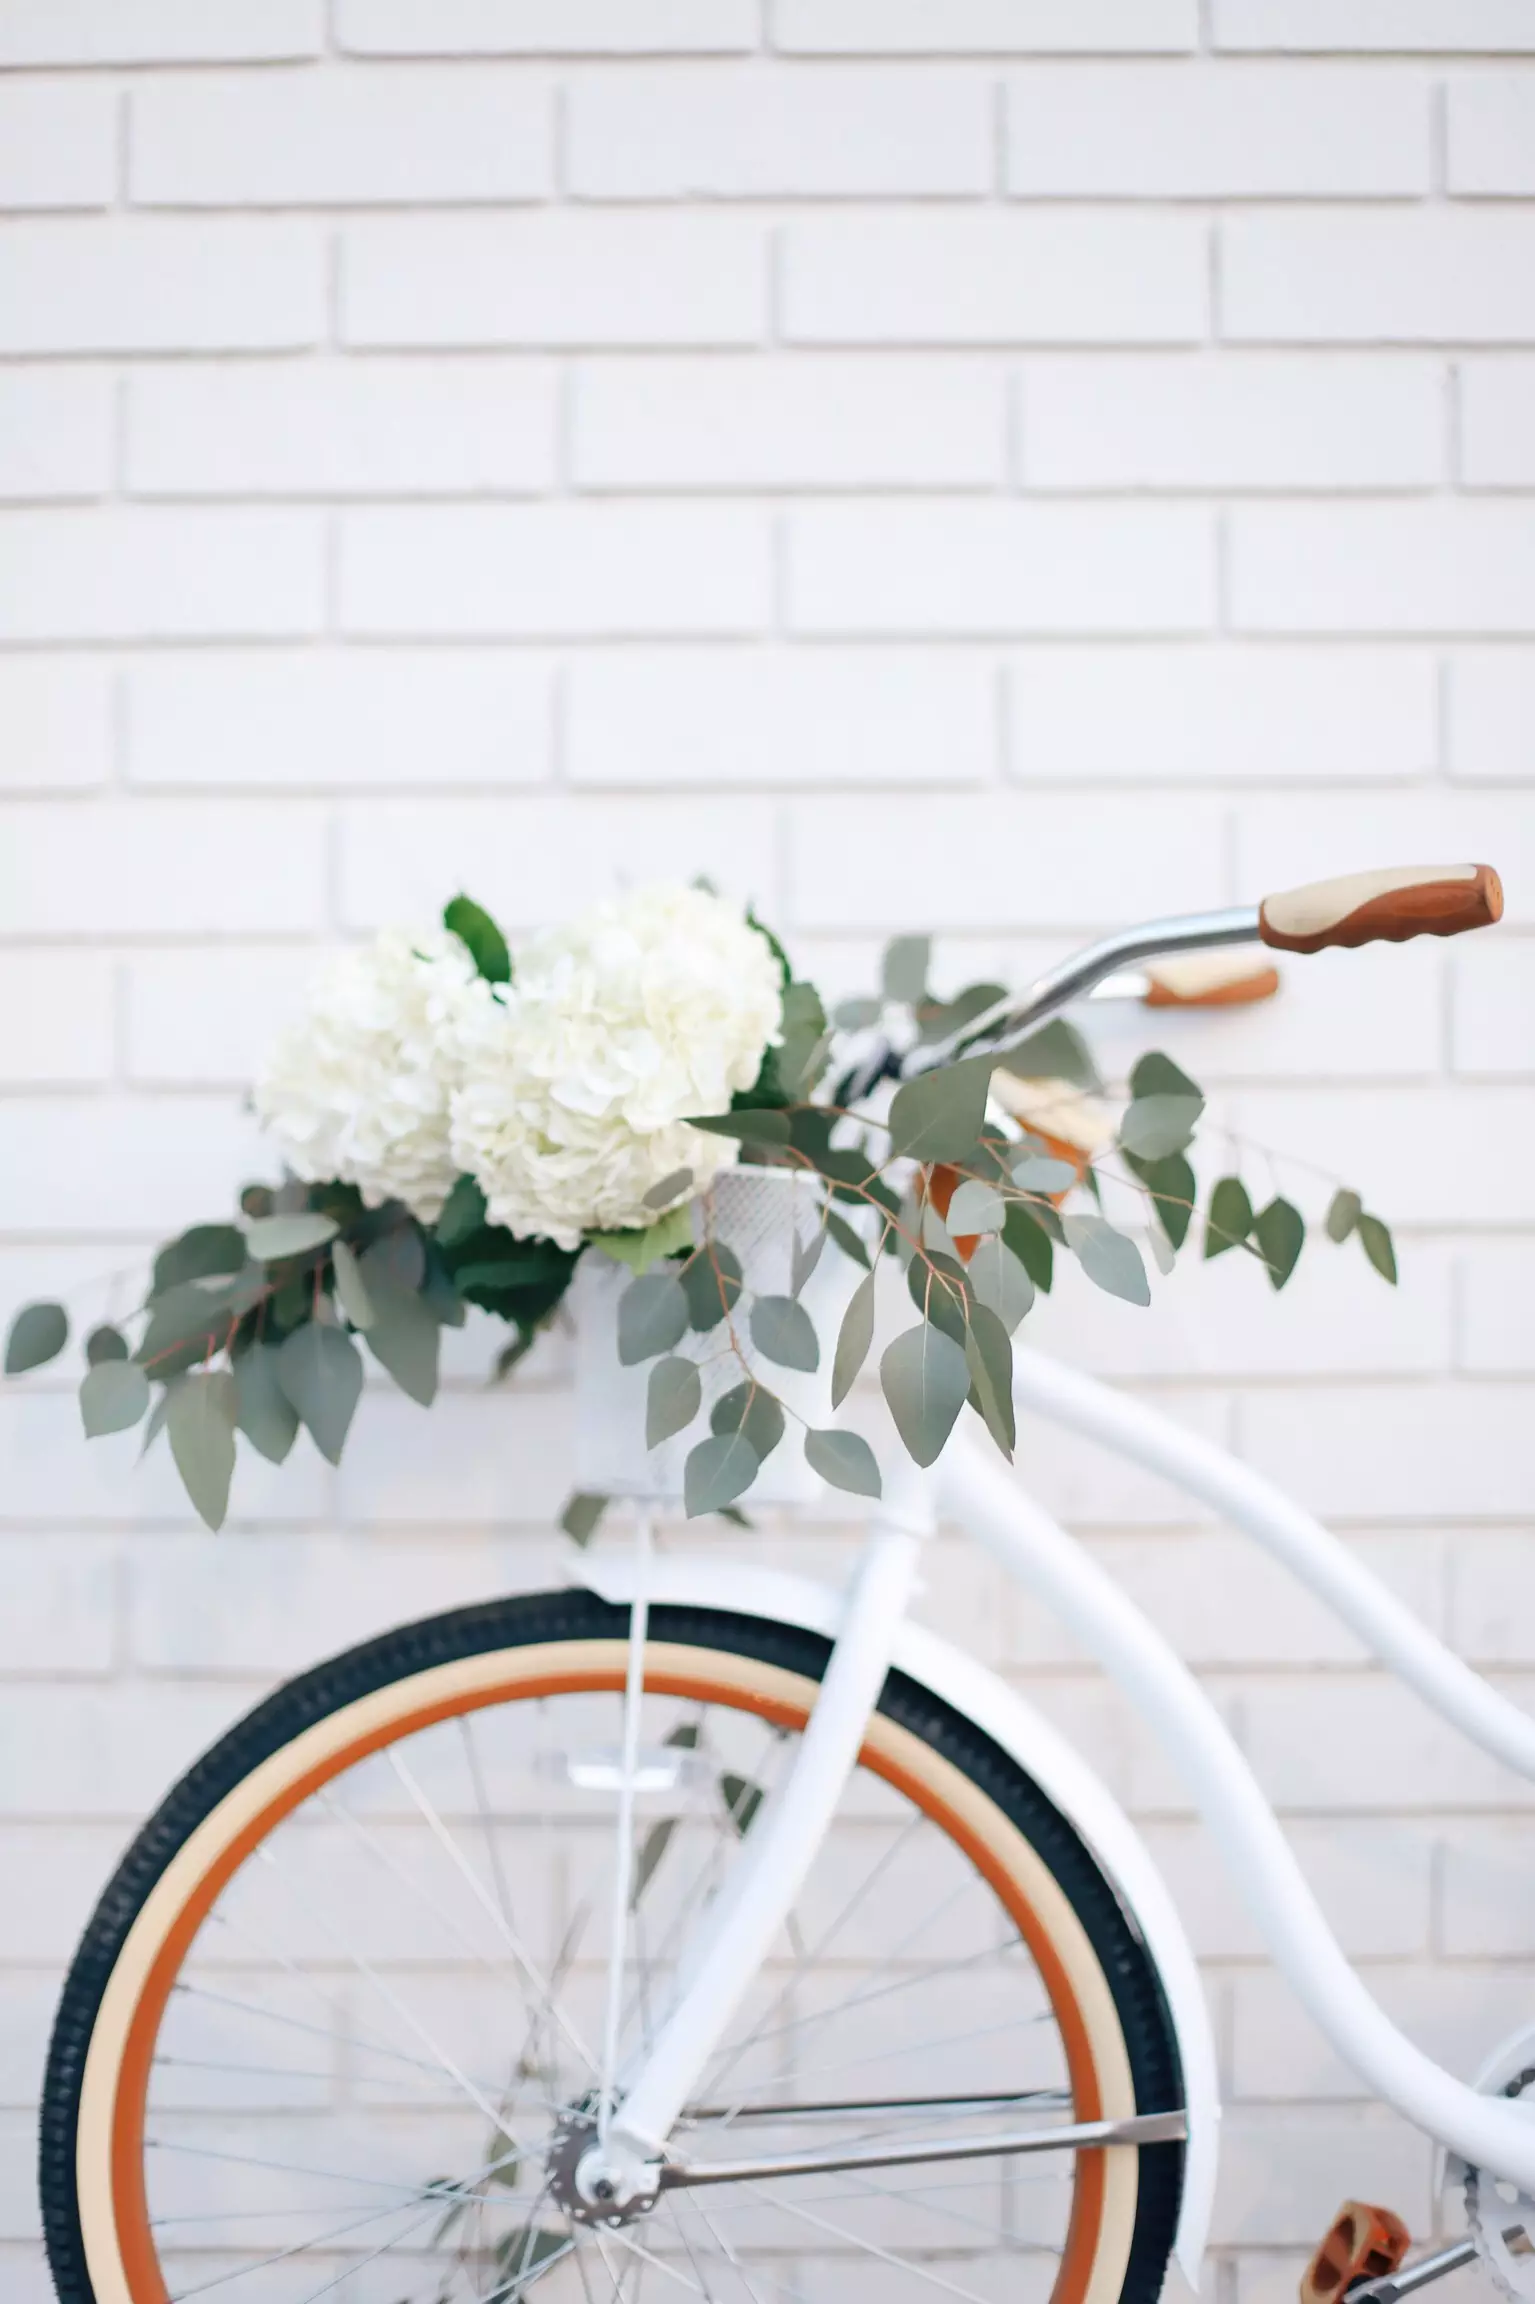
And of course, I just had to add the eucalyptus and hydrangeas. Can’t wait to ride in style all summer long!
Before
After
Thanks for stopping by the blog today and taking the time to read this post. Don’t forget to subscribe so you’ll never miss a post or giveaway, and make sure to follow along with my daily posts and stories on Instagram!


