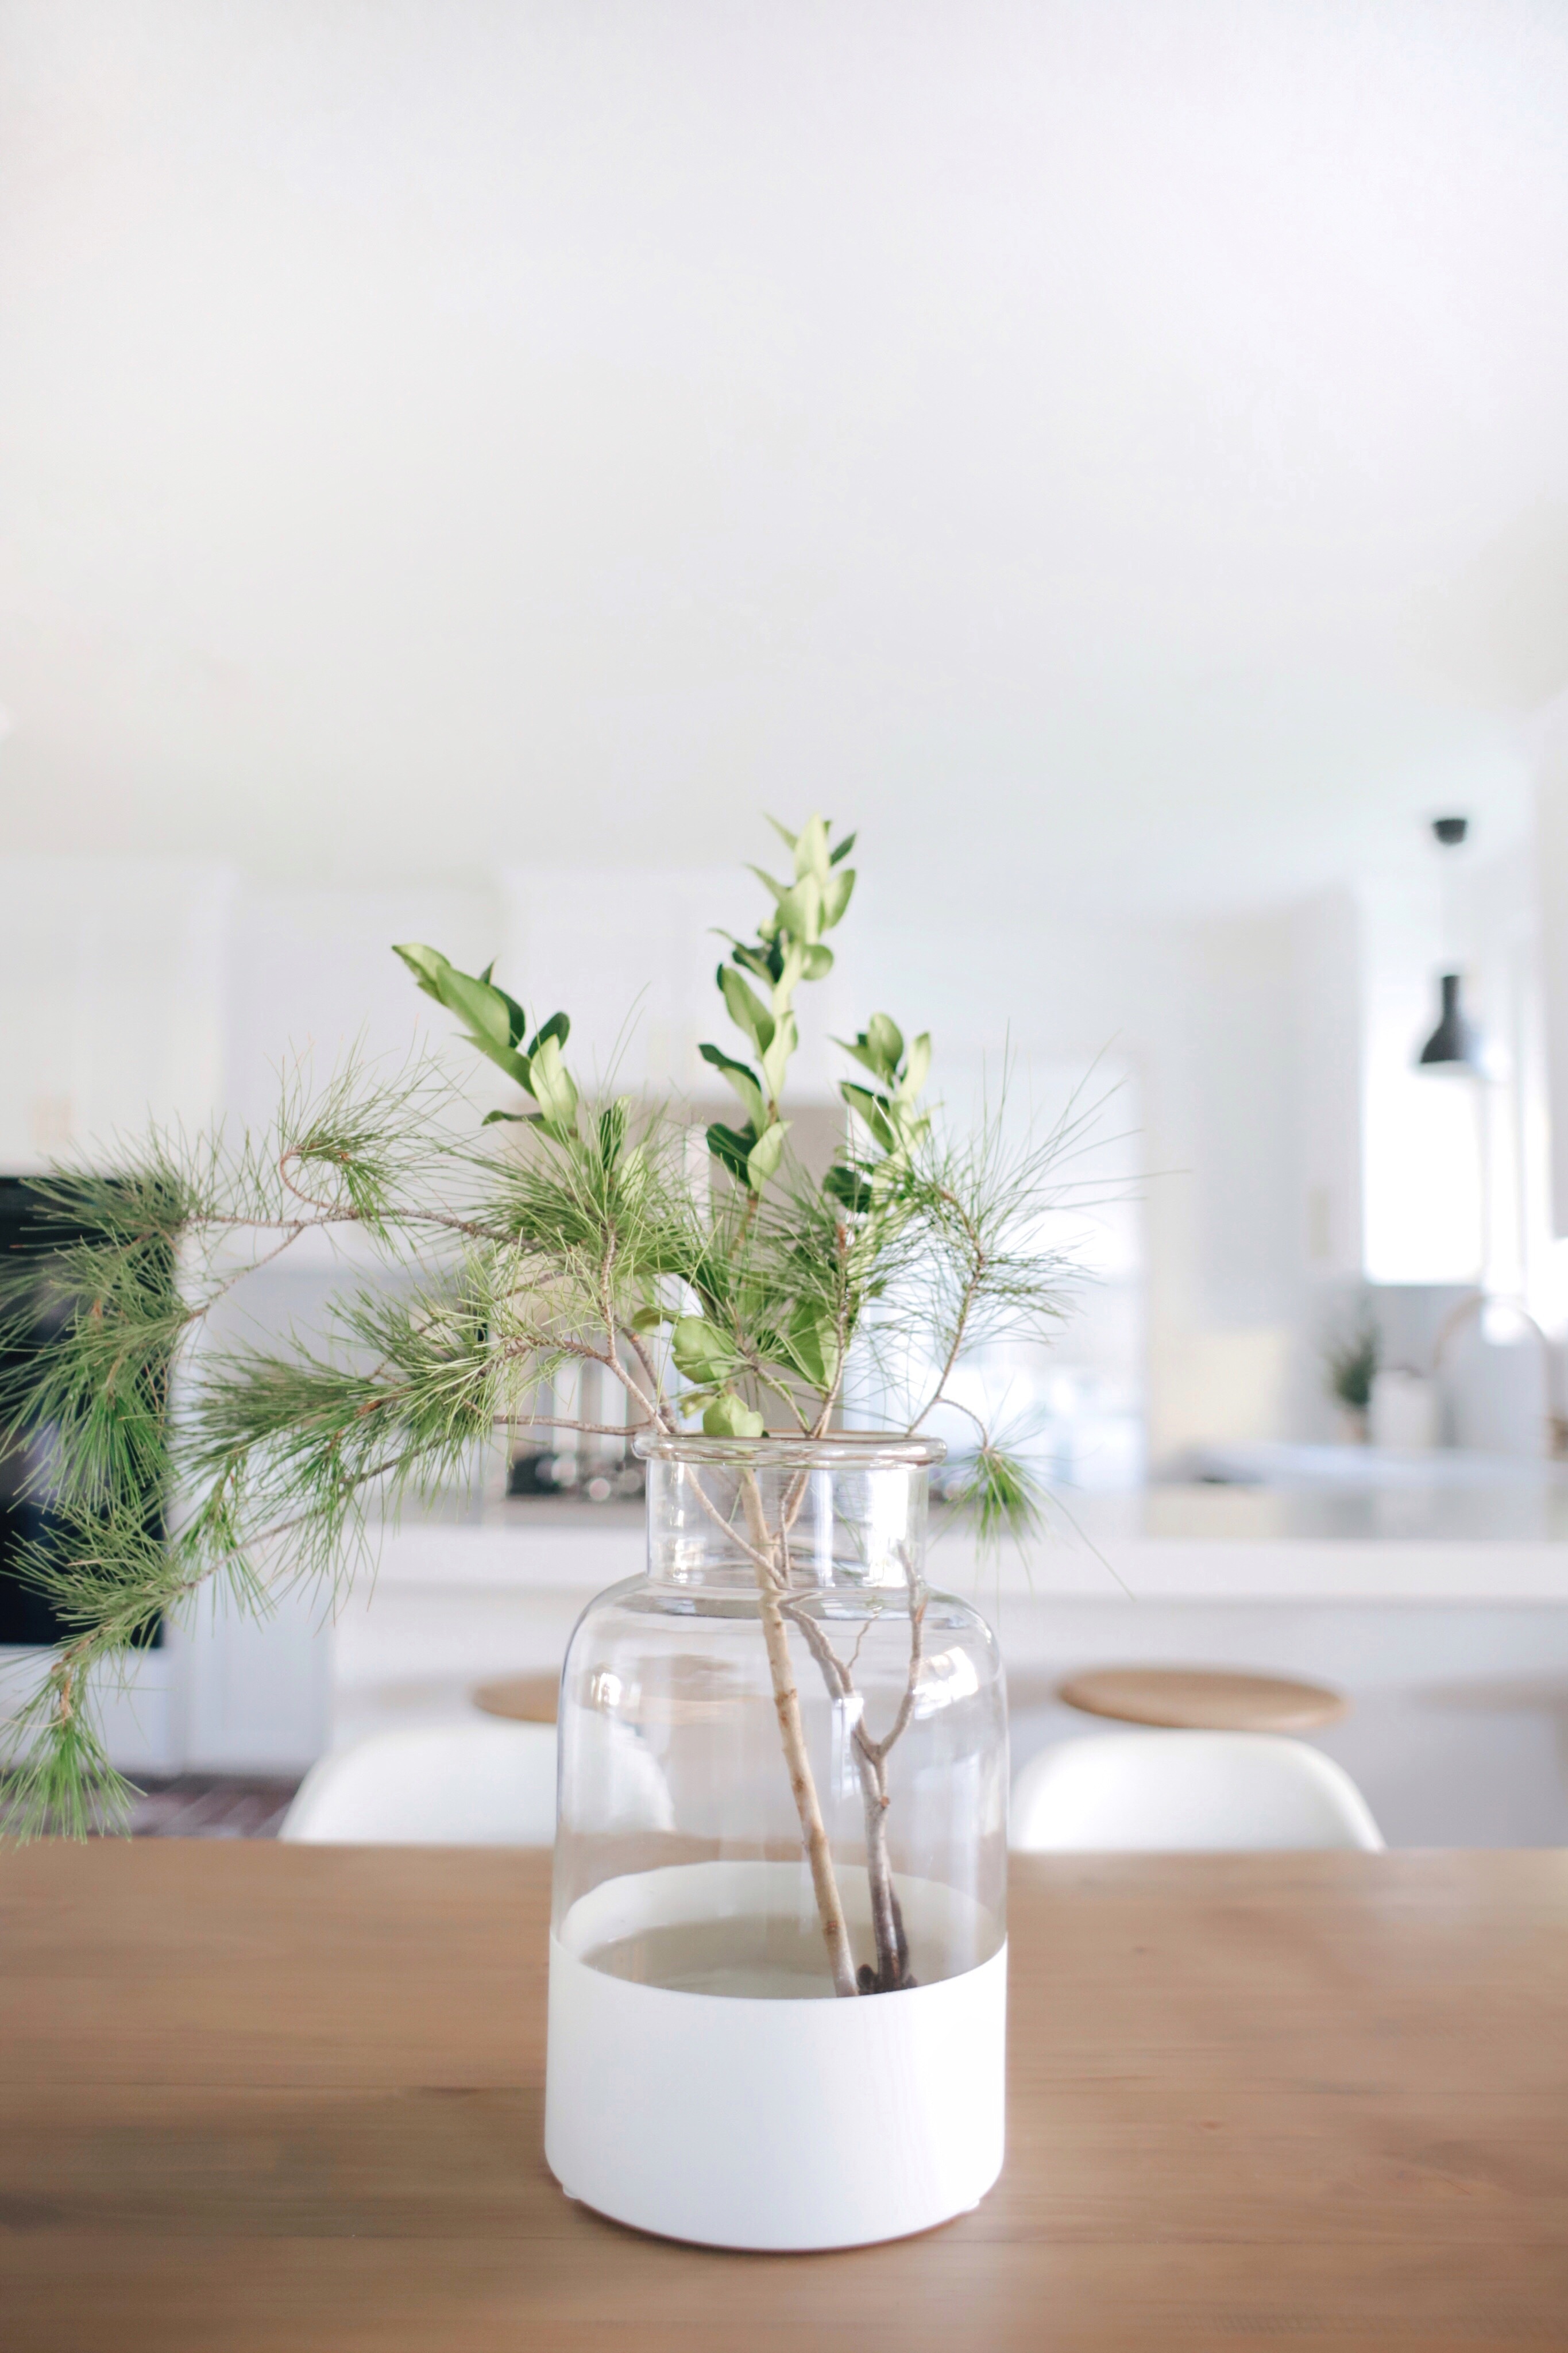
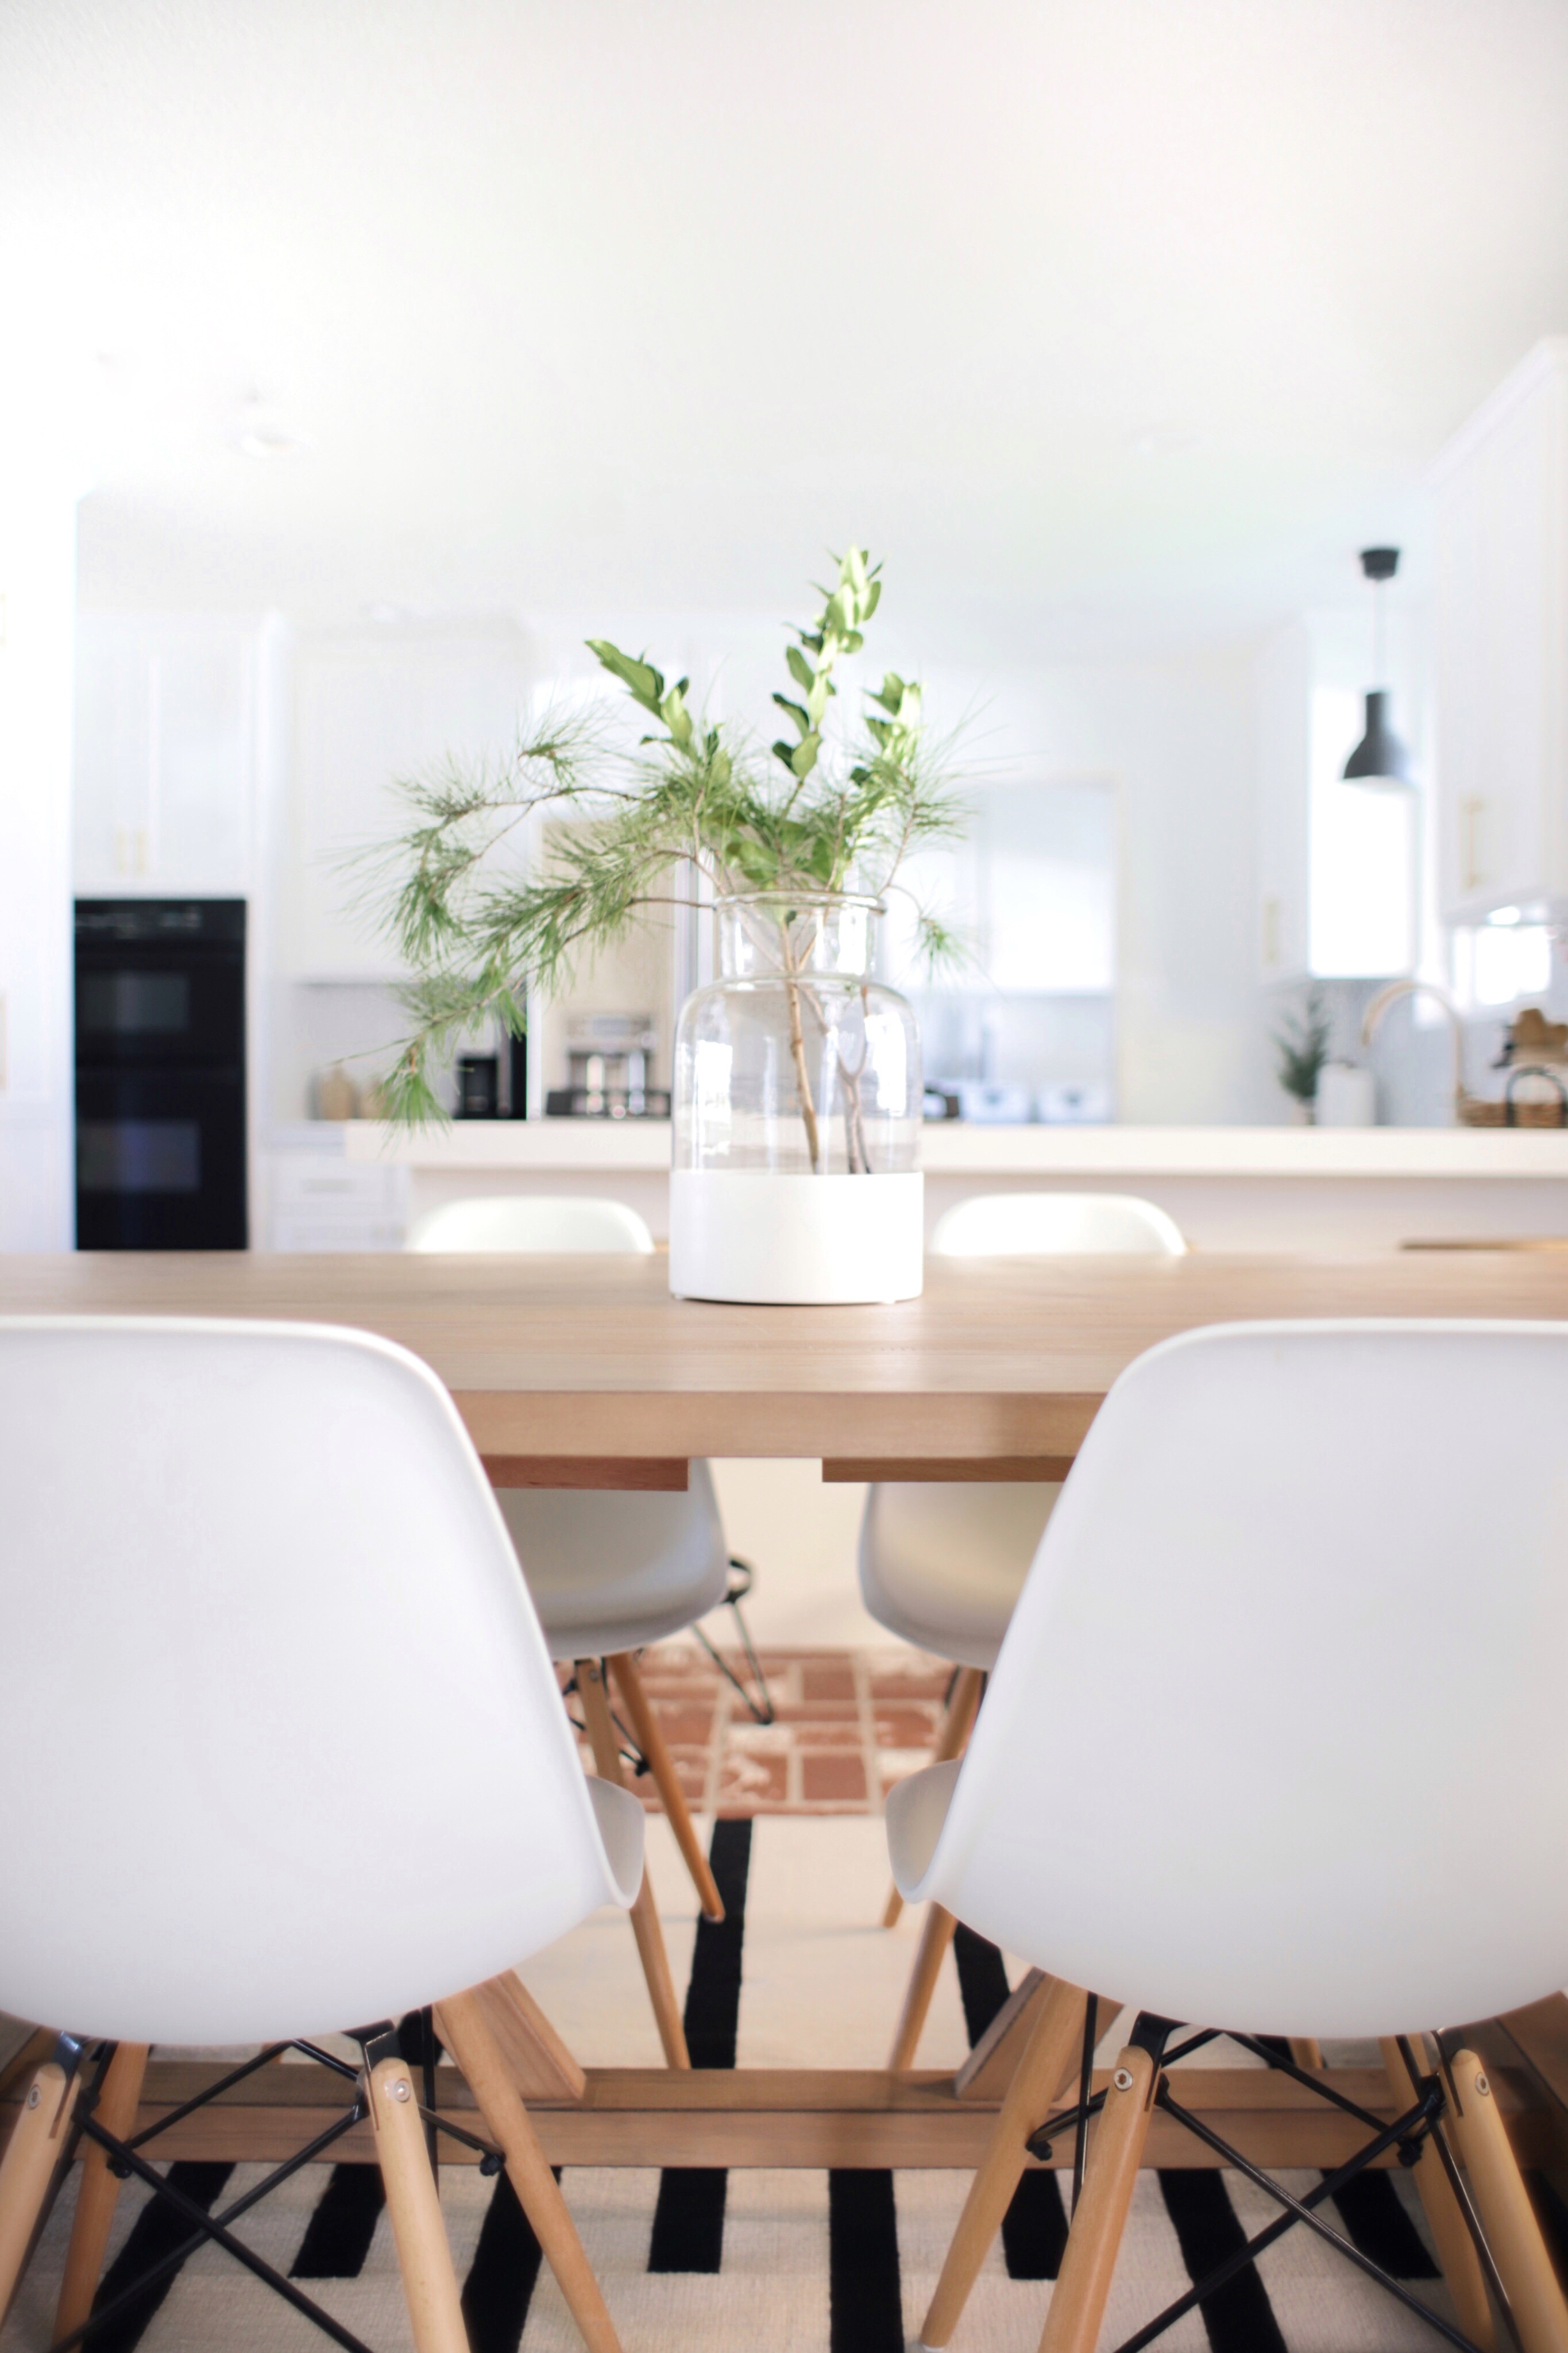
I’ve been on the hunt for a large centerpiece vase for our dining table for a while now. It needed to be fairly large scale so that it could stand it’s ground on the table, but many large vases also come with a pretty large price tag. So, I finally came up with the idea to make my own ‘designer’ vase on a DIY budget! I love the way it turned out so I thought I’d share the process with you today so you could make one for yourself.


Don’t you love projects that can be completed in one day? I know I do! Such a satisfying feeling to be able to spruce up a space with minimal time and cost investment. This project was super simple and only took me about 10 minutes of actual work time. Drying time makes it about a two hour project total. Not bad for such a pretty outcome! Here’s what you’ll need and the steps you can follow to make your own dipped vase.

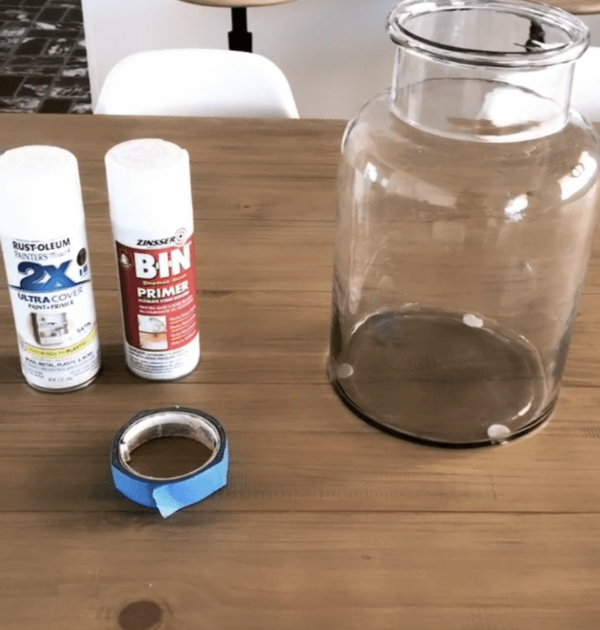
Supplies:
- BIN Spray Paint Primer
- White Spray Paint in Satin Finish
- Painters Tape
- Plastic Bag
- Glass Vase
Instructions:
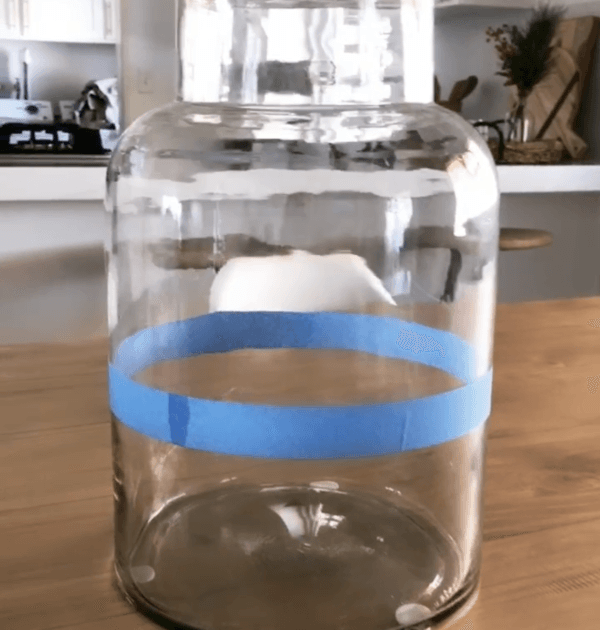
- Clean and dry the vase.
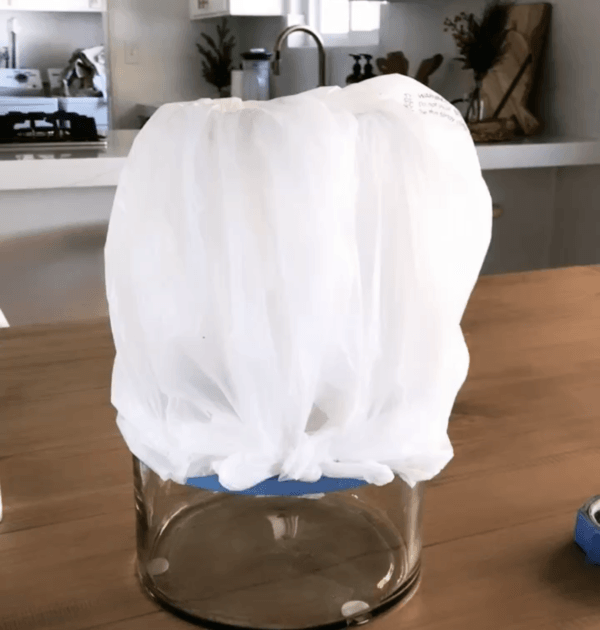
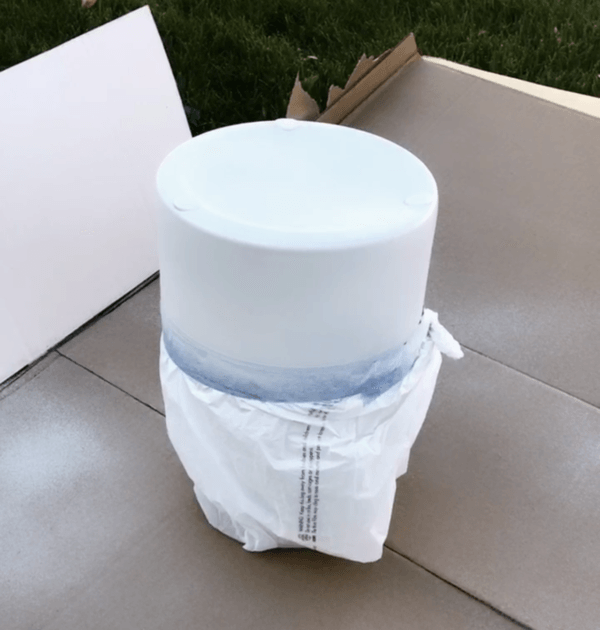
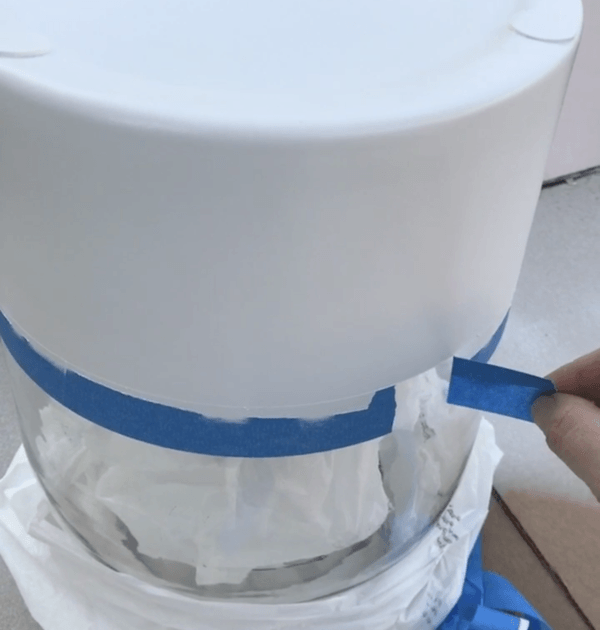
- Tape around the bottom of the vase. Press firmly to ensure complete adhesion to the glass.
- Place plastic bag over the top of the vase, tie it, and tape it to the existing painter’s tape on the vase.
- Spray two coats or BIN primer, allowing 30 minutes between each coat.
- Spray two coats or white satin spray paint, allowing 30 minutes between each coat.
- Allow it to dry for an hour.
- Fill with water and your favorite greenery! I included lots of my favorite faux greenery below.
That’s it! I love how it turned out. Such a fun and easy project. Make sure you tag me on Instagram if you try it out! Would love to see how you style it 🙂 PS: My dining table and chairs are 40% off for a few more days! Everything is linked below for you.


