Don’t forget to subscribe for post notifications!
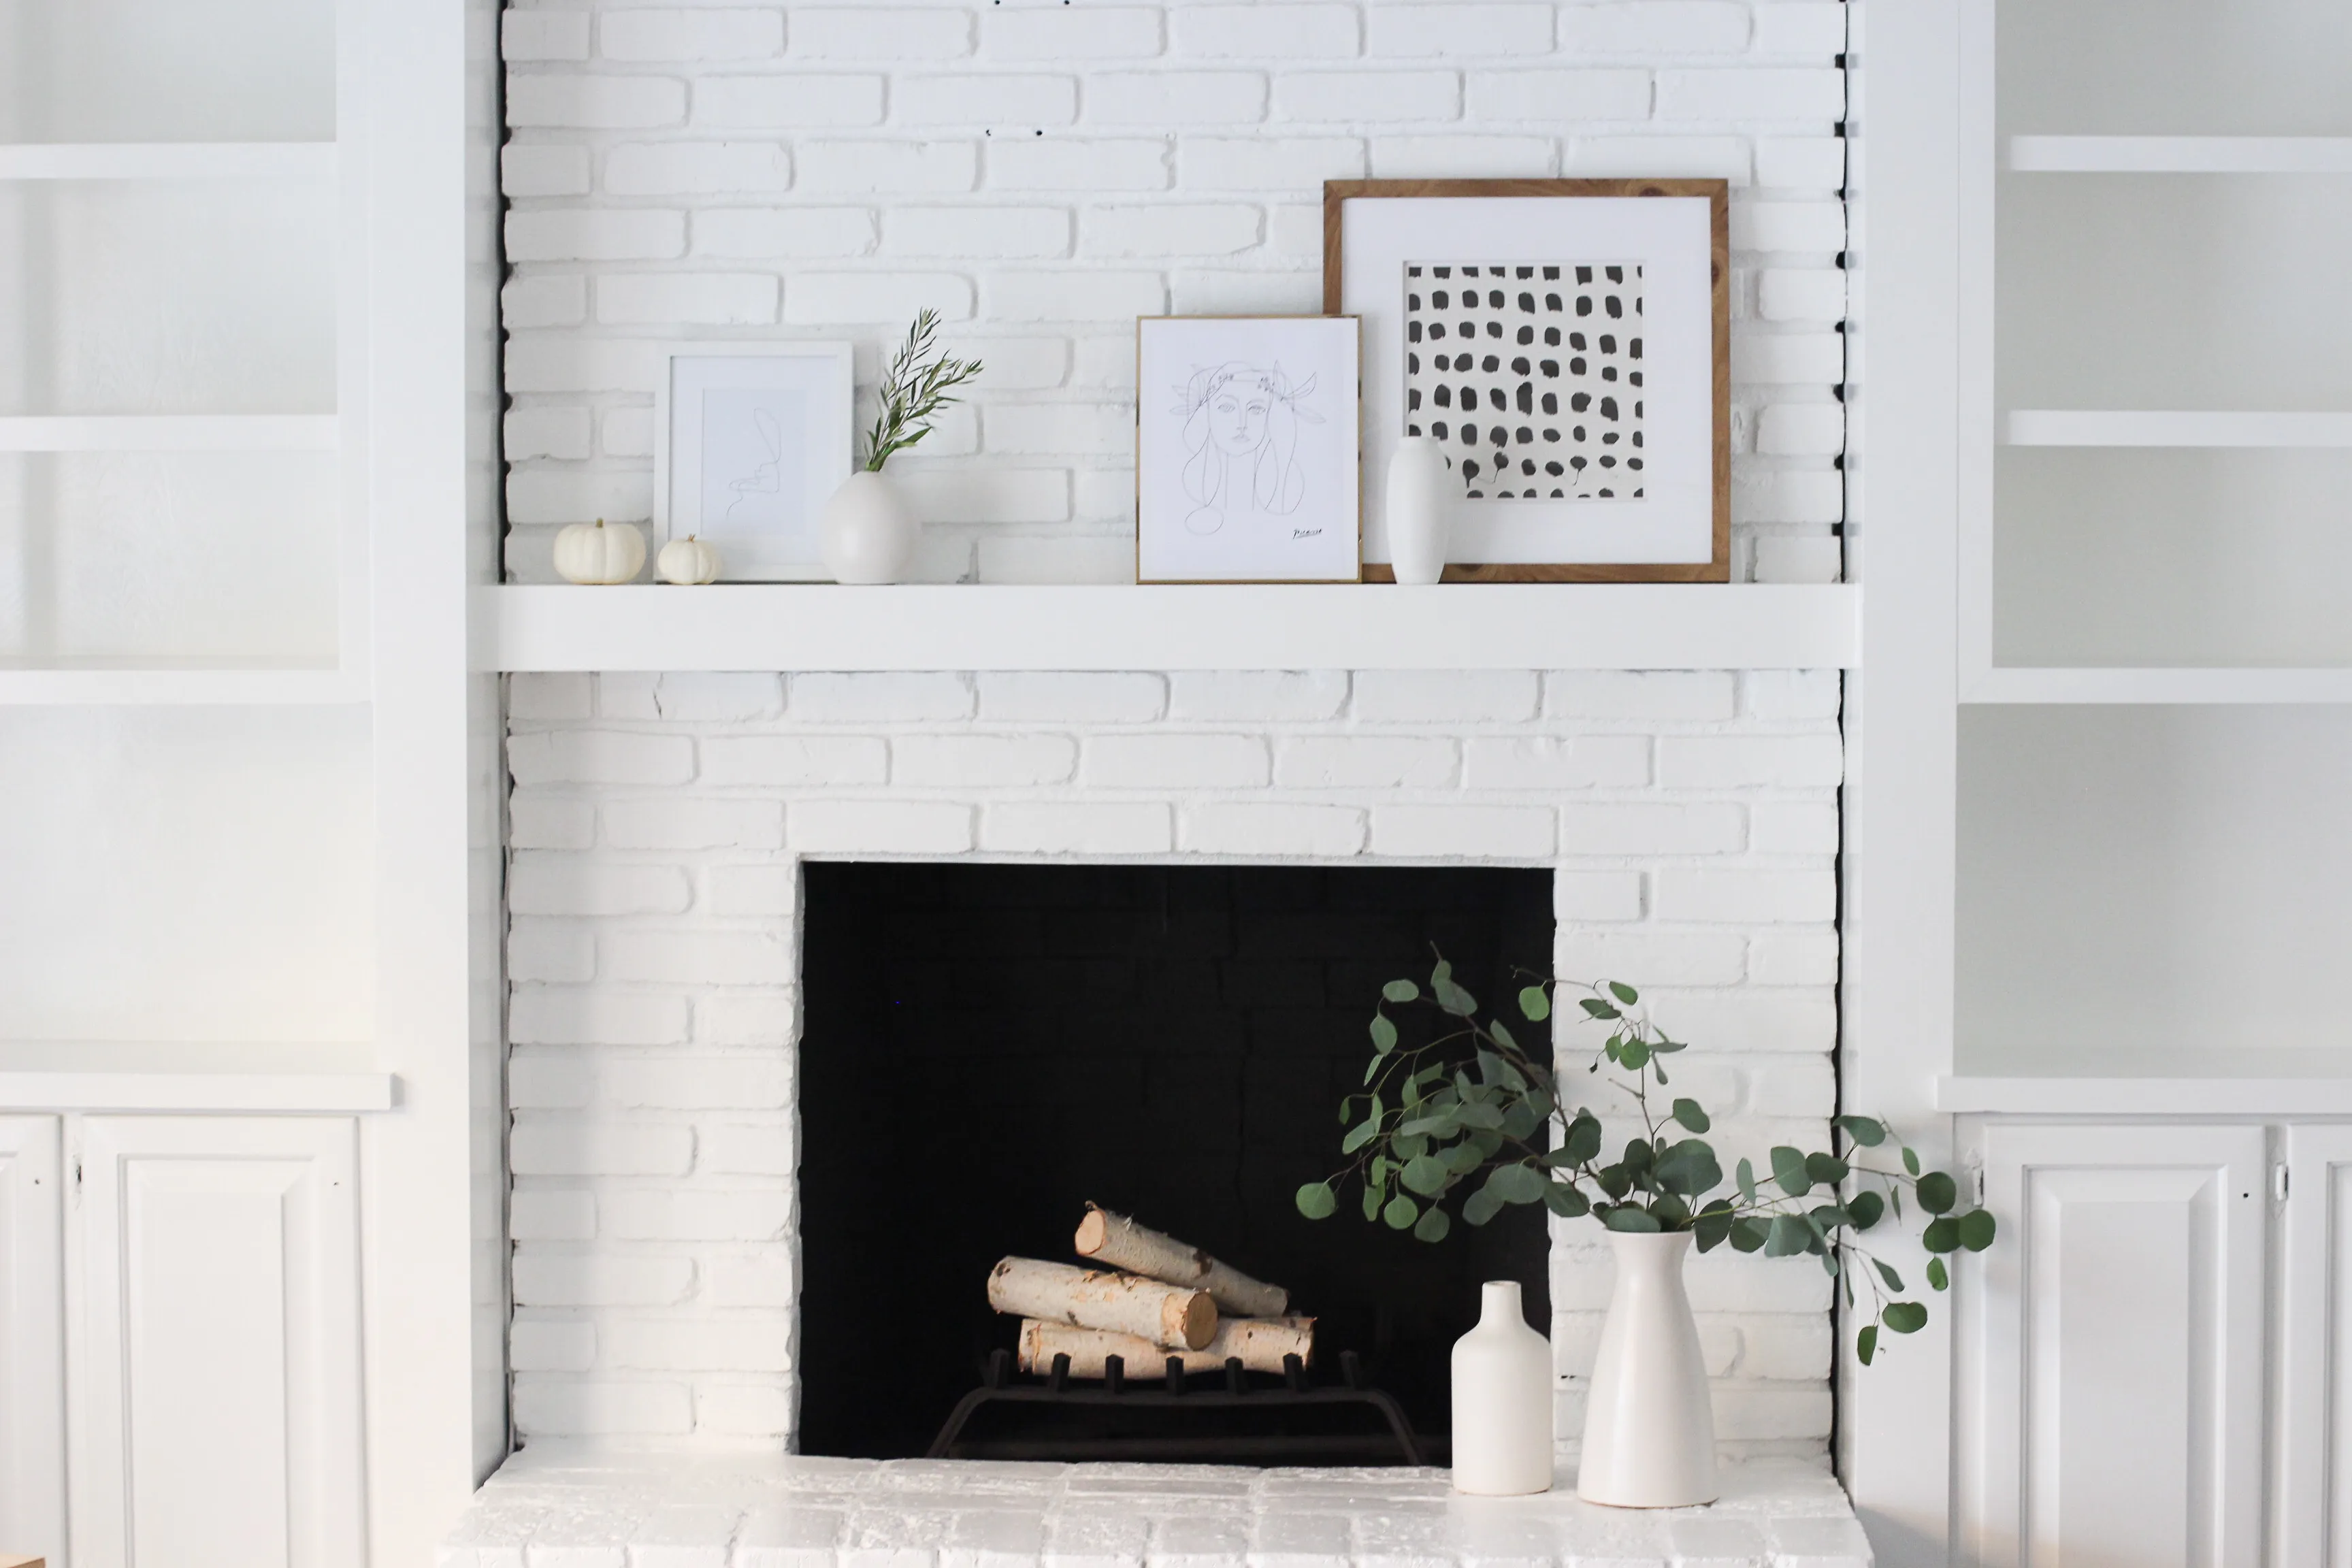
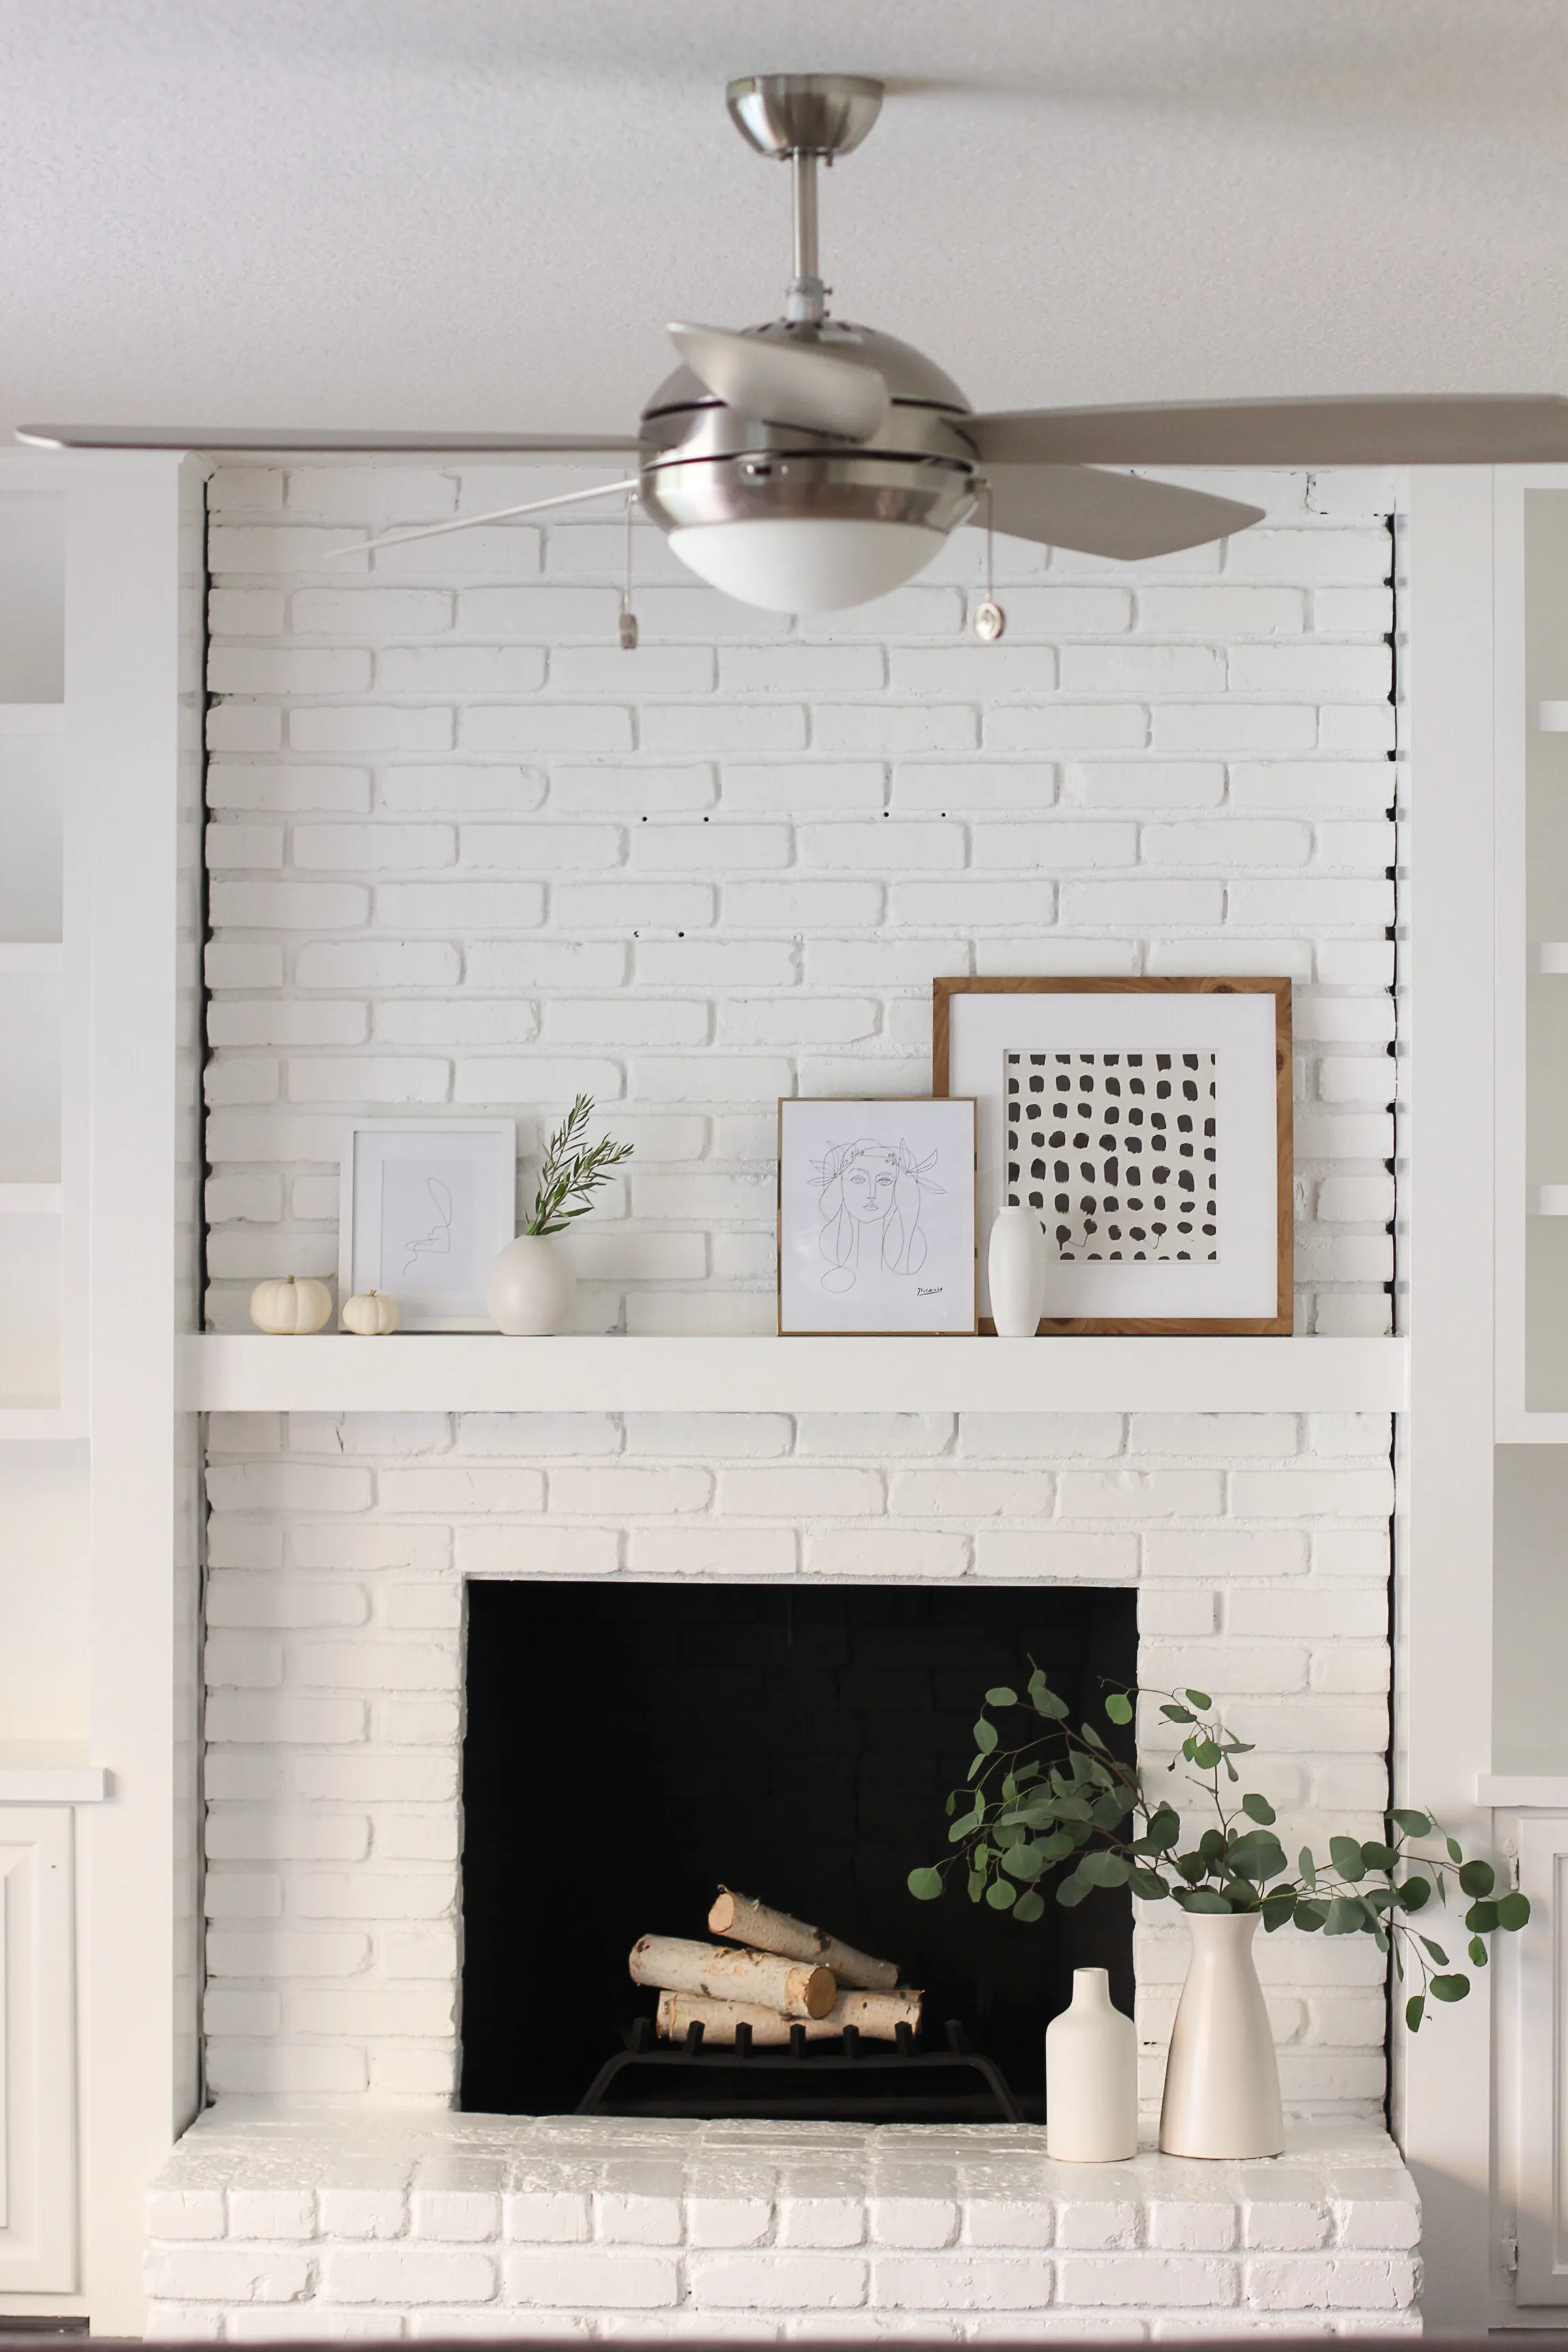
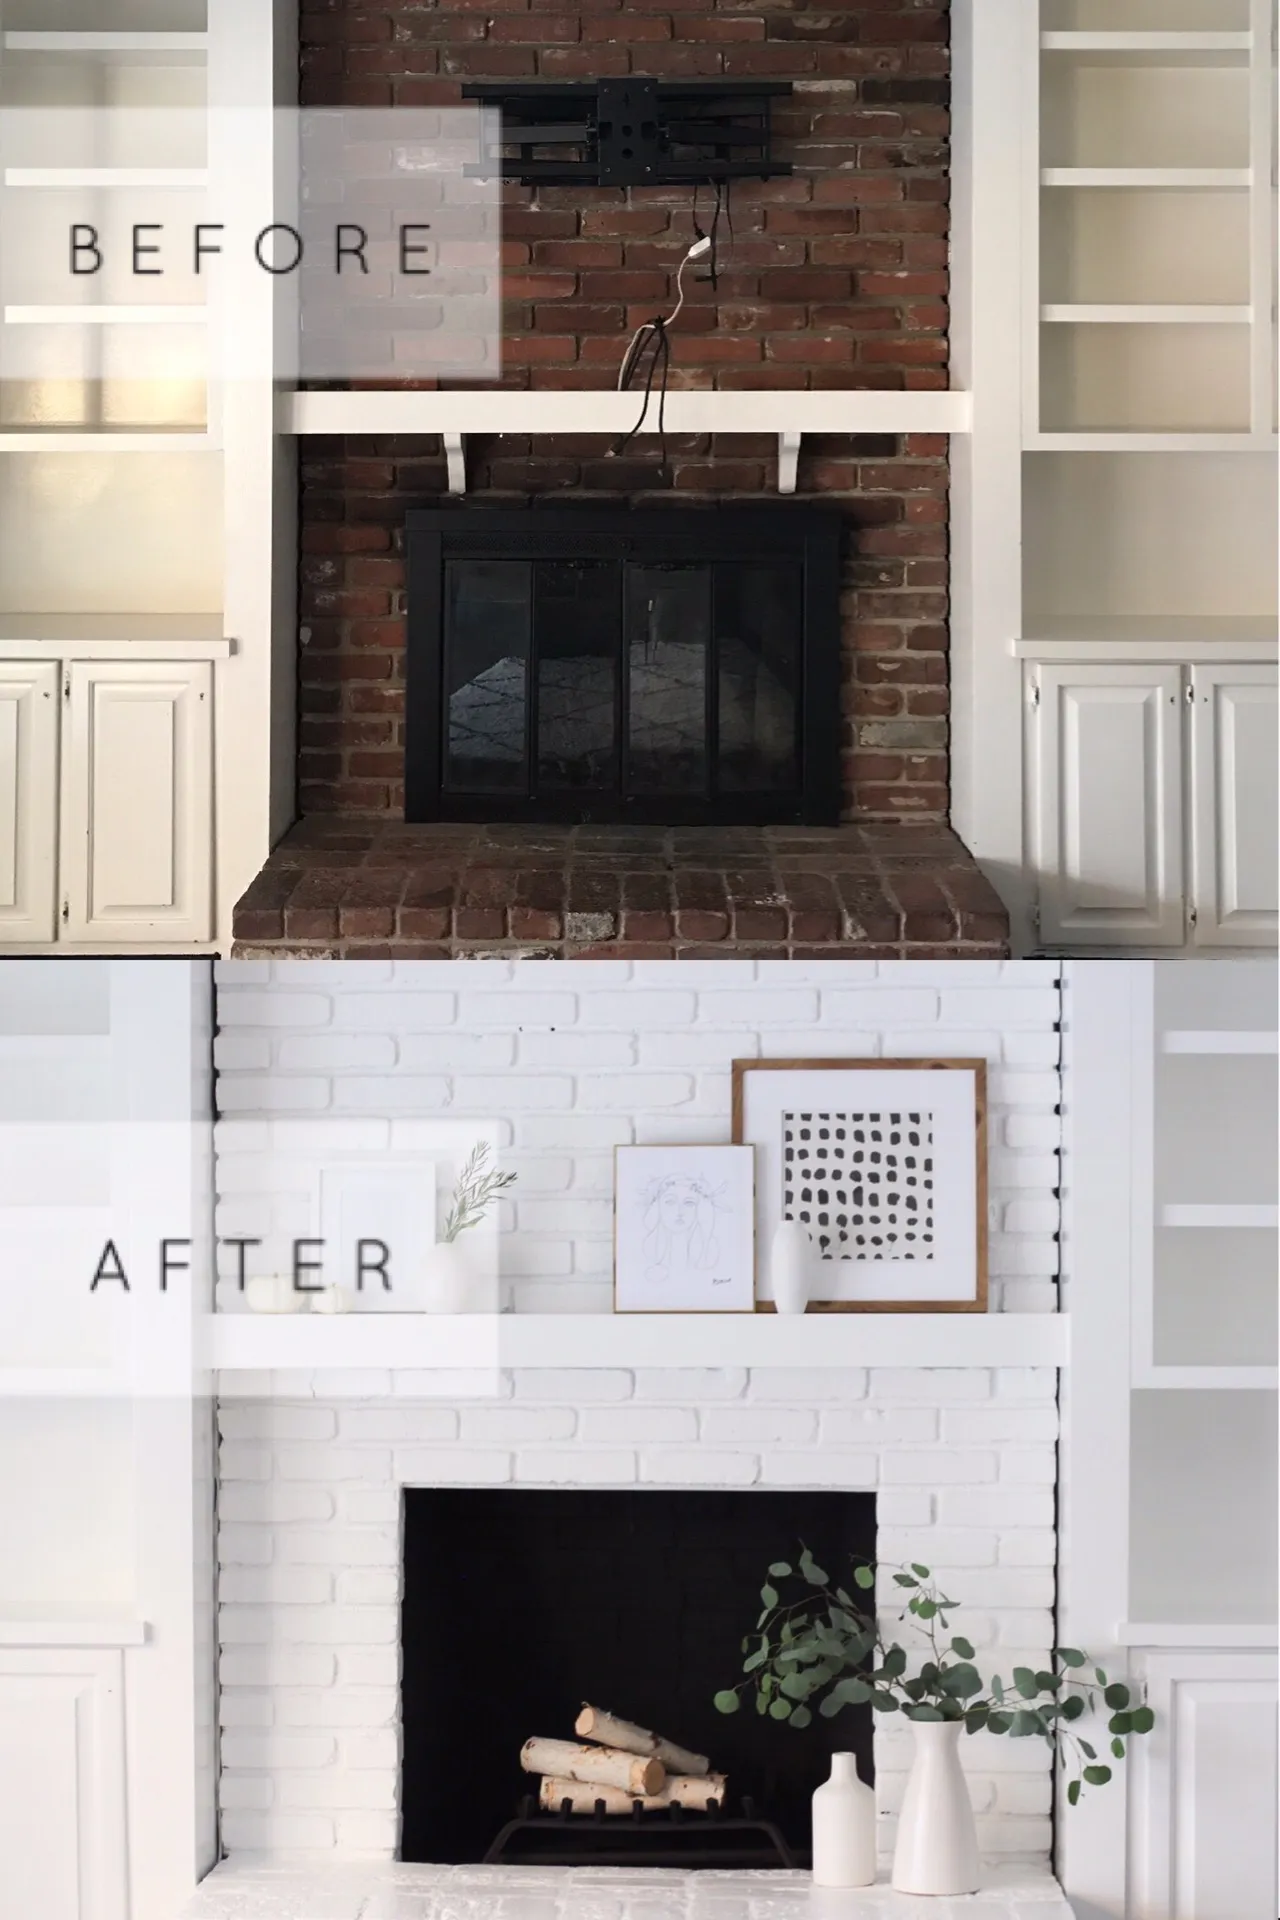
For the past two years I battled with myself over the design of our fireplace. We have an original brick fireplace in our main living room that I’ve wanted to paint white since the day we moved in! Coming to a decision about painting it or not proved to be quite a challenge. I mean honestly, an embarrassing amount of stress went into this decision. But painting brick is a very permanent decision that cannot be undone easily, so I really needed to make sure it’s what I wanted before going through with it! Turned out to be worth the risk because I could not be happier with the end result! Here is what our fireplace looks like now.
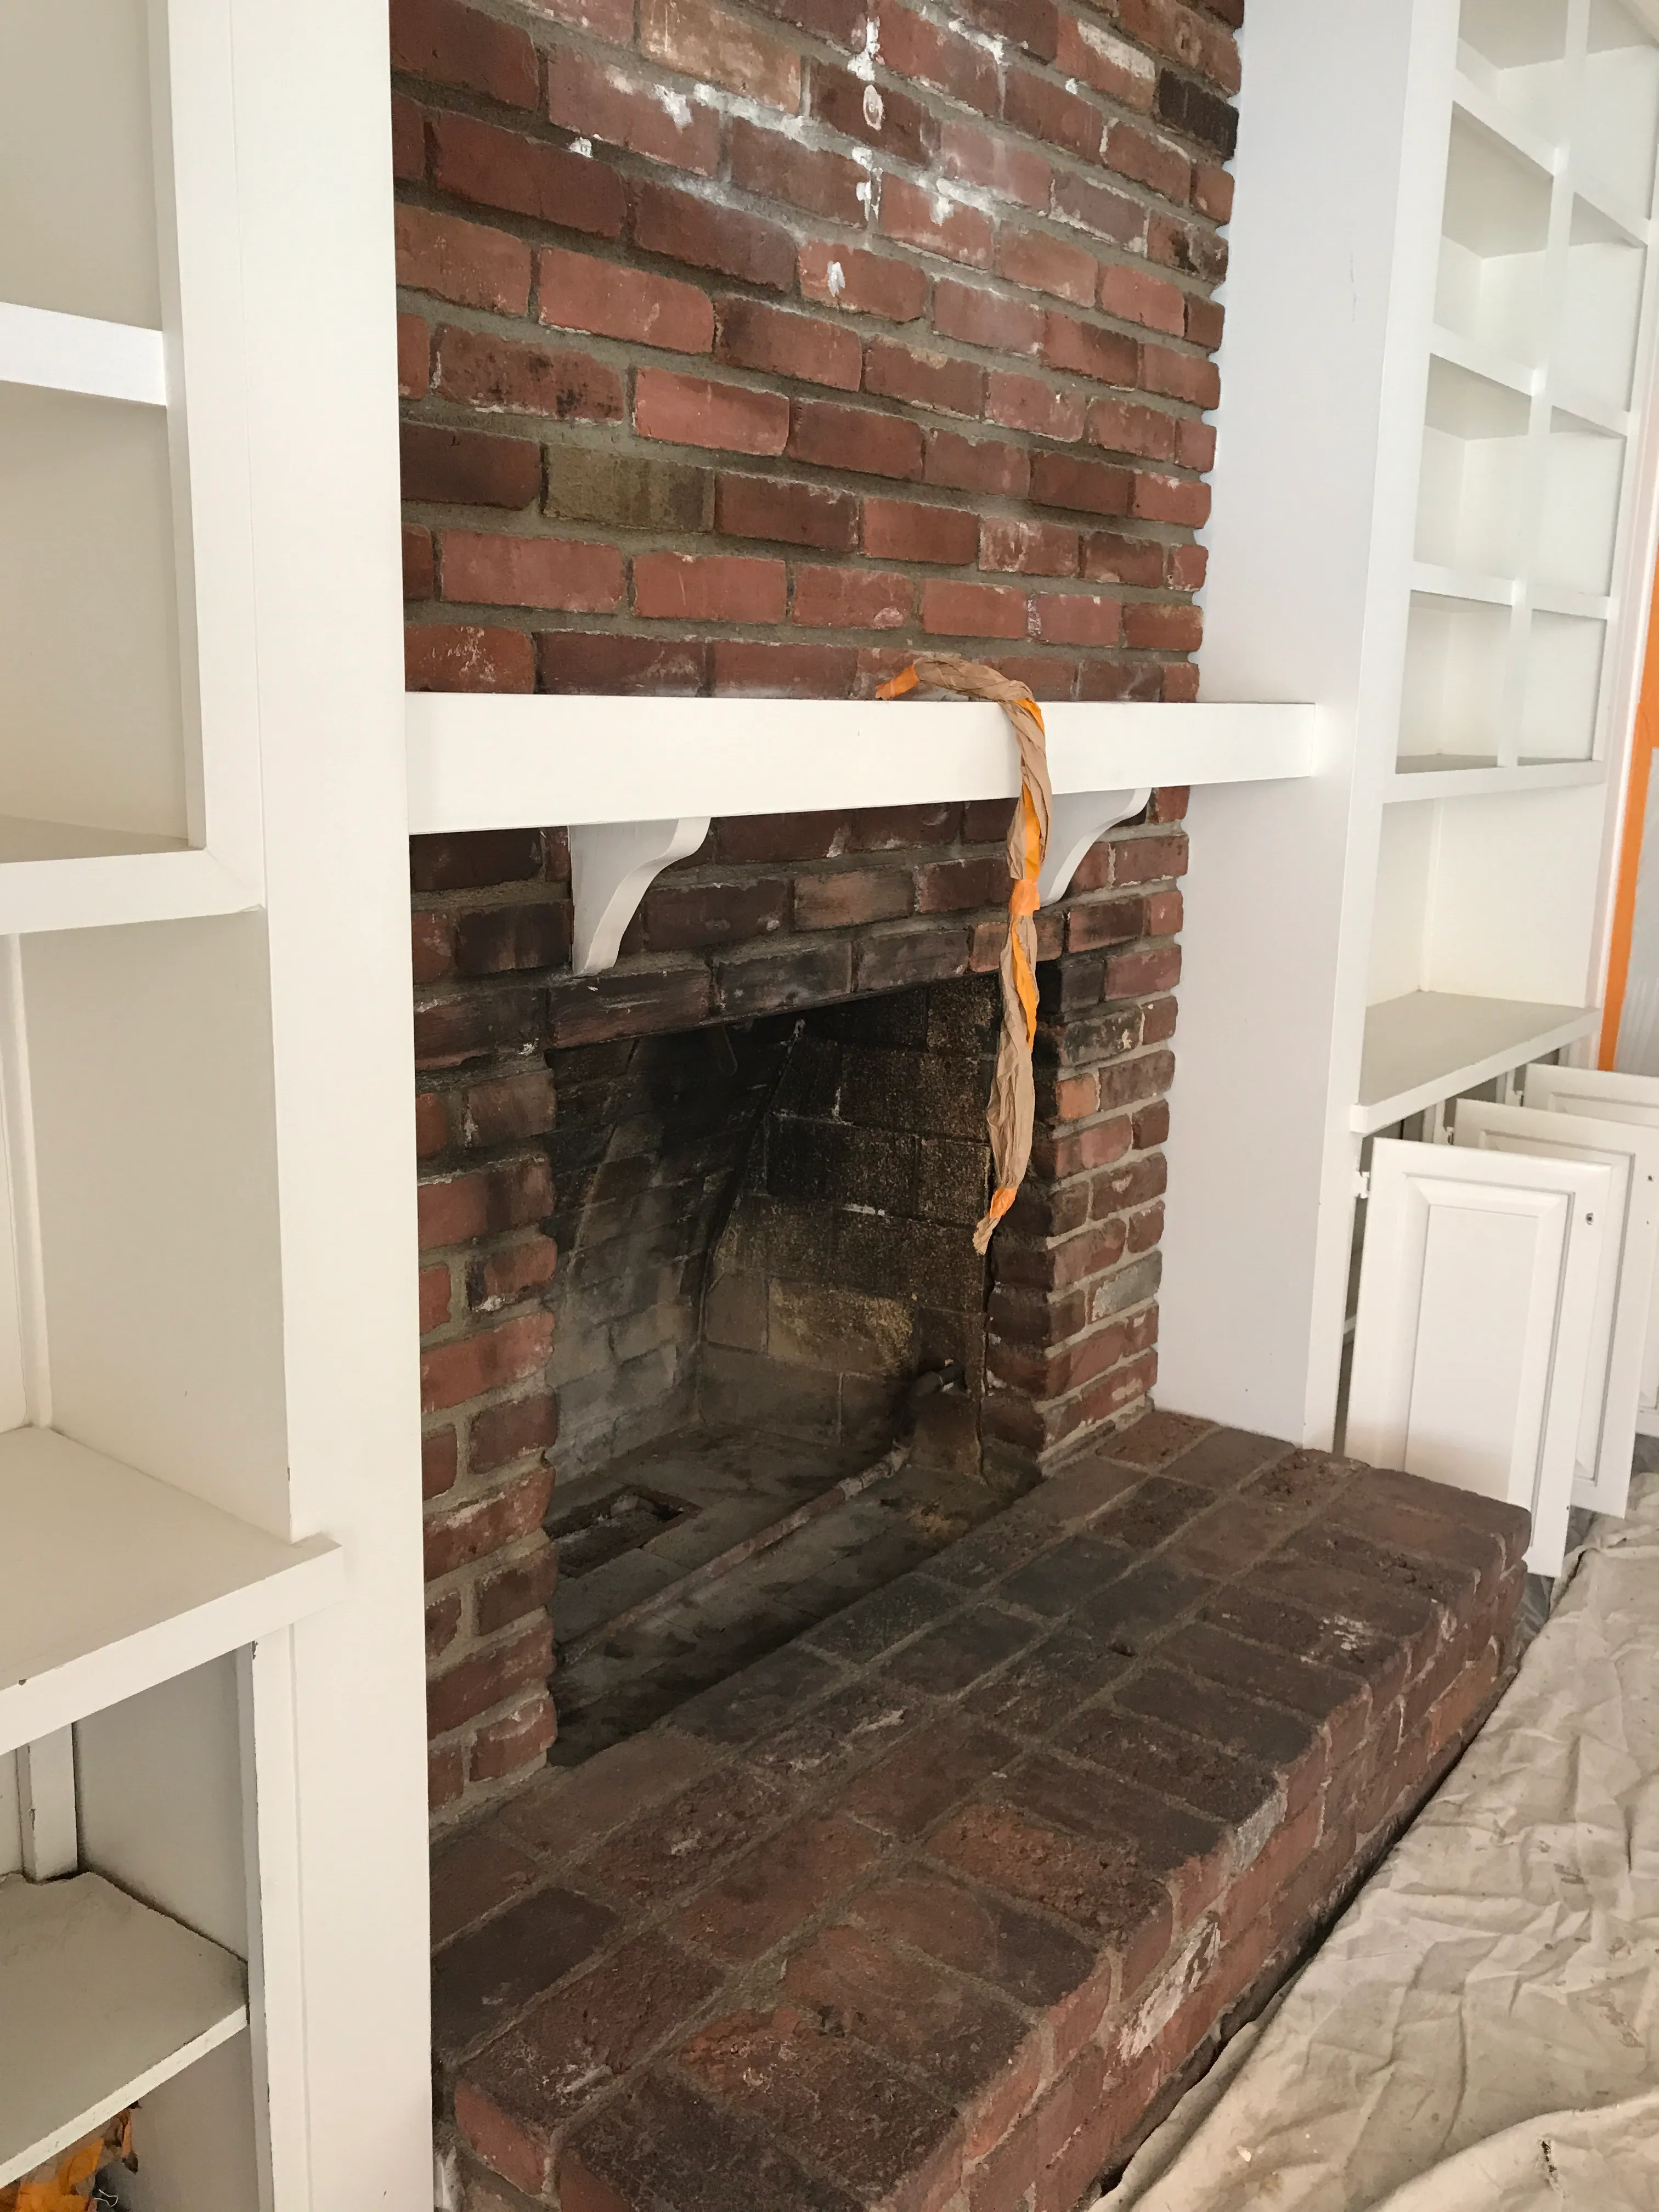
And here is what it looked like just one week ago.

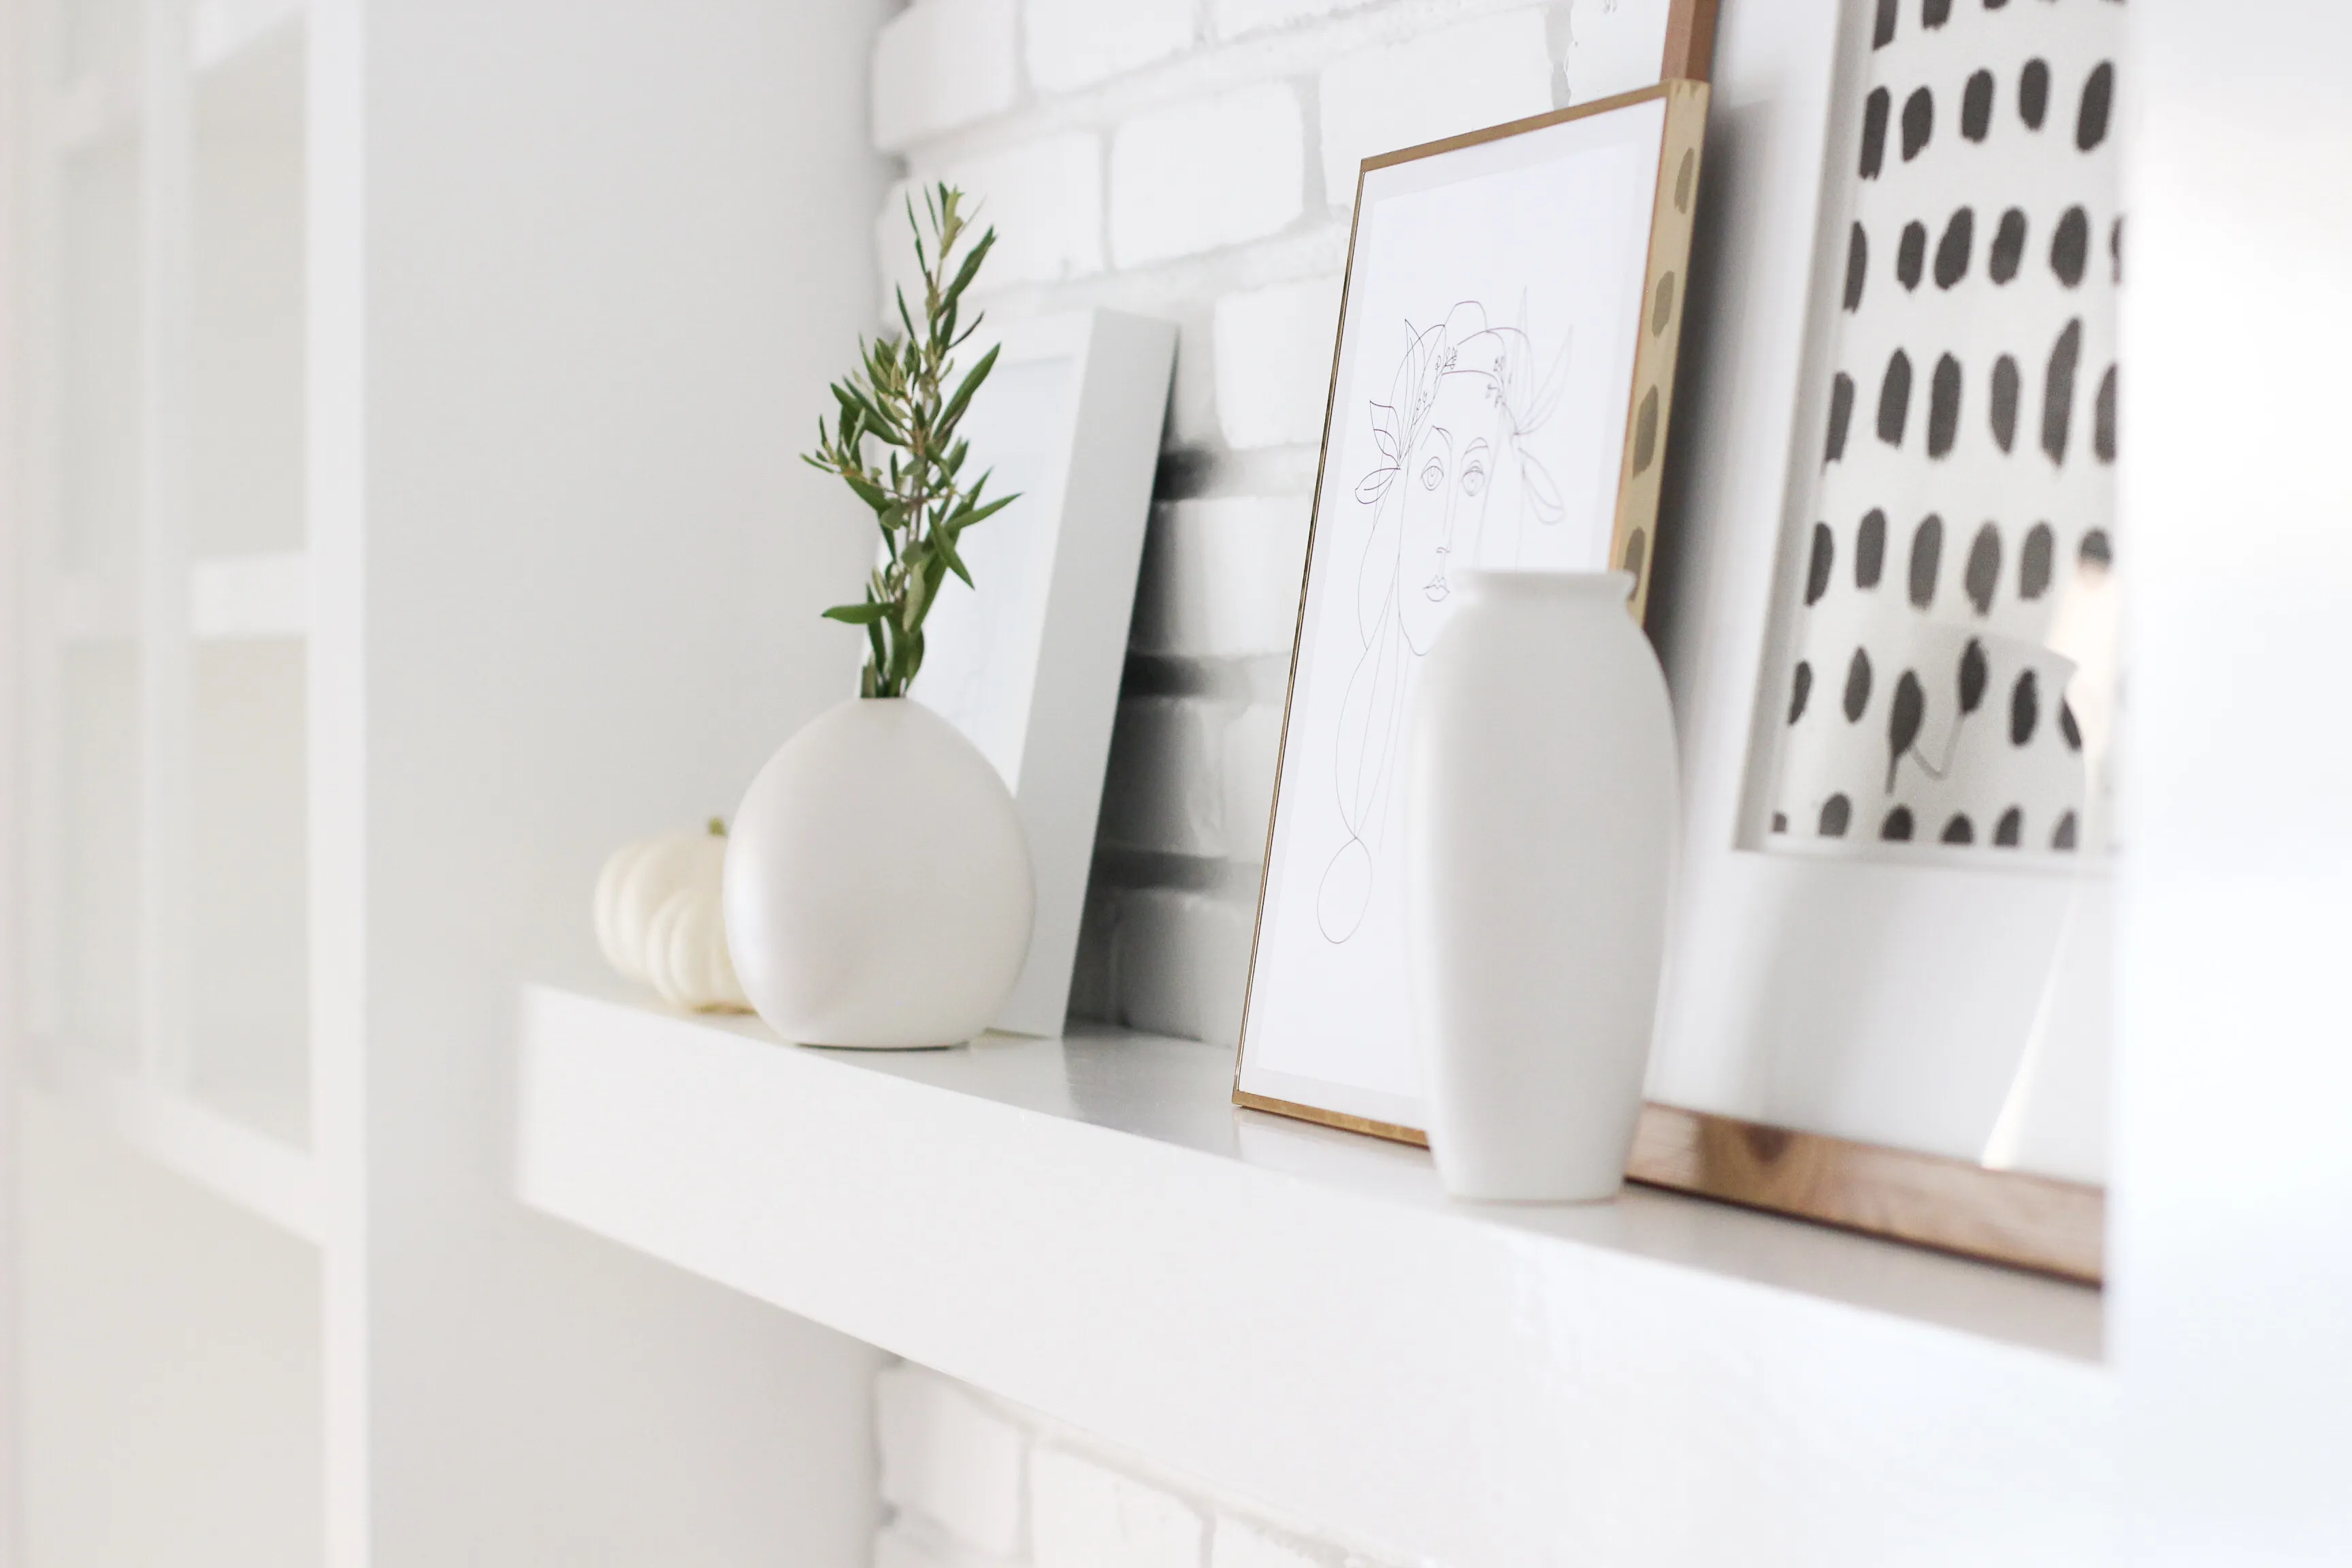
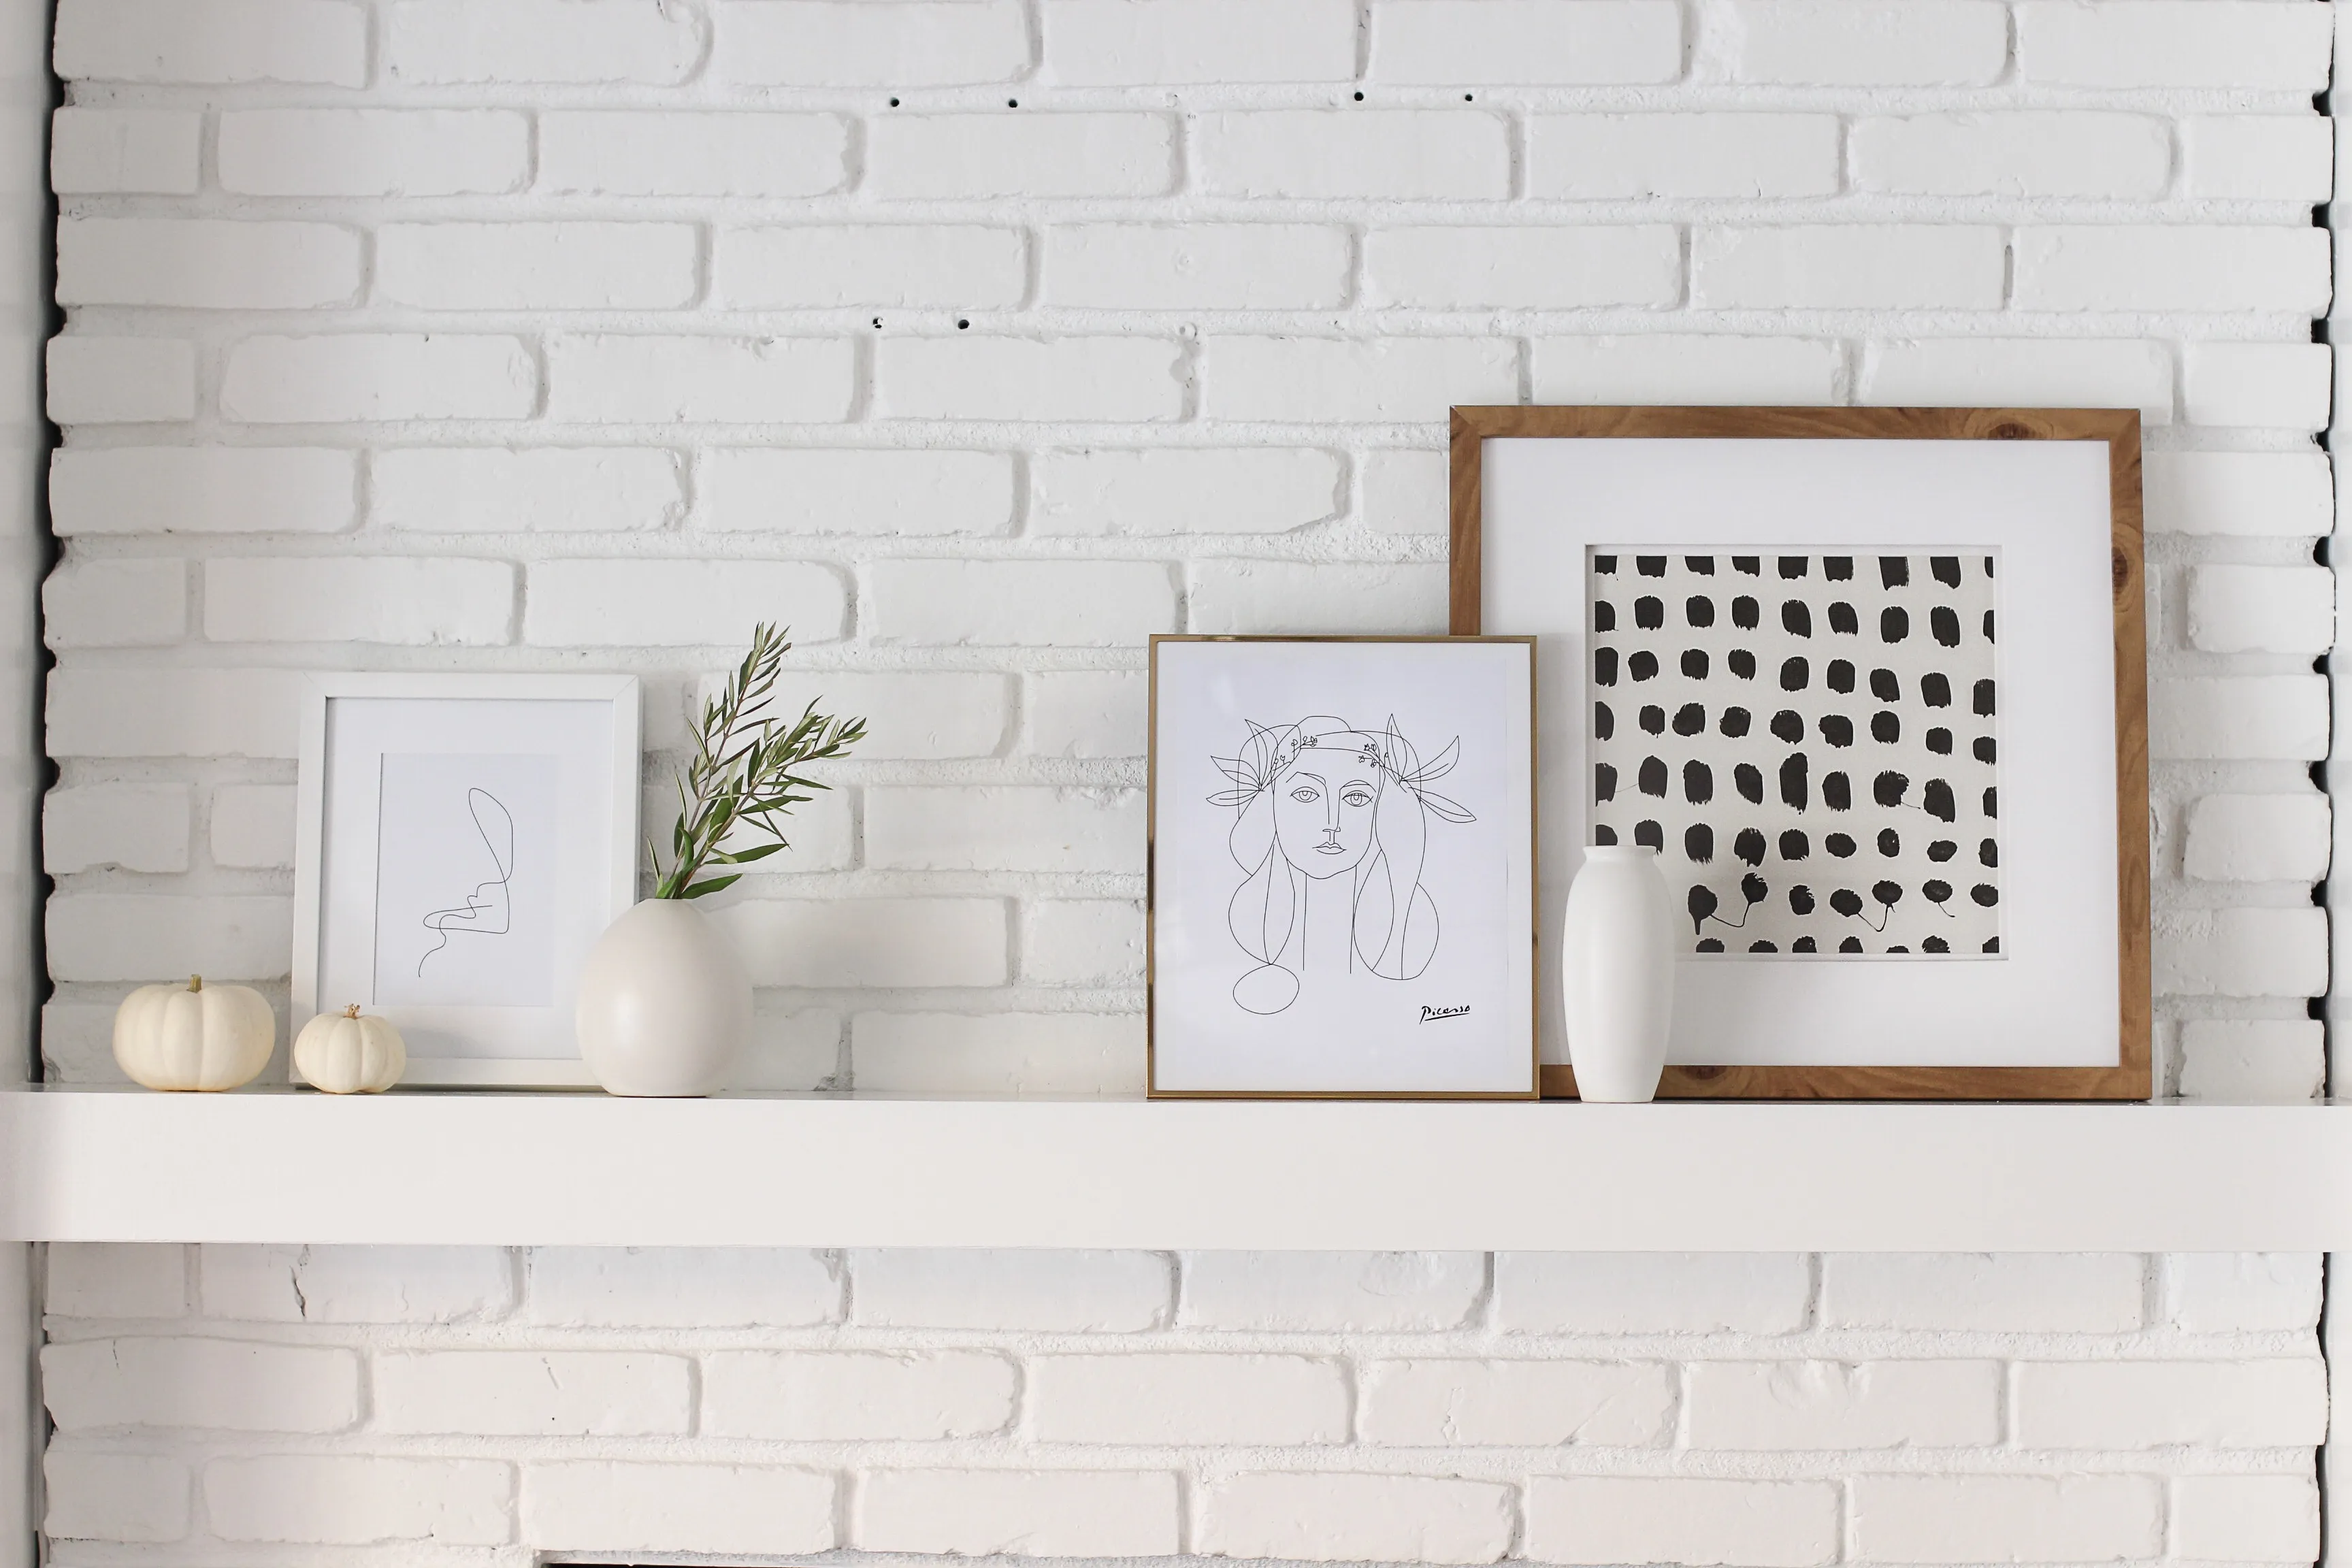
Artwork

Accessories
Natural Decor
Vases and Pottery
To update our fireplace I had the inside and outside of our fireplace and cabinetry professionally painted, removed the fireplace surround, and had the supports on our mantel removed to create one solid beam. This project could definitely be done as a DIY if you have the time to devote to it, but in the end I decided to have it done professionally as it’s the focal point of our home and I wanted to make sure it was done well!
Here is what our painter did:
Step 1: Clean the Brick
Clean brick with a stiff bristle brush, trisodium phosphate, and a shop-vac. Allow brick to dry completely.
Step 2: Prime the Brick
Prime the brick with 1-2 coats white primer. Be sure to use an oil-based primer to protect the brick from stains. Use a roller for the faces of the bricks and a brush to work the paint into the brick and grout.
Step 3: Paint the Brick
Paint the brick until desirable coverage is reached. Use an indoor latex paint. Our painter used a sprayer, roller, and also painted by hand to work the paint into the brick and grout. We used a matte finish on the sides and top portion of the fireplace, but painted a semi-gloss finish on the hearth.
Step 4: Paint the Firebox
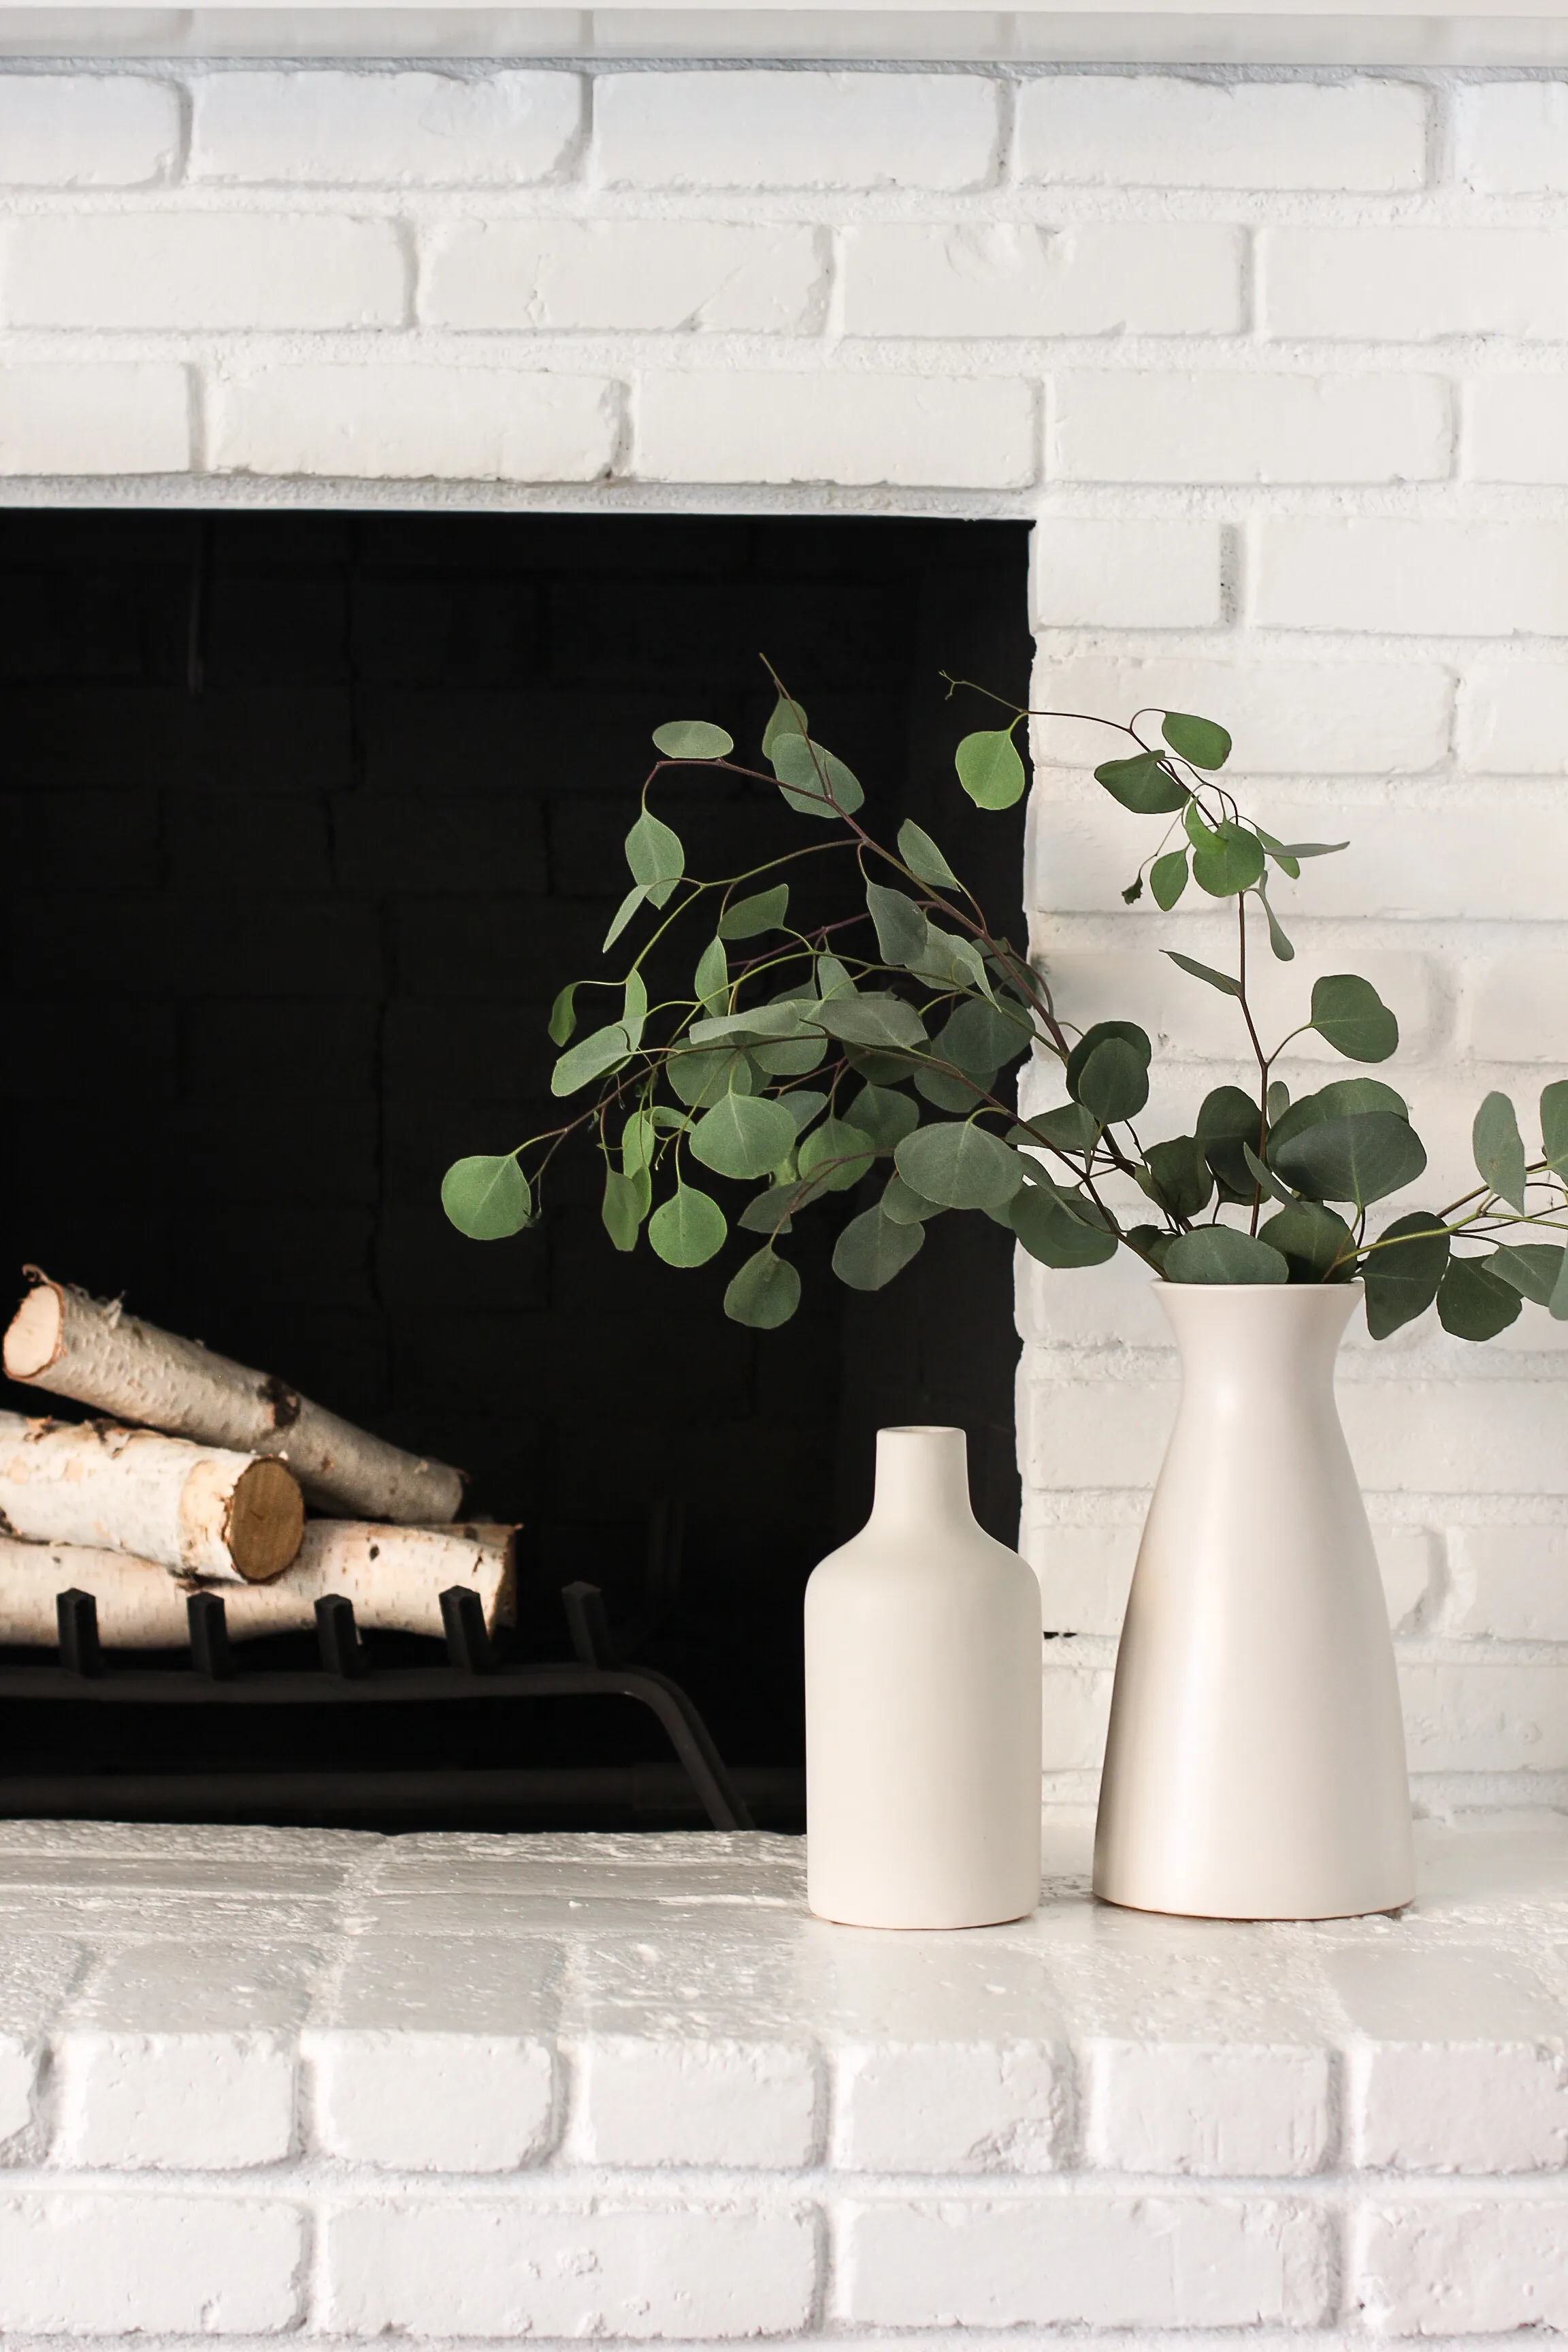
We simply used a high heat resistant spray paint for the interior portion of our fireplace. Now, I must caution you! If you use your fireplace often, you may want to consider leaving the firebox unfinished. We live in California where it’s a bajillion degrees year-round, so our fireplace doesn’t get much use. For that reason, I felt comfortable painting the firebox as it’s mostly just for aesthetics!
Step 5: Helpful Tips
Once you are painting on your last coat, use a roller to smooth out the paint, giving it a nice, smooth finish.
Let the fireplace dry for at least three days before use.
Purchase felt pads for your cabinet doors if you painted your cabinetry. This will keep the doors from sticking and ruining the paint!
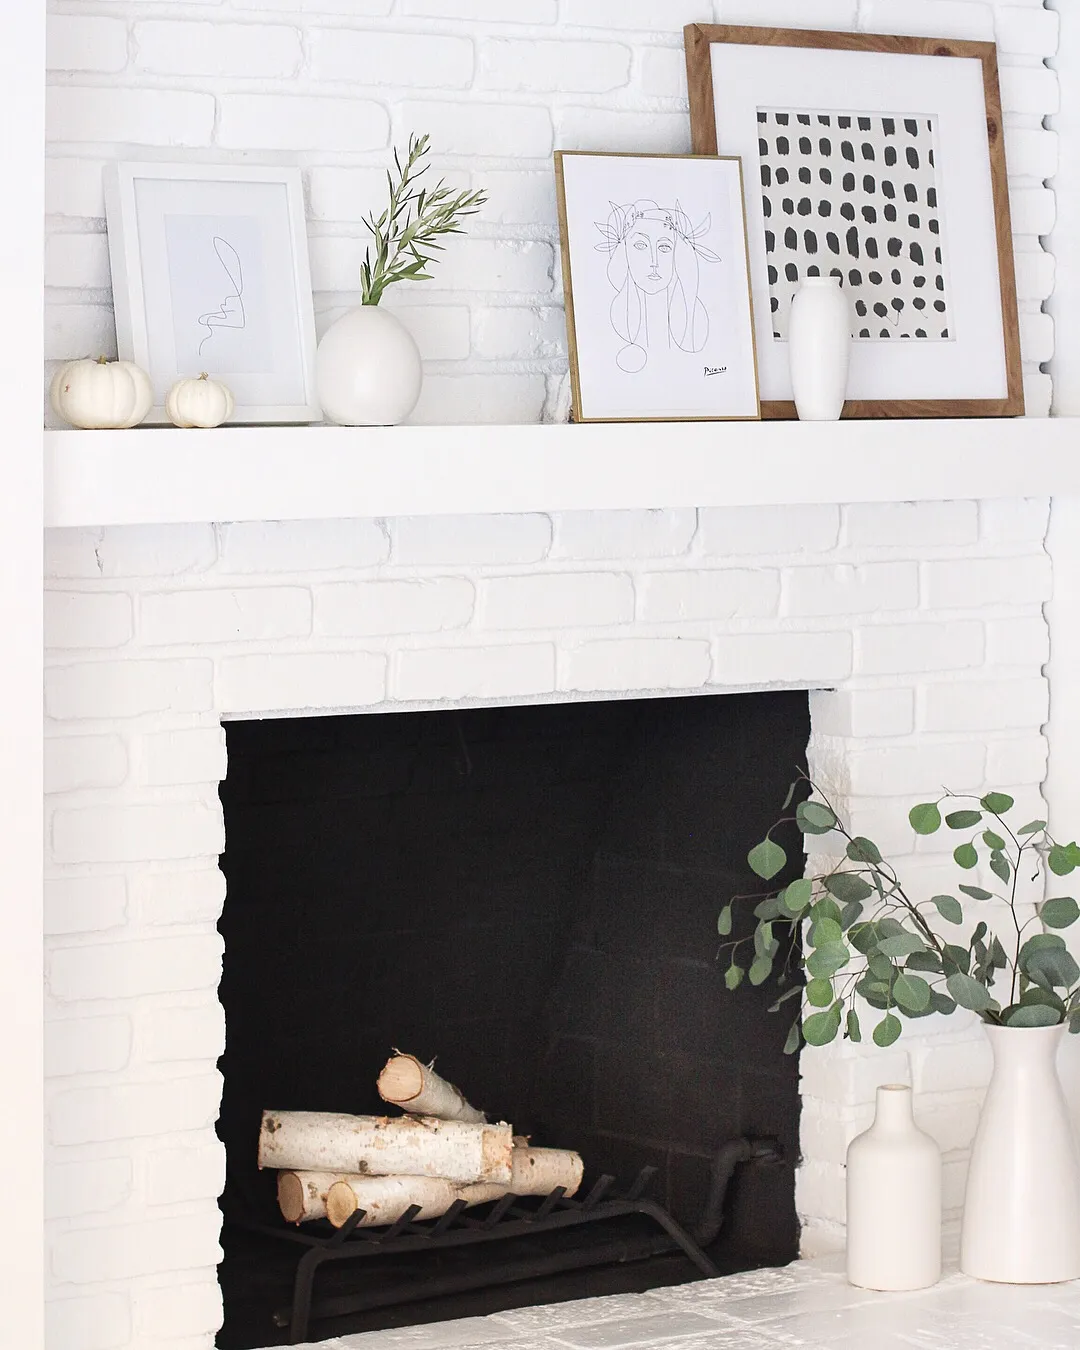
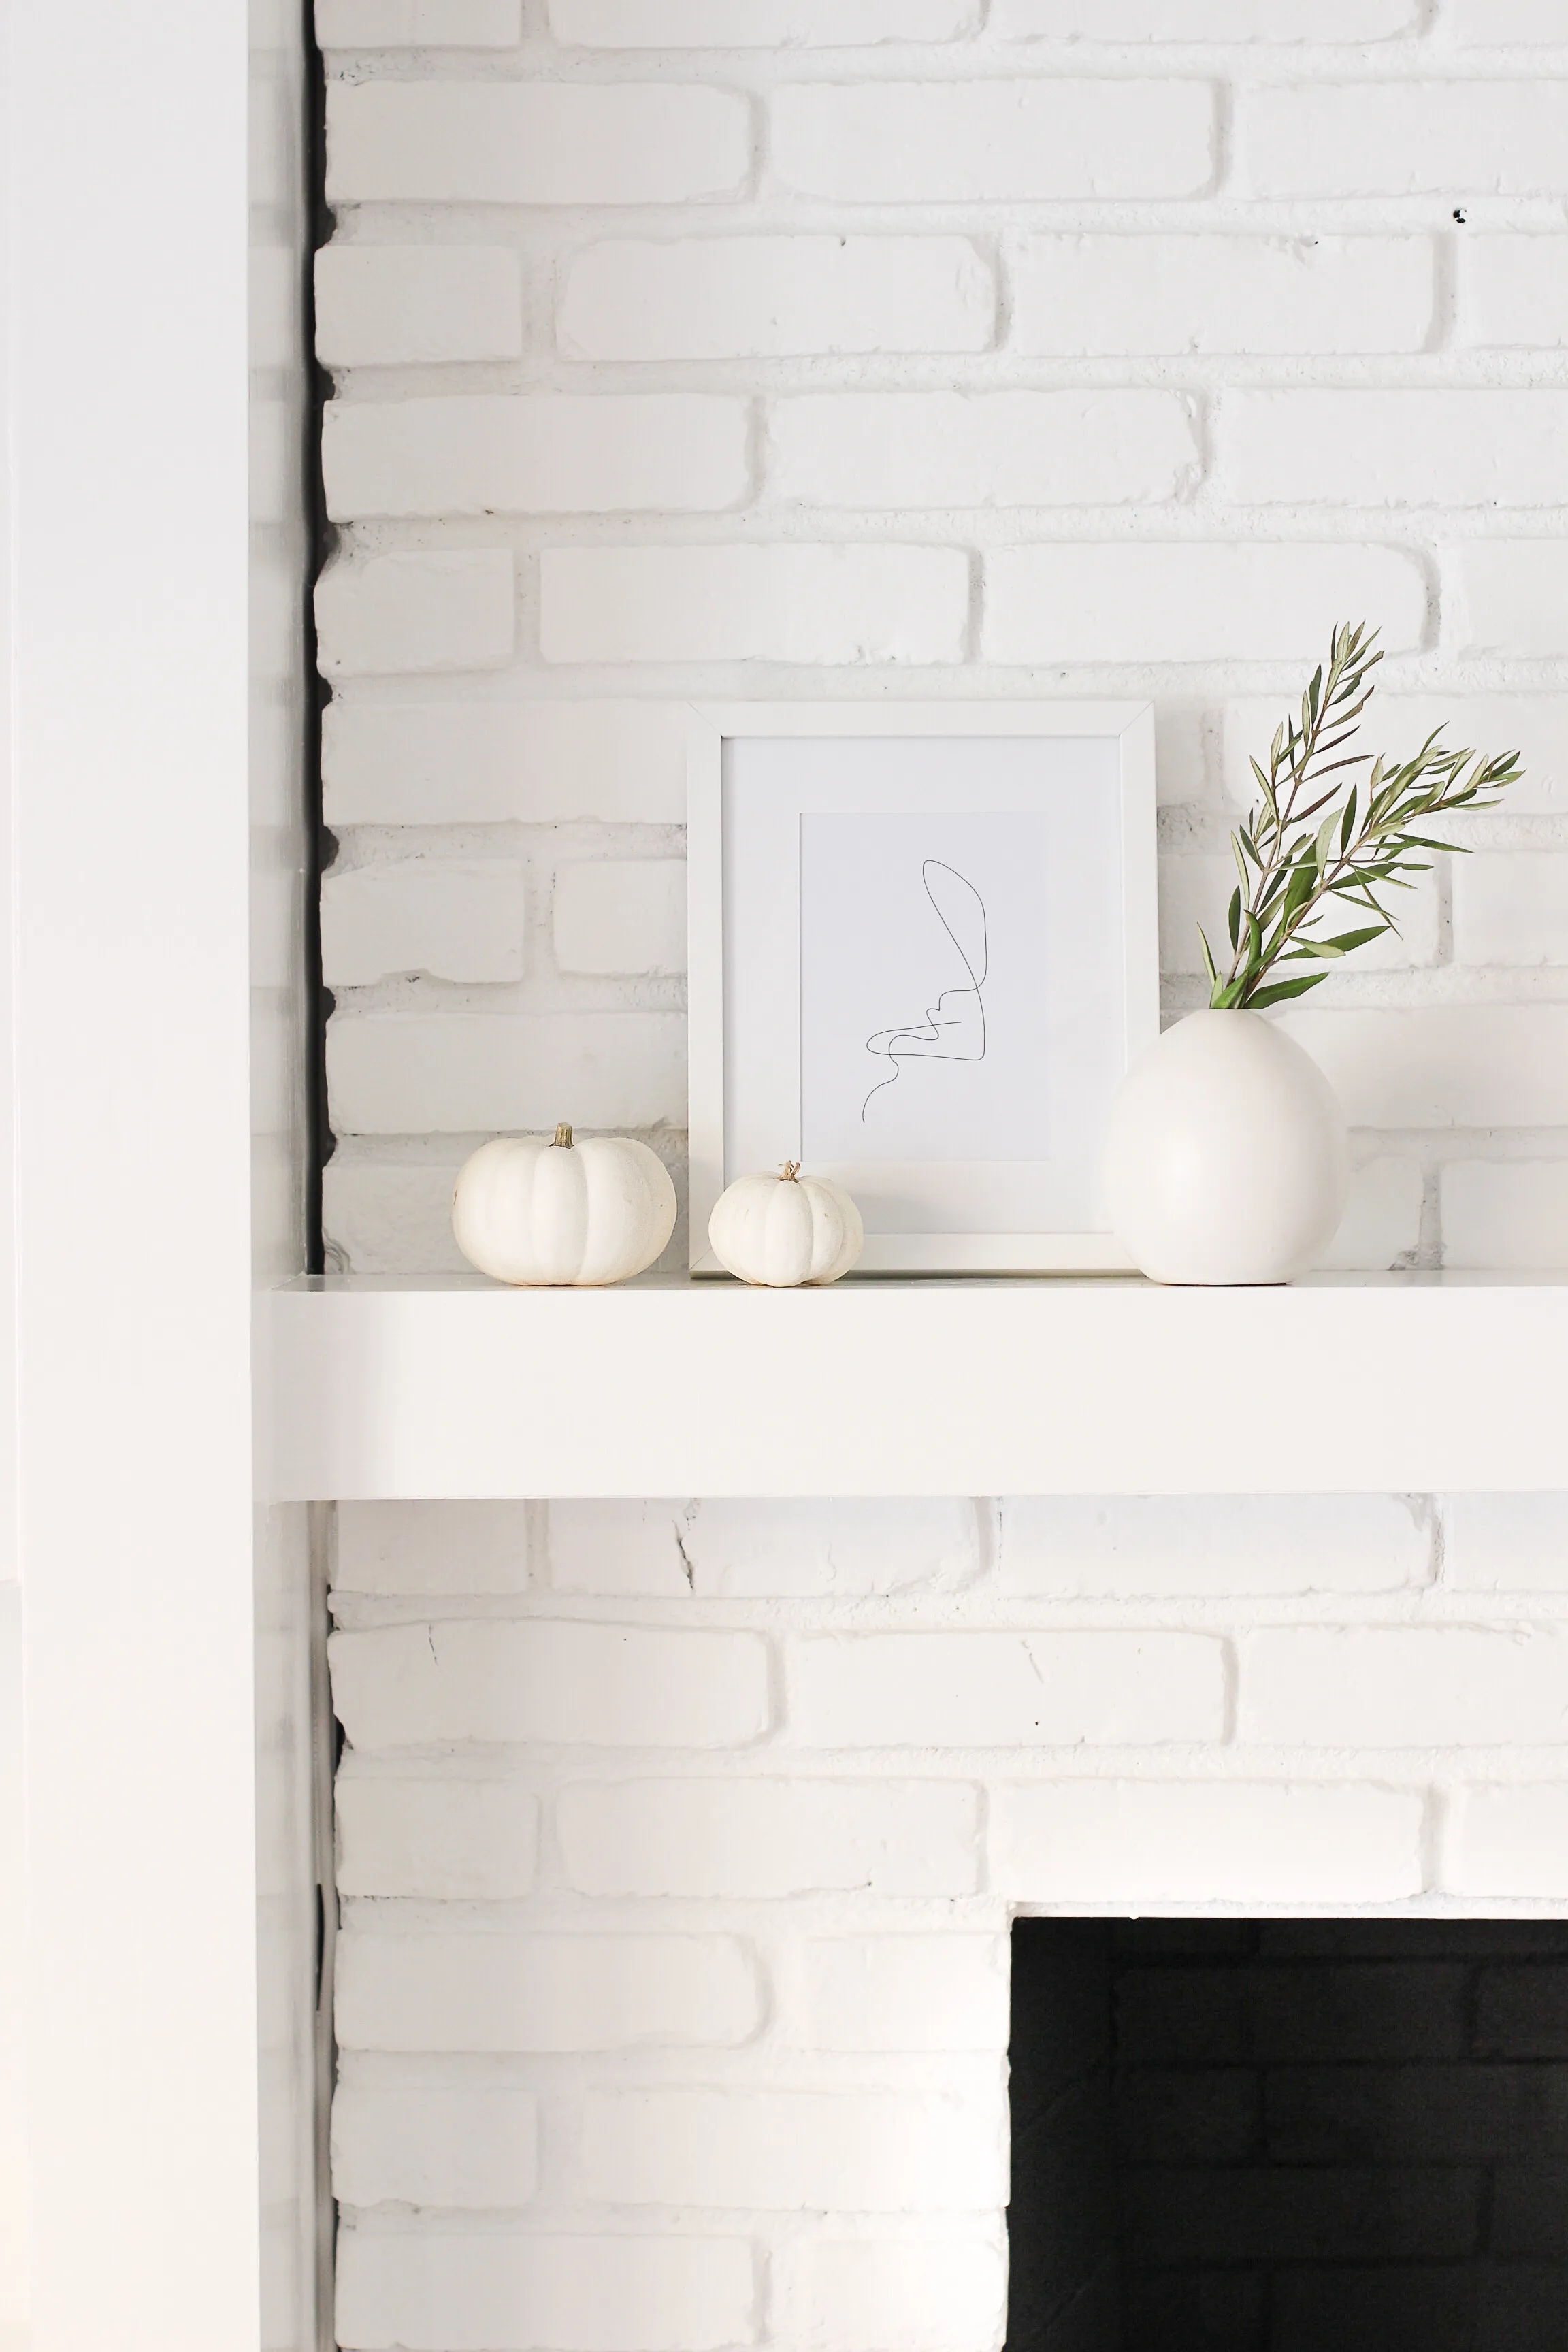
I couldn’t be happier with how it all turned out. Our space feels so much brighter and cleaner! My advice to anyone who is thinking of painting their brick? Go for it! 😉 All sources listed below.
Brick and Cabinet Semi Gloss Paint
Black High Heat Resistant Paint (for inside of the fireplace)
Polka Dot Print and Frame: Similar 1 – Similar 2 – Similar 3 – Similar 4 – Similar 5 – Similar 6

This looks amazing!!
Thanks so much!