
This post contains affiliate links, which means I may earn a small commission at no extra cost to you. As an Amazon Associate I earn from qualifying purchases. Thank you for supporting Halfway Wholeistic!
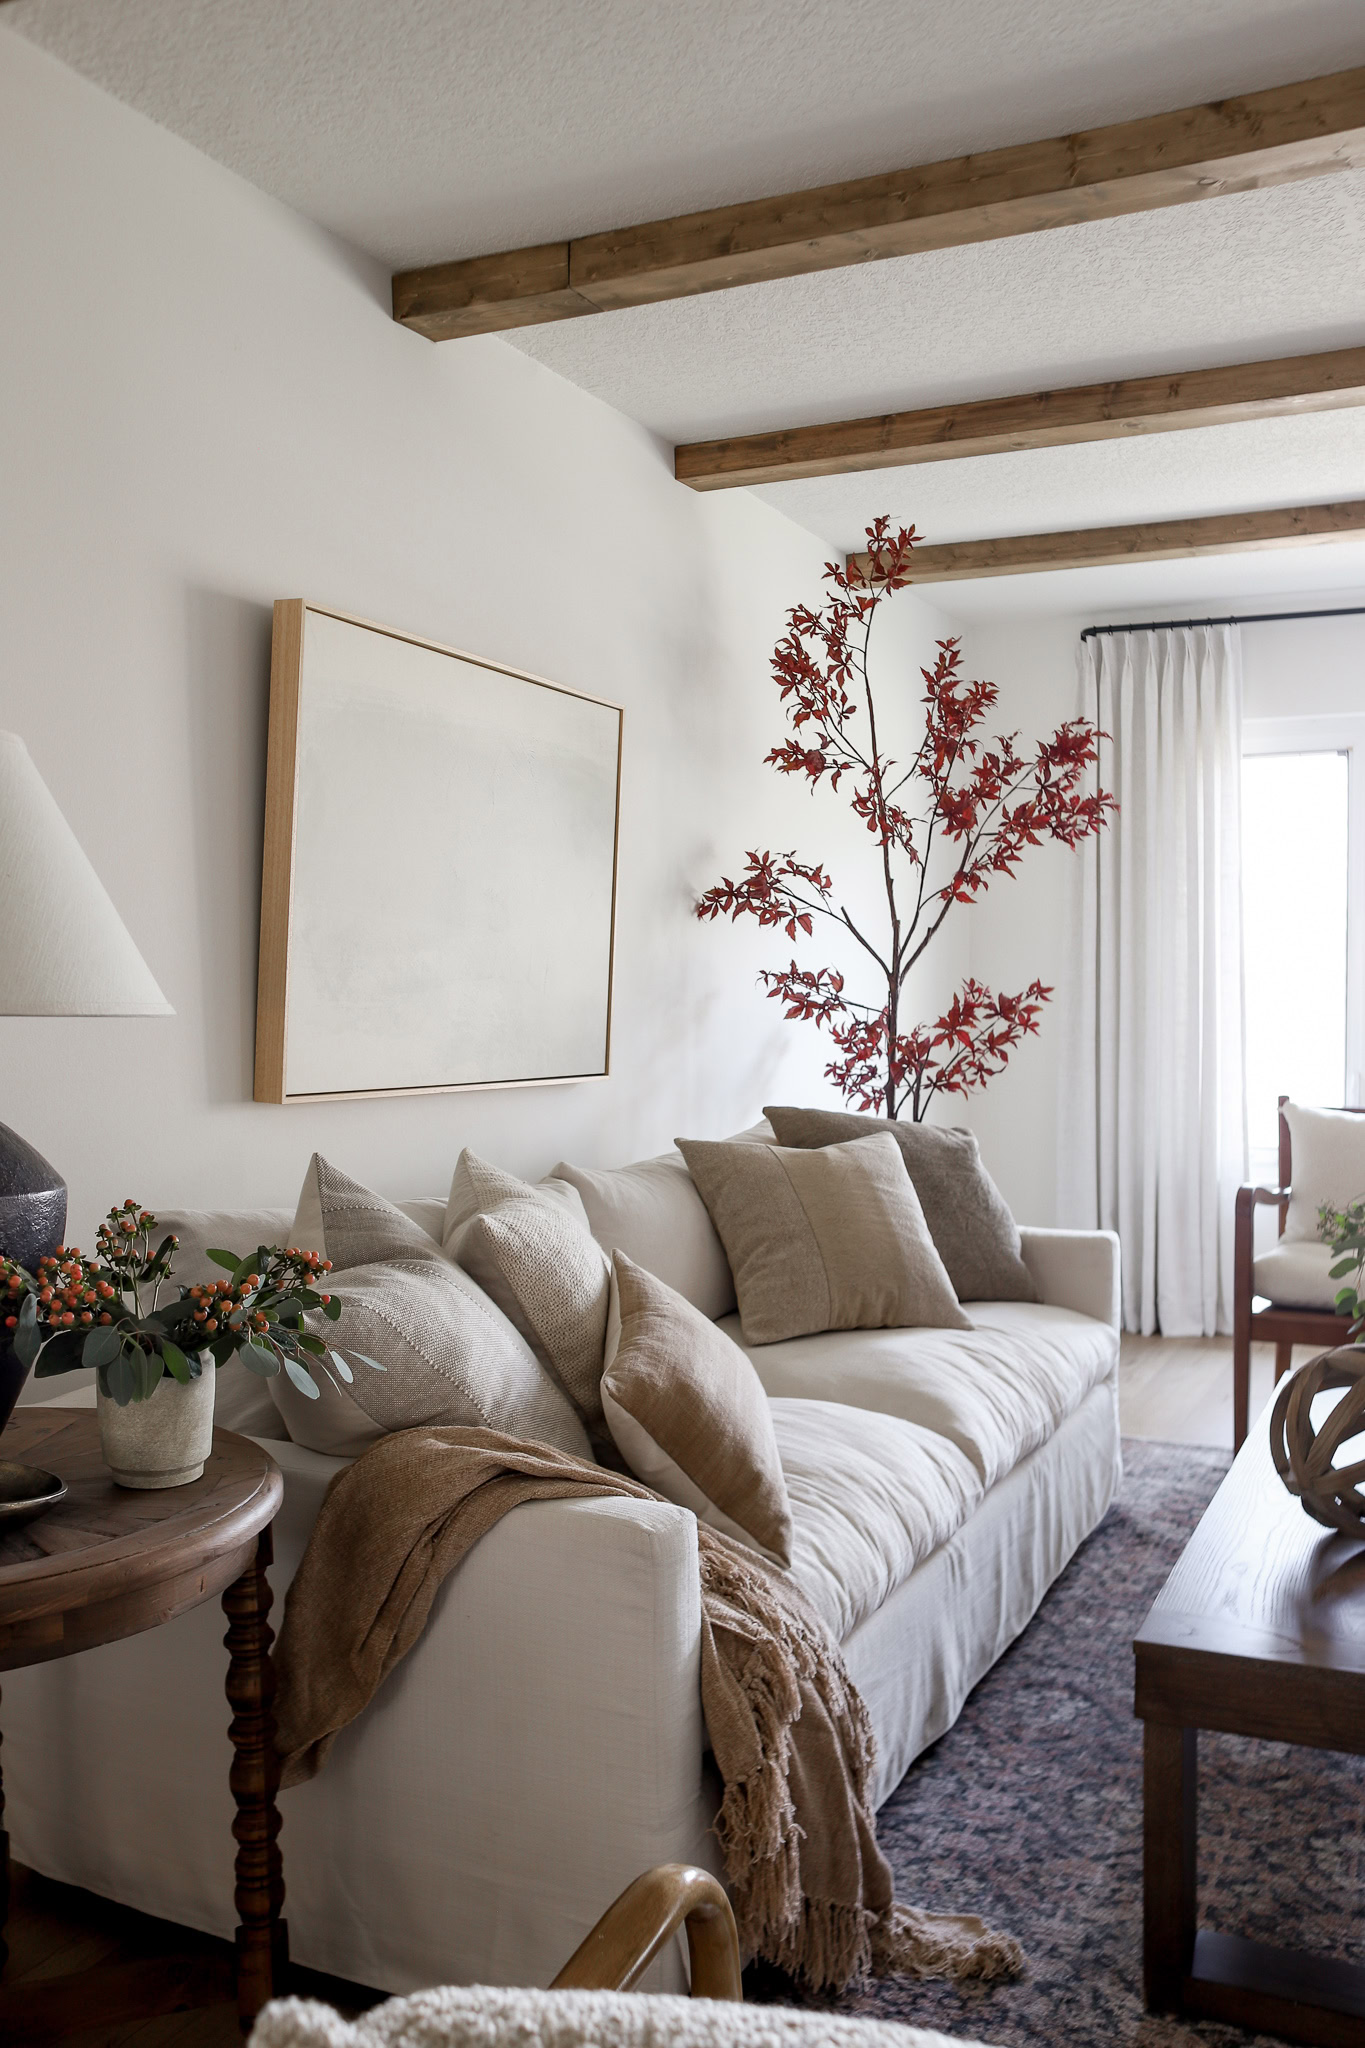
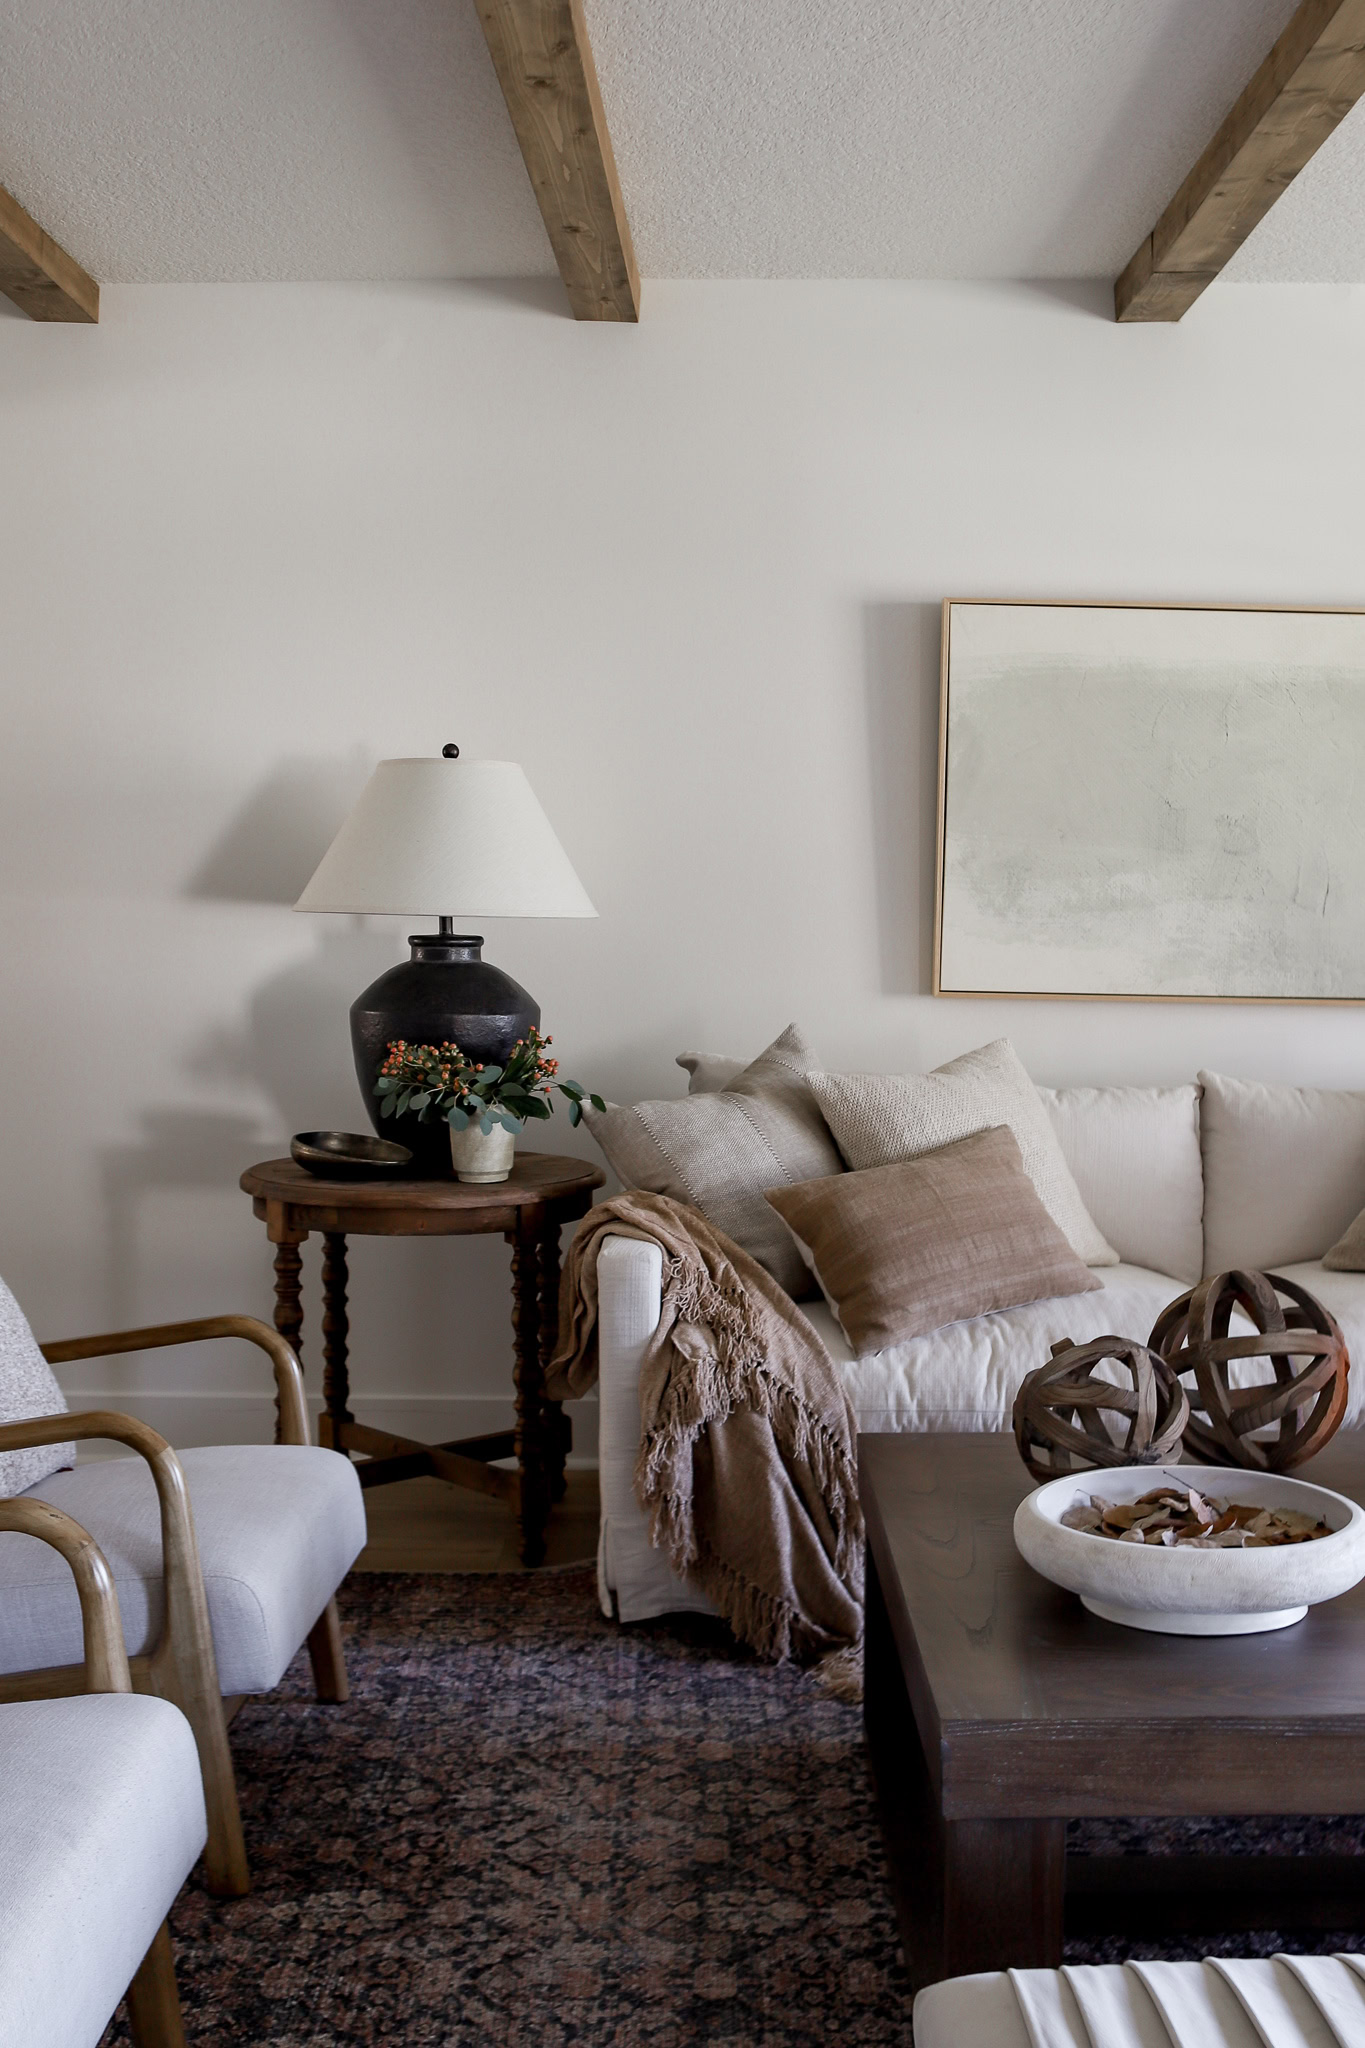
The beams are done, and I can’t believe how much they transformed my living room! They add gorgeous contrast and dimension to the space, and they make the whole room feel custom. And yes, this works with 8 ft ceilings. The trick is keeping the beams shallow.
Below are my before and after photos, the exact materials, dimensions and stain color, how the beams were installed, and everything in my living room linked below the photos, so just swipe through to shop!
Before and After
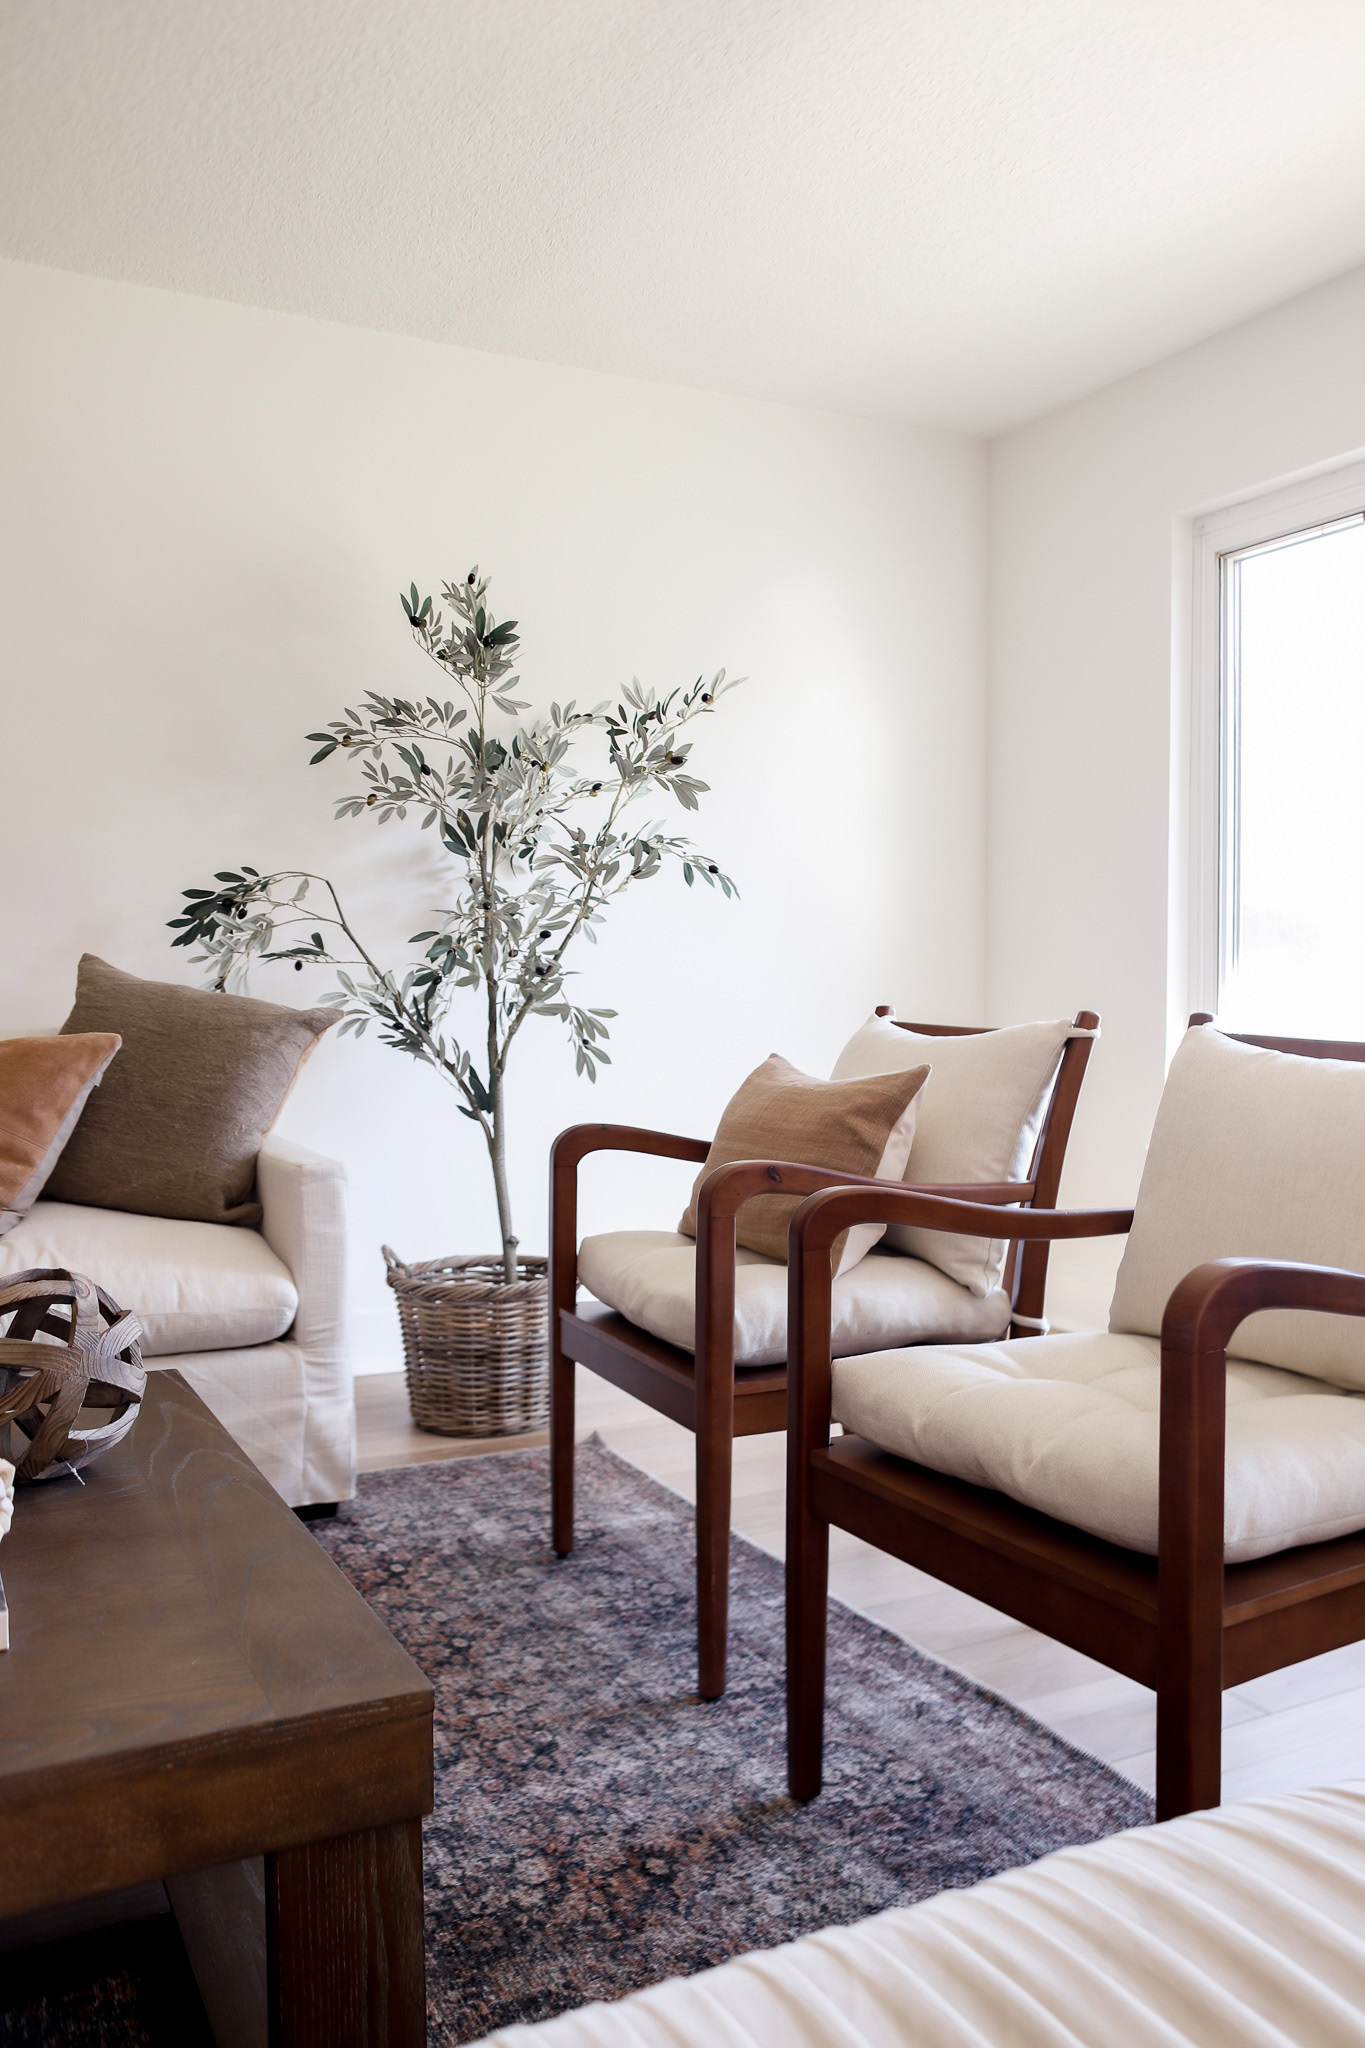
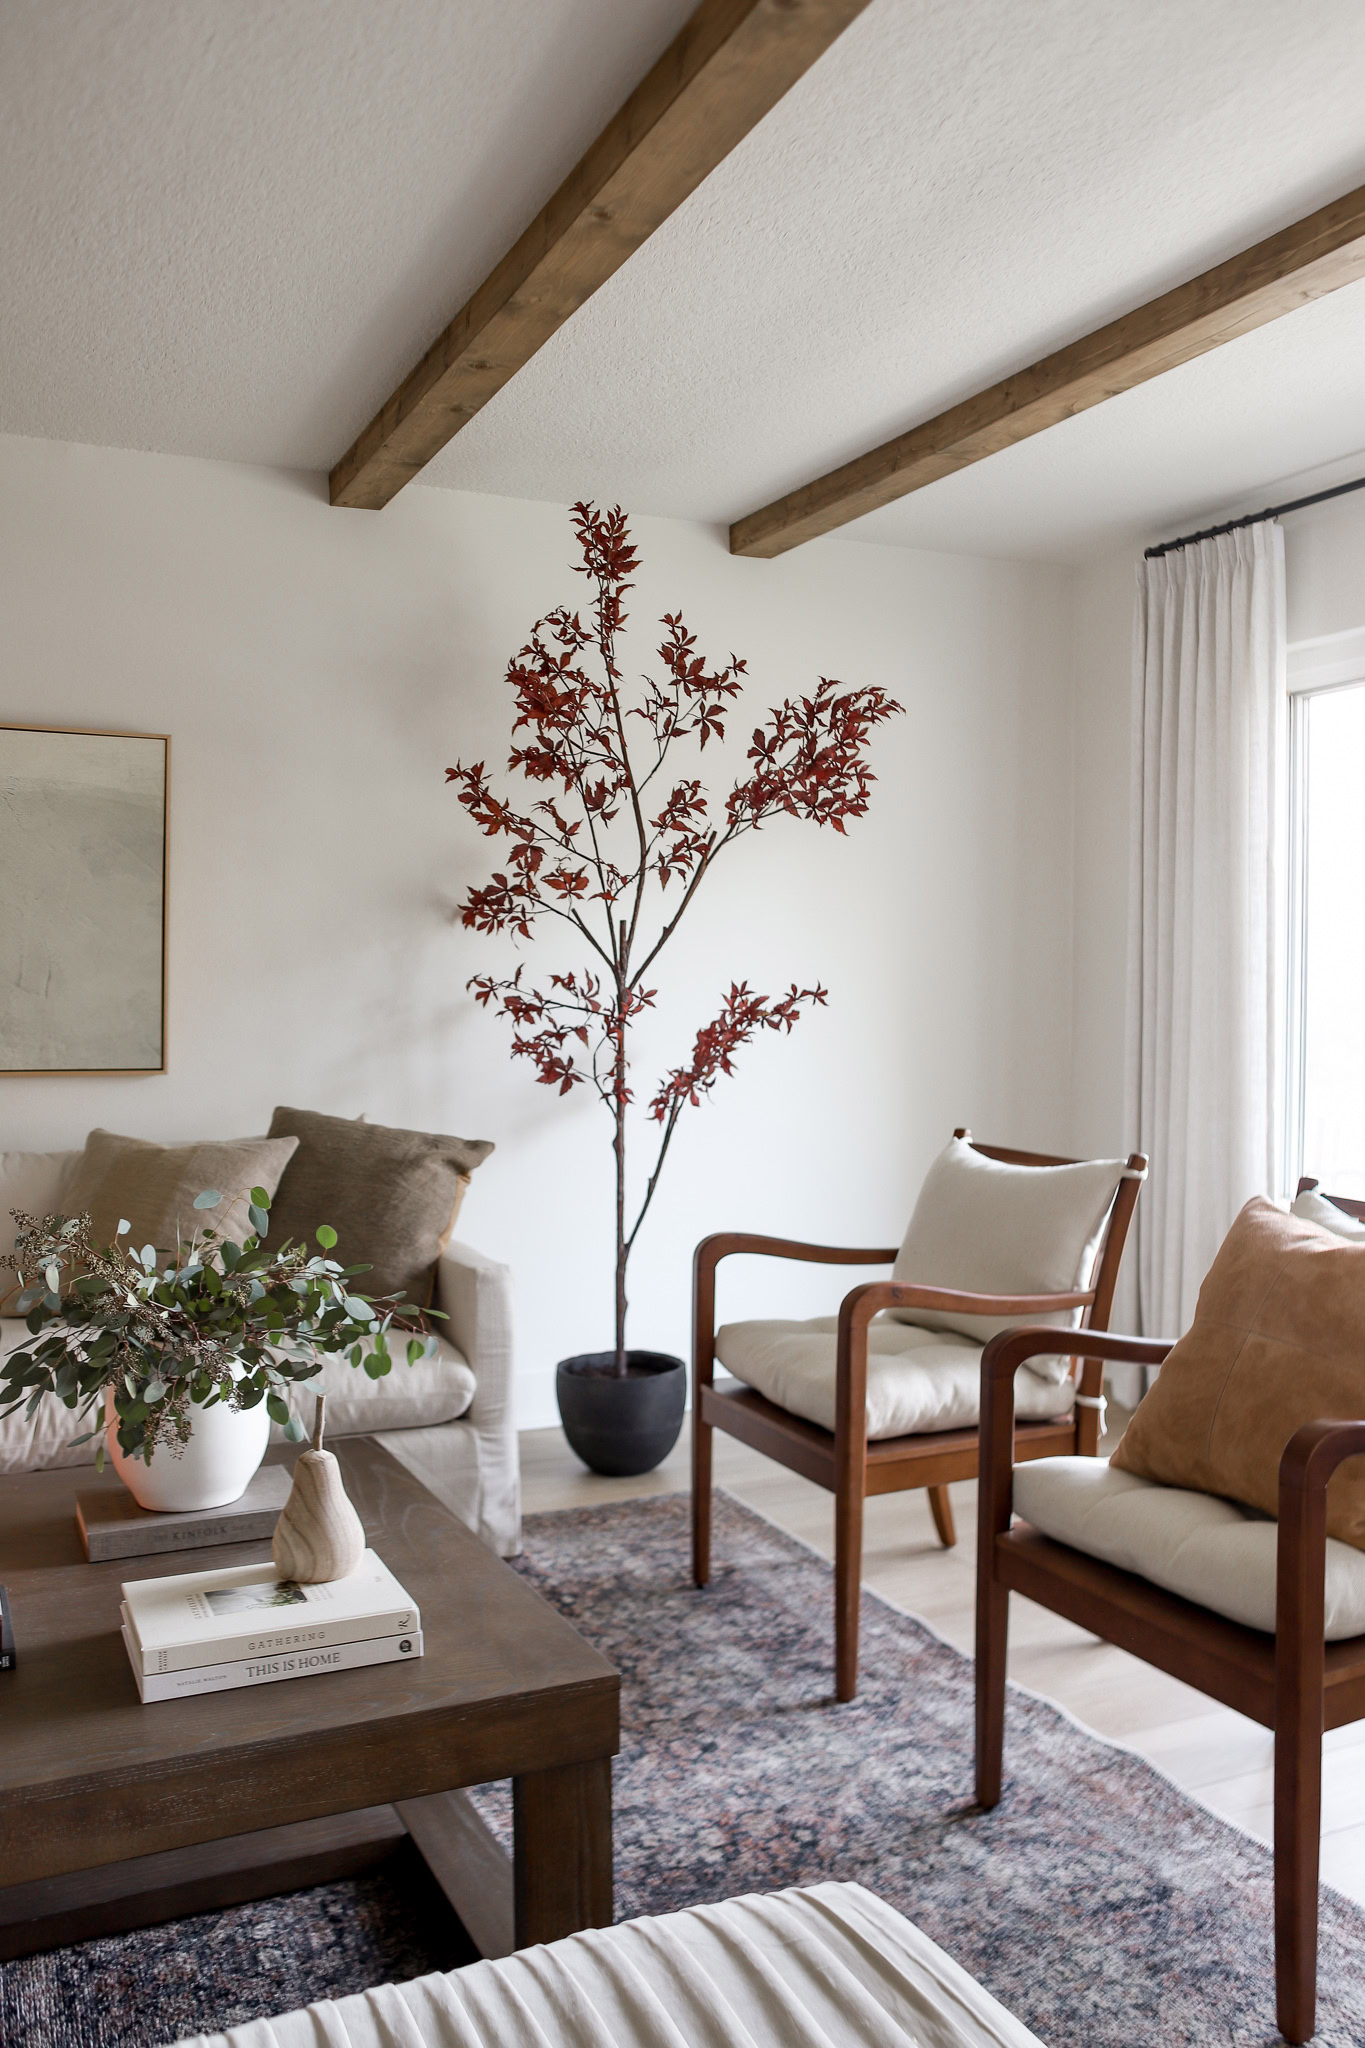
It is easy to forget about the ceiling, but adding visual interest up there is such a great way to give a home a custom look. Since the beams were built from scratch, I was nervous about the stain color, but I truly wouldn’t change a thing.
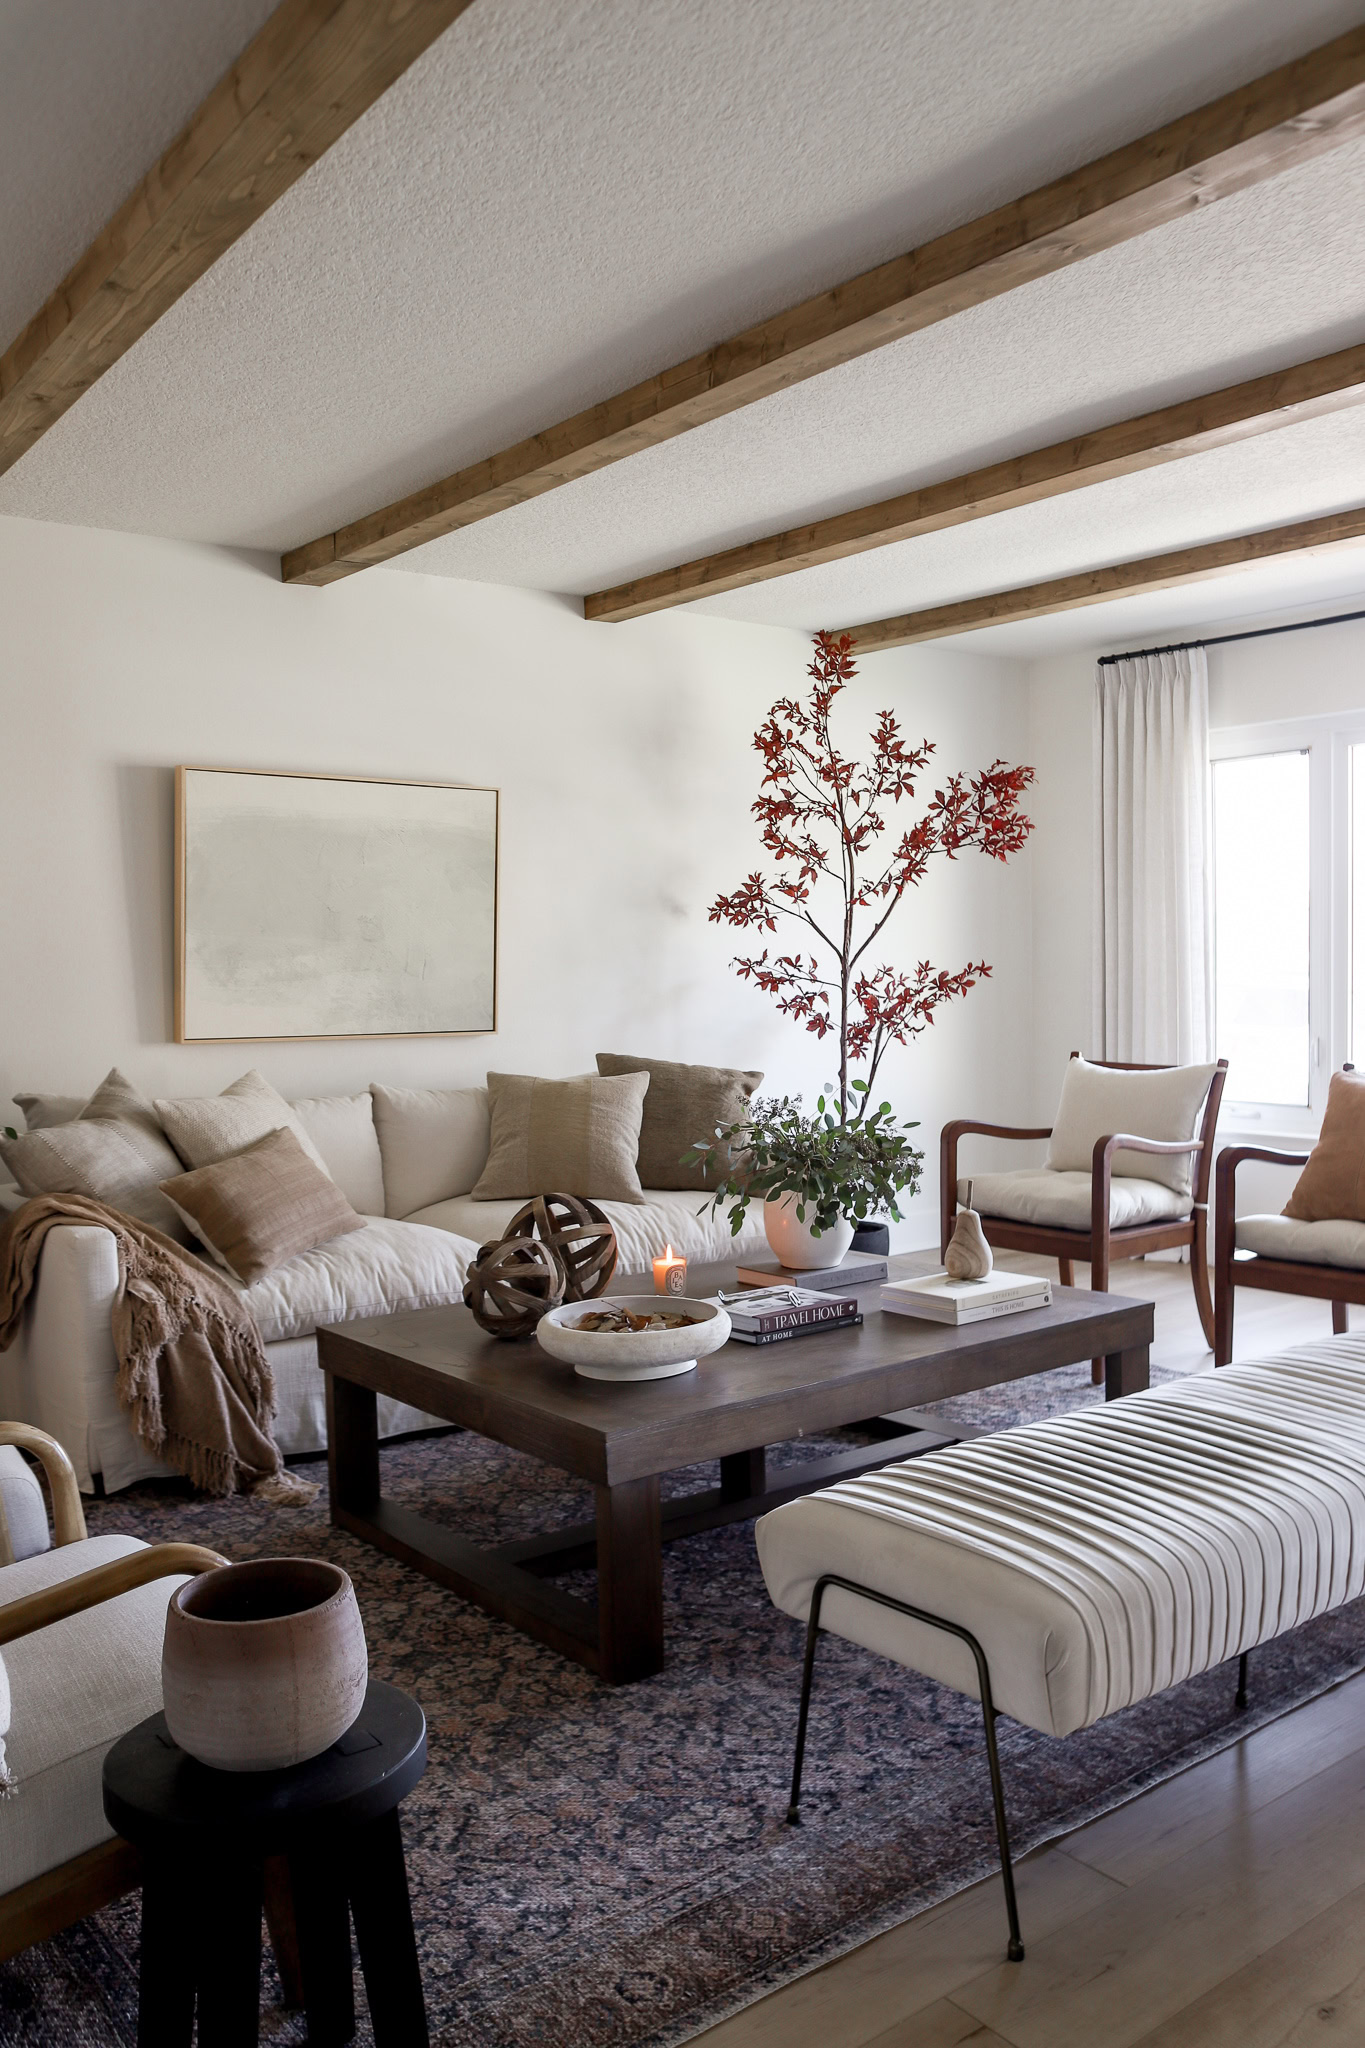
Beam Details
I hired a local contractor, Austin Perez, to build and install the beams. Here is exactly what he used to get this look.
Materials
- 1×4″ pine boards
- 1×6″ pine boards
- Wood conditioner
- Western Oak stain
Dimensions
Austin built the beams from scratch in his workshop (you can see videos of the building process in my “beam” highlight on Instagram). For the sides, he used 1×4″ boards cut down to 3″. For the bottom, he used 1×6″ boards cut down to 5″. That made each beam 3″ deep and 5″ wide. With 8 ft ceilings, the 3″ depth is key, because a deeper beam would make the room feel lower.

Stain
After quite a bit of deliberation, I went with Western Oak. It is a gorgeous medium wood tone, not too warm and not too cool. Austin did one coat of wood conditioner and one coat of stain.

How the Beams Were Installed
- Attach a base board. Austin screwed 1×4″ boards to the ceiling where each beam would go.
- Slide the beam over the base. The hollow beam fits right over the 1×4″ base.
- Secure it with screws. The beam is screwed into the base board from the sides.


Tips if You Are Adding Beams to a Low Ceiling
- Keep beams shallow, around 3″ deep, so they don’t visually lower the ceiling.
- Run the beams across the shorter width of the room.
- Choose a medium stain so they contrast with white ceilings without feeling heavy.
- Test stain samples on the actual boards, since pine takes stain differently than oak.
- Use wood conditioner first on pine so the stain goes on evenly.
Shop My Living Room
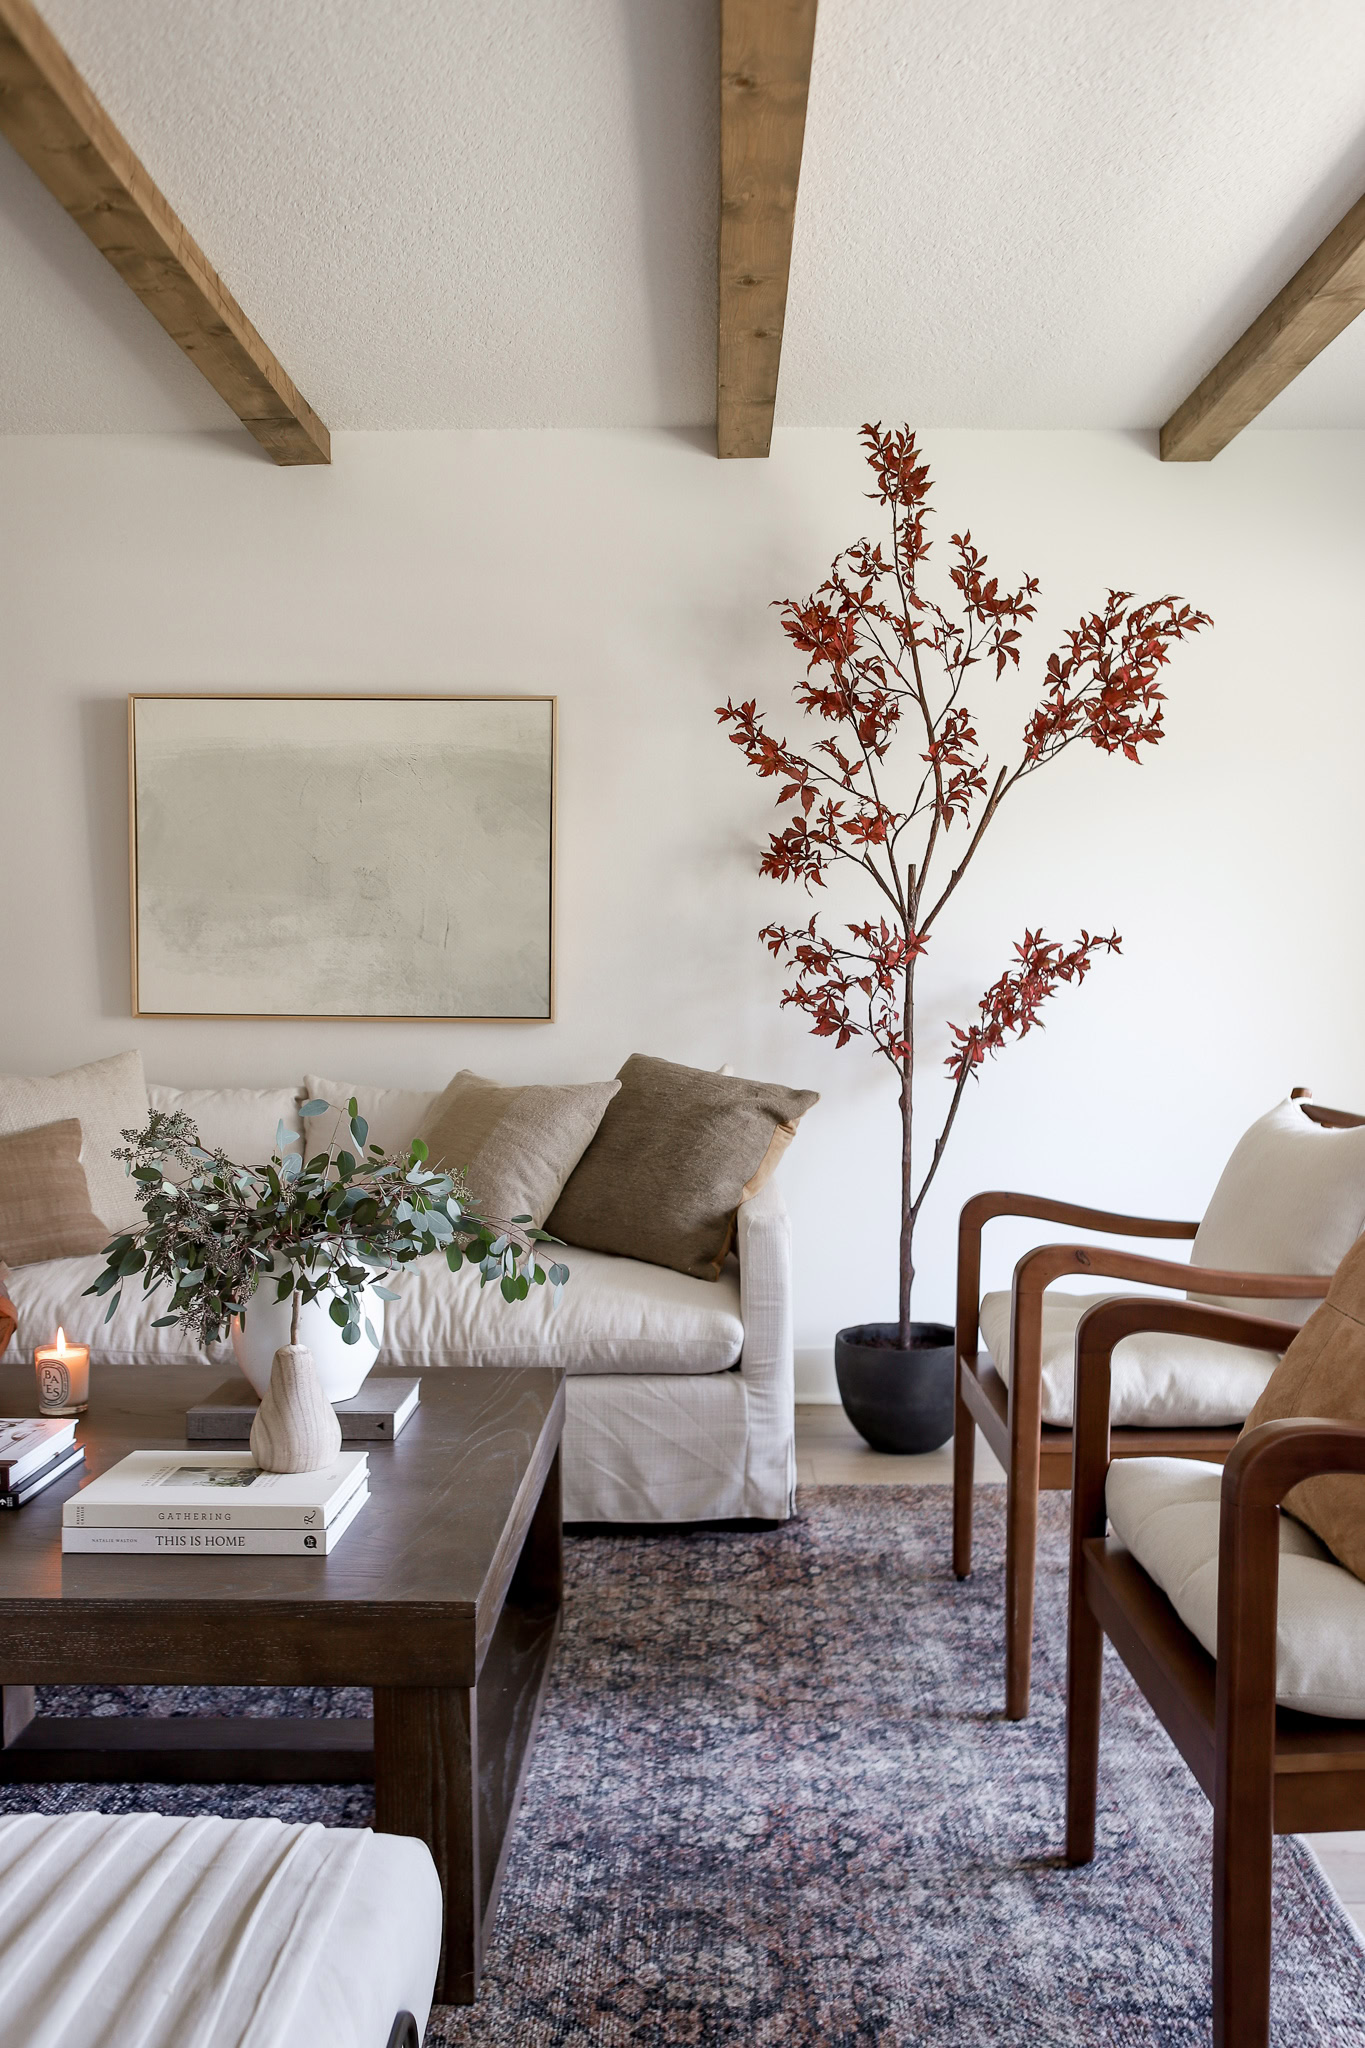
The art over my sofa is Sand from Collection Prints. Here are the pieces that finish the room: abstract art, a faux berry branch tree, a white sofa, wood lounge chairs, a dark wood coffee table and a vintage-style rug.
Rugs, Throws and Side Tables
I am so happy with how all of the details came together. For another ceiling idea, see my tongue and groove bedroom ceiling, read my three rules for mixing wood tones, and shop everything in my home on my Shop Our Home page.